
How to Weld Aluminum?
- Yongxing
- 25 Mar ,2026
Aluminum welding looks simple at first, but many projects fail because the metal moves fast, heats fast, and reacts fast. That is where many costly errors begin.
Yes, aluminum can be welded well, but it needs the right process, clean surface prep, correct filler choice, and stable heat control. Good results come from preparation as much as from welding skill.
Many buyers, engineers, and fabricators ask this question because aluminum is now used in more heat-sensitive and weight-sensitive products. In real production work, welding aluminum is not only about joining two parts. It is about controlling distortion, keeping strength, and making sure the final part still performs as designed. That is why this topic deserves a closer look.
What equipment is needed to weld aluminum?
Aluminum welding often goes wrong before the arc even starts. Many people blame the operator, but the real problem is often poor equipment setup or a missing tool.
To weld aluminum well, the basic equipment includes a proper welding machine, shielding gas, filler wire or rod, a clean torch setup, surface cleaning tools, and safety gear. Each item matters because aluminum is sensitive to contamination and heat imbalance.
When this question comes up, the best answer is not just a list of tools. The better answer is to explain why each tool matters. Aluminum is not like mild steel. It has a tough oxide layer, high thermal conductivity, and a lower melting point under the surface than many people expect. So the equipment must support both control and cleanliness.
Core welding equipment
A stable power source comes first. For TIG welding, an AC TIG machine is usually the standard choice. AC helps break up the oxide layer during welding. For MIG welding, a machine that can feed soft aluminum wire smoothly is important. Many shops use a spool gun or a push-pull gun because standard wire feeding can create bird-nesting and uneven wire flow.
Shielding gas is also critical. Pure argon is the usual choice for most aluminum work. In thicker sections, some shops may use argon-helium mixes to increase heat input. The exact mix depends on thickness, joint type, and productivity goals.
The torch setup must match the job. A TIG torch needs the correct tungsten, cup size, and cooling method. A MIG torch needs stable wire delivery and good contact tips made for aluminum use.
Surface prep tools that should never be skipped
Good welding starts before welding. That is why dedicated cleaning tools matter so much.
| Equipment | Why it matters |
|---|---|
| AC TIG welder or aluminum-capable MIG welder | Provides arc control suited for aluminum |
| Pure argon gas cylinder | Protects the weld pool from contamination |
| Spool gun or push-pull system | Improves feeding of soft aluminum wire |
| Stainless steel wire brush | Removes oxide without adding dirt from other metals |
| Acetone or approved cleaner | Removes oil, grease, and shop residue |
| Clamps and fixtures | Holds the part in place and reduces distortion |
A stainless steel wire brush used only for aluminum is a basic tool, not an extra. Surface oil, dust, and oxide can quickly damage weld quality. Clean cloths, acetone, and simple part-handling discipline make a big difference. Even a small amount of contamination can lead to porosity.
Support tools that improve consistency
In production, extra tools often decide whether the weld is repeatable. Clamps, jigs, backing bars, and fit-up gauges all help. Aluminum expands fast under heat, so loose fit-up can turn into distortion, underfill, or burn-through. For thin-walled parts, proper fixturing helps keep geometry stable.
Preheating tools can also help on thicker sections. A temperature stick or infrared thermometer gives better control than guesswork. Overheating aluminum before welding can reduce quality, so even simple temperature checks matter.
Safety gear is also part of the equipment list. A proper helmet, gloves, sleeves, and ventilation are not optional. Aluminum welding can produce intense light and fumes, and operators need clear vision and good protection to maintain quality.
In many real jobs, poor results come from a missing small tool, not from a lack of welding talent. A clean brush, correct gas flow, and stable fixturing can improve weld quality more than many people expect. That is why equipment choice should always be seen as a system, not as a machine-only purchase.
Is TIG or MIG better for aluminum welding?
Many teams ask this question when they need to balance weld appearance, speed, cost, and production volume. The wrong choice can slow output or create quality problems later.
TIG is usually better for thin aluminum, precision work, and clean appearance. MIG is usually better for thicker sections, longer welds, and higher production speed. The better process depends on the part, not on a fixed rule.
This question matters because both processes can weld aluminum well, but they do not solve the same problem. In many projects, the right process is tied to part thickness, weld length, appearance standard, labor skill, and delivery schedule. A shop that chooses only by habit often loses time or quality.
When TIG makes more sense
TIG welding gives strong control over heat input and bead appearance. That is why it is often used for thin aluminum, complex assemblies, visible seams, and prototype work. It helps when the part needs tight quality control or a clean cosmetic finish.
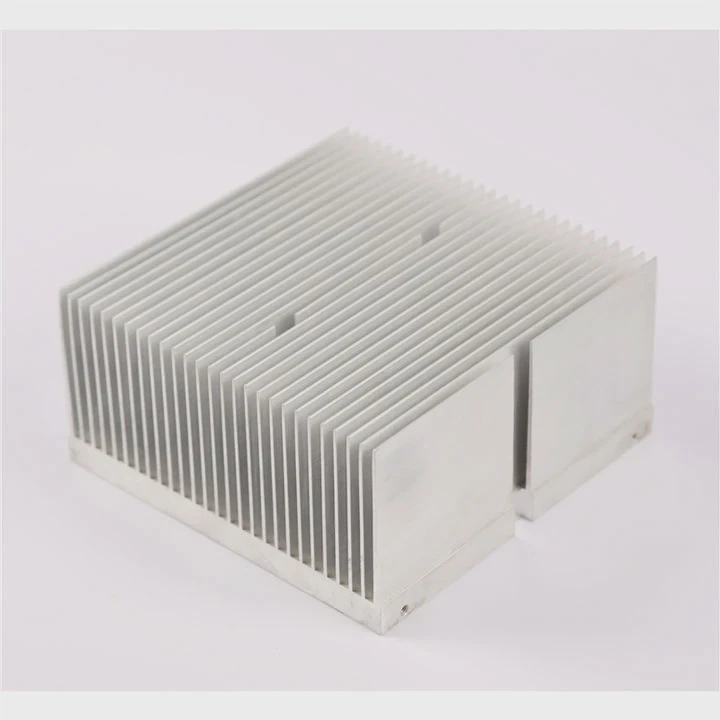
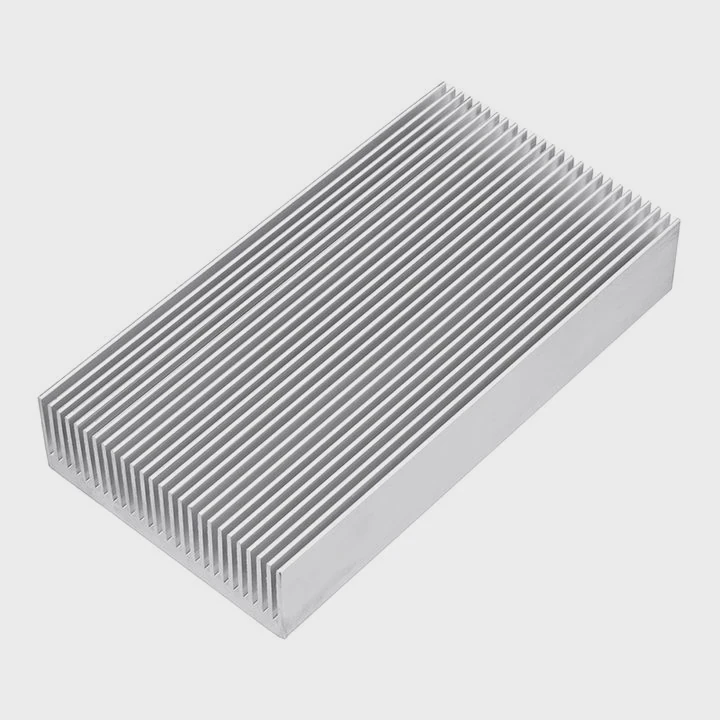
For heat sink structures, electronics housings, medical frames, and smaller custom assemblies, TIG often gives the cleaner result. The operator can adjust travel speed, filler addition, and arc position with care. This is useful when the weld zone is small or when distortion must stay low.
Still, TIG is slower. It also needs more operator skill. In low-volume or high-value projects, that trade-off is often acceptable. In high-volume production, the slower speed may become a cost issue.
When MIG makes more sense
MIG welding is usually chosen for speed and output. It works well on thicker aluminum sections and long straight welds. It is common in transport, battery boxes, structural frames, and other large parts where efficiency matters.
With the correct wire feed system, MIG can produce strong and repeatable results. It is often easier to scale for production. For many B2B manufacturing settings, this is a major advantage because delivery time and labor cost matter as much as weld quality.
A direct comparison
| Factor | TIG for Aluminum | MIG for Aluminum |
|---|---|---|
| Best for thickness | Thin to medium | Medium to thick |
| Speed | Slower | Faster |
| Appearance | Very clean and precise | Good, but less refined |
| Skill demand | Higher | Moderate |
| Production volume | Low to medium | Medium to high |
| Heat control | Excellent | Good |
| Long weld runs | Less efficient | More efficient |
The better choice depends on the job
There is no single winner in every case. A prototype enclosure and a heavy-duty liquid-cooled frame do not need the same process. A thin custom aluminum housing may benefit from TIG because the weld must look clean and stay controlled. A thick welded assembly for industrial power equipment may benefit from MIG because the weld length is long and production speed matters more.
Another point is rework cost. TIG may reduce mistakes in delicate areas. MIG may reduce cycle time on larger jobs. So the better process is the one that protects the final product goal. In practical manufacturing, the smartest decision is often not “Which process is better?” but “Which process fits this part, this thickness, this volume, and this quality target?” That way, the welding method supports the business result, not just the weld itself.
What are common aluminum welding mistakes?
Many aluminum weld defects are blamed on the material itself. In truth, most problems come from a few repeated mistakes that can be prevented with better process control.
Common aluminum welding mistakes include poor cleaning, wrong heat control, bad wire or filler choice, weak shielding gas protection, and poor joint fit-up. These mistakes often cause porosity, cracking, distortion, and weak weld quality.
This topic matters because aluminum is unforgiving. Steel can sometimes tolerate a rough process and still hold together. Aluminum does not forgive that kind of shortcut. Small setup errors can create major defects, and many of those defects are not obvious until testing, machining, or final assembly.
Mistake 1: Welding over contamination
One of the most common mistakes is welding over oil, oxide, moisture, or shop dirt. Aluminum forms an oxide layer naturally, and that layer melts at a much higher temperature than the base metal below it. If the surface is not cleaned well, the arc can become unstable and the weld pool can trap contamination.
This often leads to porosity. It can also reduce fusion. In production parts, that means lower reliability and higher reject rates.
Mistake 2: Using poor heat control
Aluminum carries heat away quickly, but it can also collapse suddenly once enough heat builds up. New welders often start with too little heat, then overcorrect, then overheat the part. This causes burn-through, undercut, distortion, or a wide and weak bead.
Heat control also changes during the weld. A part that starts cold does not stay cold. As heat builds, travel speed and settings may need adjustment. Ignoring this change is a common reason why the start of the weld looks different from the end.
Mistake 3: Wrong filler or wire selection
Not every filler alloy works for every base alloy. A poor match can affect strength, crack resistance, corrosion behavior, and post-weld finish. Some welders choose filler only by availability. That creates risk.
Mistake 4: Weak gas coverage
Poor shielding gas flow can bring in air and moisture. Too little flow is a problem, but too much flow can also create turbulence and pull contamination into the weld zone. Leaks, dirty nozzles, and drafty work areas also reduce shielding quality.
Mistake 5: Poor joint fit-up and restraint
Gaps that are too large, edges that are poorly aligned, or fixtures that do not control movement can all hurt the weld. Since aluminum expands with heat, small fit-up issues can become larger during welding.
Common mistake and result map
| Mistake | Likely result |
|---|---|
| Dirty surface | Porosity, poor fusion |
| Too much heat | Burn-through, distortion |
| Wrong filler alloy | Cracking, weak joint |
| Poor gas shielding | Oxidation, porosity |
| Bad fit-up | Inconsistent bead, weak penetration |
Why these mistakes matter in real projects
In real manufacturing, these are not small cosmetic issues. A weak aluminum weld can affect thermal performance, sealing, mechanical stability, and even downstream assembly. A cooling structure with internal porosity may fail under pressure. A warped frame may not match the next assembly step. A cracked corner may pass visual inspection and still fail in service.
That is why skilled aluminum welding is built on discipline. It is not only about hand control. It is about process control. The clean bench, the right filler, the gas check, the fixture design, and the operator habit all work together. In many successful projects, defect reduction starts not with a new machine, but with a better welding routine and stricter prep standards.
How to prepare aluminum before welding?
Many aluminum weld failures begin long before the torch touches the joint. Poor surface prep creates hidden problems that no welding skill can fully fix.
To prepare aluminum before welding, remove oil and dirt, clean the oxide layer, check fit-up, choose the right filler, and keep the surface clean until welding starts. Good preparation improves fusion, reduces porosity, and makes the weld more stable.
Preparation is often treated like a simple cleaning step. In real work, it is much more than that. Good preparation is the base of weld quality. It affects arc stability, penetration, bead shape, and final reliability. For aluminum parts used in heat control systems, structural modules, or pressure-tight assemblies, prep quality often decides whether the part passes testing.
Step 1: Remove oil, grease, and handling residue
The first step is degreasing. Aluminum surfaces often carry machine oil, cutting fluid, fingerprint residue, or packaging contamination. These materials can create gas during welding and lead to porosity.
A clean solvent such as acetone is often used for this stage. The cloth must also be clean. Wiping a part with a dirty rag only moves contamination around. This step should happen before mechanical cleaning, not after, so dirt is not rubbed deeper into the surface.
Step 2: Remove the oxide layer
Aluminum oxide forms naturally and quickly. This layer must be controlled before welding. A dedicated stainless steel brush for aluminum is a common method. Some shops also use light abrasion or chemical cleaning methods depending on process standards.
The key point is tool discipline. A brush used on steel must never be used on aluminum. Cross-contamination can damage weld quality and corrosion resistance.
Step 3: Check joint design and fit-up
Preparation also includes geometry. Edge condition, gap size, bevel angle, and joint alignment all affect welding behavior. A clean surface with poor fit-up can still produce a weak weld.
For thin aluminum, excessive gap can quickly cause burn-through. For thicker parts, poor bevel design may block full penetration. Good preparation means the joint is ready not only chemically, but also physically.
Step 4: Control time between cleaning and welding
Freshly cleaned aluminum should not sit too long before welding. Oxide can reform, and surfaces can collect dust or moisture again. In controlled production, cleaning and welding are often linked closely to reduce this risk.
A simple preparation workflow
Before cleaning
Confirm alloy type, thickness, filler choice, and joint design.
During cleaning
Use solvent first, then oxide removal, then dry handling with clean gloves if needed.
Before welding
Check fit-up, clamp the part, confirm gas setup, and make sure the cleaned zone has stayed protected.
Preparation checklist
| Preparation step | Main purpose |
|---|---|
| Degrease the surface | Remove oil and residue |
| Brush or abrade oxide | Improve arc action and fusion |
| Inspect fit-up | Reduce gaps and distortion risk |
| Match filler to base alloy | Support joint quality |
| Weld soon after cleaning | Limit recontamination |
Why preparation saves cost later
This step may look slow, but it usually saves time. Rework on aluminum is expensive. Rejects are costly. Leak repair, grinding, re-fixturing, and repeat inspection all add time and labor. Good preparation cuts those risks early.
In many factories, the teams with the best aluminum welding results are not always the teams with the newest machines. They are often the teams with the most disciplined prep routine. They clean in the right order. They separate tools by material. They control fit-up. They protect the surface after cleaning. That routine creates stable results, and stable results are what serious buyers and engineers usually value most. When aluminum must perform well in real service, preparation is not an extra step. It is part of the weld itself.
Conclusion
Aluminum welding becomes much easier when the process is broken into clear steps. The right equipment, the right method, the right prep, and fewer common mistakes all lead to stronger, cleaner, and more reliable welds.


