
Which Heat Sink Is Best PC?
- Yongxing
- 18 Mar ,2026
When a PC overheats, performance drops and hardware can fail. Many users struggle to pick the right heat sink. This choice affects stability, noise, and lifespan.
The best PC heat sink depends on CPU power, case space, airflow, and material. A balanced choice combines proper size, high conductivity materials, and correct installation to ensure stable and efficient cooling.
Choosing a heat sink is not only about price or brand. It is about matching thermal needs with real conditions. Each system has different heat loads and space limits. Let’s break this down step by step.
How do you choose the best PC heat sink?
When a CPU runs hot, users often blame poor cooling. The real issue is usually a mismatch between heat sink design and system demand.
To choose the best PC heat sink, match thermal capacity, size, airflow, and compatibility with your CPU and case. Focus on heat dissipation efficiency rather than just appearance or cost.
Choosing a heat sink requires a clear understanding of your system. Many buyers focus only on brand or price. That is not enough. A good choice comes from matching the heat sink to real thermal needs.
Key factors to consider
1. CPU Thermal Design Power (TDP)
TDP tells how much heat your CPU generates. A high TDP CPU needs a stronger cooling solution. For example, gaming CPUs or workstation processors produce much more heat than basic office CPUs.
2. Case compatibility
Not every heat sink fits every case. Tower coolers need vertical space. Low-profile heat sinks fit small form factor builds. Always check clearance before buying.
3. Airflow design
Airflow direction matters. A heat sink must align with case fans. Poor airflow can trap heat even if the heat sink is high quality.
4. Noise vs performance
High-performance fans can be loud. Some users prefer quieter systems. That means choosing a larger heat sink with slower fan speeds.
Comparison of common heat sink types
| Type | Cooling Performance | Noise Level | Space Required | Best Use Case |
|---|---|---|---|---|
| Air tower cooler | High | Medium | Large | Gaming PCs |
| Low-profile cooler | Low–Medium | Low | Small | Mini PCs |
| Liquid cooler | Very High | Medium | Medium–Large | High-end systems |
| Passive heat sink | Low | Silent | Large | Low-power systems |
Real selection logic
A simple way to choose:
- Match TDP first
- Check case size
- Decide noise preference
- Then compare materials and design
In many projects, a mistake often appears when users overspend on cooling without solving airflow issues. Cooling is a system, not a single part.
Why does heat sink size affect cooling?
Many users think bigger always means better. That idea is partly true, but not always complete.
Heat sink size affects cooling because larger surface area allows more heat to transfer into air. However, efficiency also depends on airflow and design, not size alone.
Heat sink size plays a major role in heat dissipation. But size works together with other factors. Simply increasing size without airflow planning does not guarantee better cooling.
How size improves cooling
1. Larger surface area
A bigger heat sink has more fins. More fins mean more contact with air. This increases heat transfer.
2. Higher thermal capacity
Larger heat sinks store more heat before reaching critical temperature. This helps stabilize short bursts of CPU load.
3. Better compatibility with slow fans
Large heat sinks can work well with low-speed fans. This reduces noise while maintaining cooling.
Limitations of large heat sinks
- May block RAM slots
- Can be too heavy for motherboard
- Requires strong case airflow
- Not suitable for small builds
Size vs performance table
| Heat Sink Size | Cooling Ability | Noise Potential | Installation Difficulty | Suitable System |
|---|---|---|---|---|
| Small | Low | Low | Easy | Office PCs |
| Medium | Moderate | Medium | Moderate | General use PCs |
| Large | High | Low–Medium | Hard | Gaming/workstations |
Practical insight
In real builds, balance is key. A medium-sized heat sink with good airflow often performs better than a large one in a poorly ventilated case.
A common issue appears when users install oversized coolers in compact cases. Heat gets trapped, and performance drops. This shows that size must match system design.
Where should a PC heat sink be installed?
Incorrect placement can ruin cooling performance, even with a high-end heat sink.
A PC heat sink should be installed directly on the CPU with proper thermal paste and aligned with airflow direction to maximize heat transfer and cooling efficiency.
Installation is critical. Even a perfect heat sink will fail if installed incorrectly. The goal is to move heat away from the CPU as fast as possible.
Correct installation steps
1. Apply thermal paste
Thermal paste fills tiny gaps between CPU and heat sink. Without it, heat transfer becomes inefficient.
2. Mount evenly
Pressure must be even across the CPU surface. Uneven mounting causes hotspots.
3. Align airflow
Fans should push air toward case exhaust fans. This creates a smooth airflow path.
Common mistakes
- Too much or too little thermal paste
- Loose mounting screws
- Wrong fan direction
- Blocking airflow with cables
Airflow direction example
| Component | Airflow Direction |
|---|---|
| Front case fan | Intake |
| CPU heat sink | Toward rear exhaust |
| Rear fan | Exhaust |
| Top fan | Exhaust |
Real-world observation
In many systems, airflow problems cause higher temperatures than heat sink limitations. A simple cable reorganization can reduce temperature by several degrees.
Another issue appears when users install fans in opposite directions. This creates turbulence instead of smooth airflow.
Installation mindset
Think of airflow like a straight path:
- Cool air enters
- Passes through heat sink
- Hot air exits
Any disruption reduces efficiency.
Which materials improve PC heat sink efficiency?
Material choice directly affects how fast heat moves away from the CPU.
Materials like copper and aluminum improve heat sink efficiency because they have high thermal conductivity, allowing faster heat transfer and better cooling performance.
Material is one of the most important factors in heat sink design. Different materials offer different benefits. The goal is to balance performance, weight, and cost.
Common heat sink materials
1. Aluminum
- Lightweight
- Low cost
- Good thermal performance
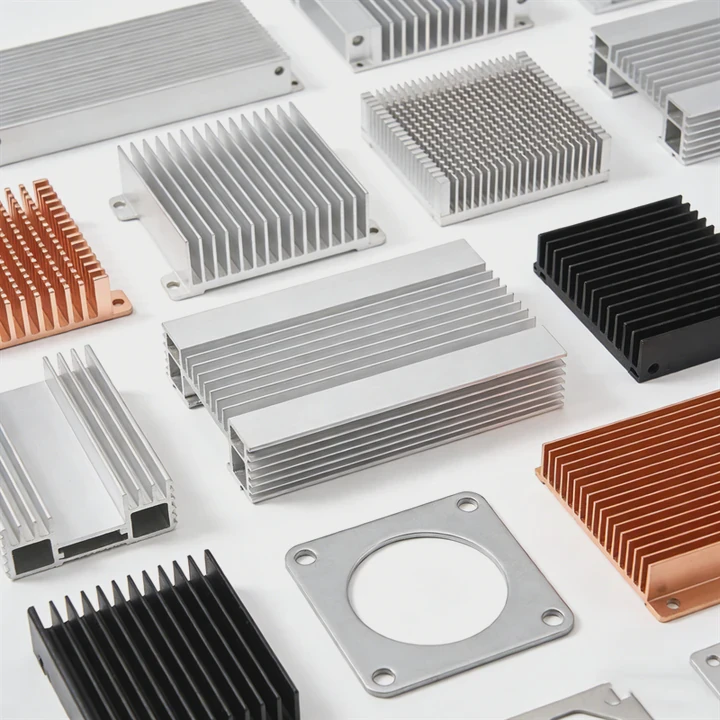
2. Copper
- Excellent conductivity
- Heavier and more expensive
- Ideal for high-performance cooling
3. Hybrid (copper + aluminum)
- Combines benefits of both
- Common in modern heat sinks
Thermal conductivity comparison
| Material | Thermal Conductivity (W/m·K) | Weight | Cost | Typical Use |
|---|---|---|---|---|
| Aluminum | ~200 | Light | Low | Standard heat sinks |
| Copper | ~400 | Heavy | High | High-performance systems |
| Hybrid | 200–400 | Medium | Medium | Balanced solutions |
Why copper is powerful
Copper transfers heat faster than aluminum. This makes it ideal for heat pipes and base plates. However, full copper heat sinks can be heavy and expensive.
Why aluminum is popular
Aluminum offers a strong balance. It is light, easy to manufacture, and affordable. Many large fin structures use aluminum.
Advanced material designs
Modern heat sinks often use:
- Copper base for fast heat absorption
- Aluminum fins for efficient air cooling
- Heat pipes to spread heat evenly
Practical design logic
A well-designed hybrid heat sink often outperforms a pure copper block. Structure matters as much as material.
In many cases, users assume more expensive means better. But design efficiency, airflow, and contact quality often play a bigger role.
Conclusion
The best PC heat sink is not universal. It depends on system needs, size, airflow, and material. A balanced design always delivers better performance than simply choosing the biggest or most expensive option.


