
does a 1 watt led require a heat sink?
- Yongxing
- 24 Mar ,2026
Many people assume small LEDs stay cool. But heat quietly builds and damages performance over time. This hidden issue often gets ignored until failure happens.
Yes, a 1 watt LED usually requires a heat sink, especially in continuous operation. Without proper heat dissipation, temperature rises quickly, reducing brightness, efficiency, and lifespan.
Understanding how heat works in LEDs helps avoid early failure. The next sections break down the key reasons, effects, and practical decisions step by step.
Why do high power LEDs generate heat?
Small LEDs seem harmless. But once power increases, heat becomes a serious issue that many overlook during design.
High power LEDs generate heat because not all electrical energy converts into light. A large portion becomes thermal energy due to internal resistance and inefficiencies.
LEDs are often called efficient. That is true compared to traditional lighting. But efficiency does not mean zero heat. In fact, most high power LEDs convert only 30%–40% of energy into light. The rest becomes heat.
Where does the heat come from?
When current flows through the LED chip, electrons recombine with holes. This process releases energy. Some energy becomes photons (light). The rest becomes heat.
Key heat sources inside an LED
- Junction resistance inside the semiconductor
- Driver inefficiencies
- Phosphor conversion losses (in white LEDs)
- Substrate thermal resistance
Heat vs Power relationship
| LED Power | Light Output Efficiency | Heat Generated |
|---|---|---|
| 0.2W | High | Low |
| 1W | Medium | Moderate |
| 3W+ | Lower (relative) | High |
As power increases, heat rises sharply. A 1W LED may look small, but its heat density is high because the chip area is tiny.
Why heat is a problem
Heat does not spread evenly. It concentrates at the junction point. This is called junction temperature (Tj). If Tj rises too high, problems start quickly.
Effects of high junction temperature
- Light output drops
- Color shifts
- Material degrades faster
- Internal stress increases
Even a small rise of 10–15°C can reduce LED life significantly.
From experience, many early LED failures come from ignoring this heat behavior. Designers often focus on brightness but forget thermal paths.
So, even at 1 watt, the heat is real. It must be managed properly to ensure stable performance.
How does a heat sink extend LED lifespan?
Many users think LEDs last forever. But without heat control, lifespan drops much faster than expected.
A heat sink extends LED lifespan by lowering junction temperature, reducing thermal stress, and maintaining stable performance over time.
Heat is the main enemy of LED longevity. The higher the temperature, the faster materials degrade inside the LED package.
What happens without a heat sink?
When no heat sink is used, heat accumulates at the LED junction. This leads to:
- Rapid lumen depreciation
- Encapsulation yellowing
- Bond wire fatigue
- Solder joint failure
Lifespan vs Temperature
| Junction Temperature | Expected Lifespan |
|---|---|
| 60°C | 50,000+ hours |
| 80°C | 30,000 hours |
| 100°C | <20,000 hours |
A small temperature increase can cut lifespan by half.
How a heat sink works
A heat sink does not cool the LED actively. Instead, it transfers heat away from the LED into the surrounding air.
Heat transfer path
- LED junction generates heat
- Heat moves to substrate
- Heat flows into heat sink
- Heat dissipates into air
Important factors
1. Thermal conductivity
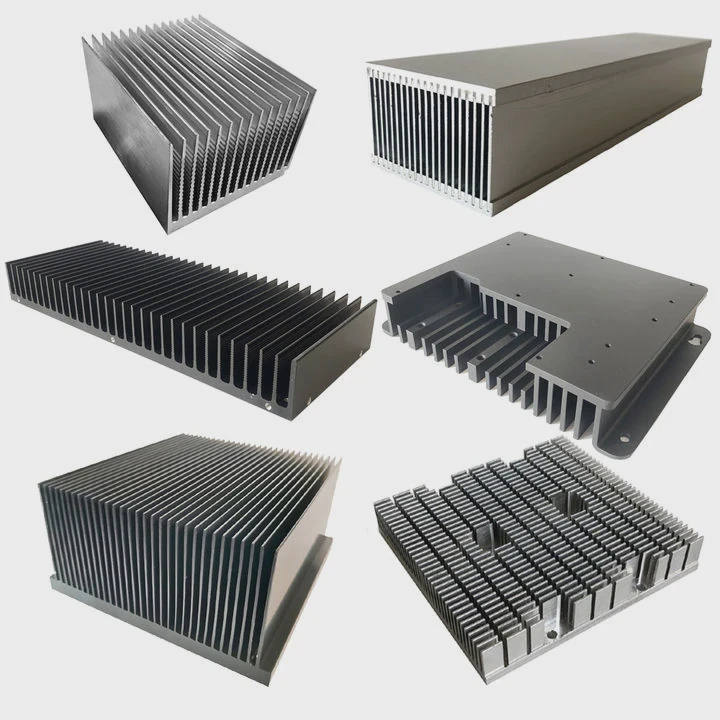
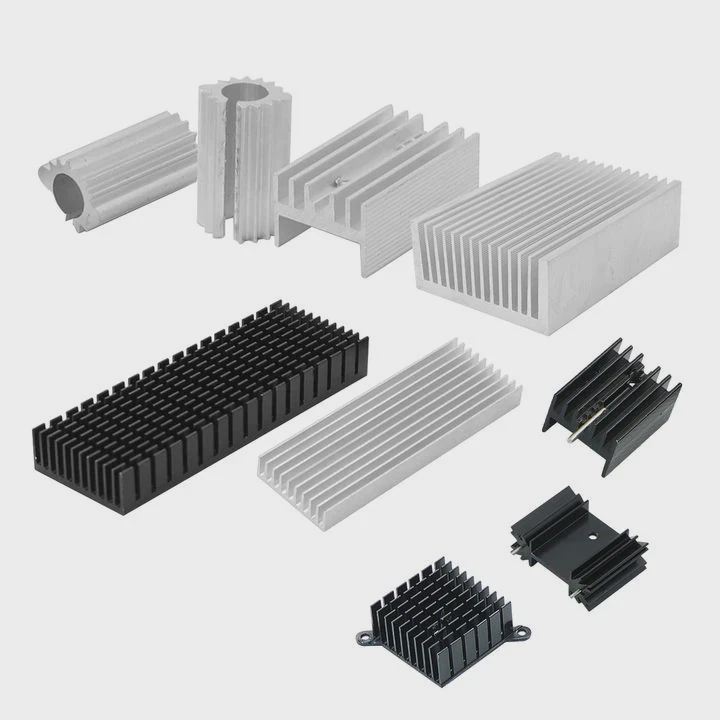
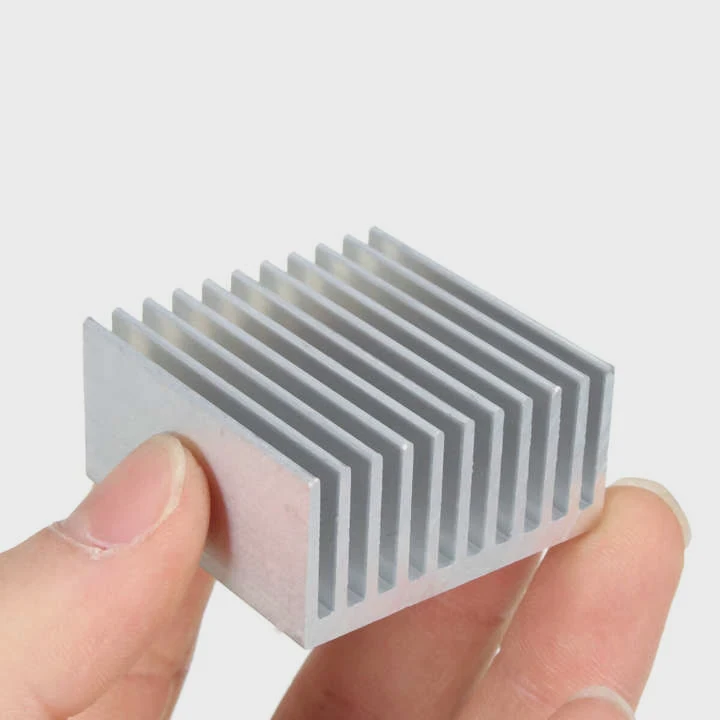
Materials like aluminum are commonly used because they transfer heat quickly.
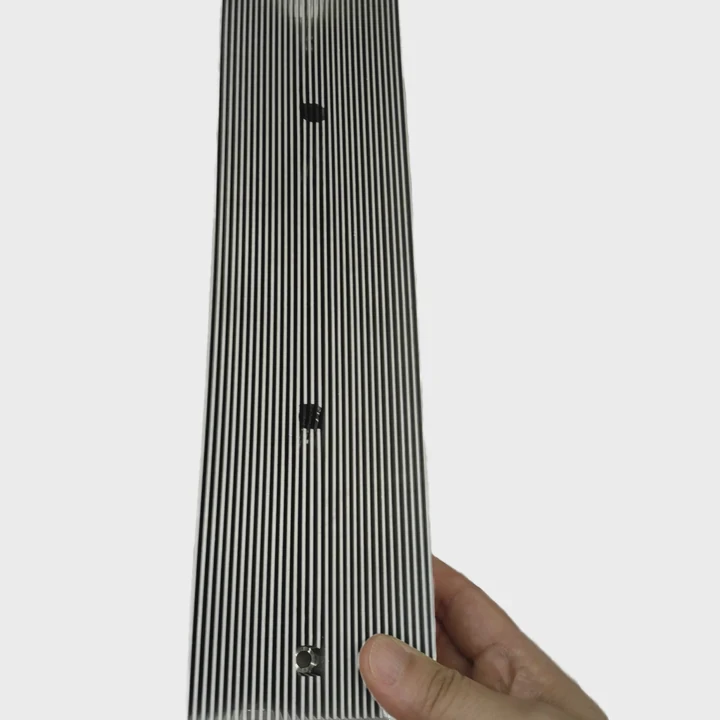
2. Surface area
More fins mean more contact with air, improving cooling.
3. Airflow
Natural or forced airflow improves heat dissipation.
Real-world observation
In many projects, adding even a small aluminum heat sink reduced LED temperature by 15–25°C. This directly improved stability and brightness consistency.
Why this matters for 1W LEDs
Some may think 1W is too small to worry about. But in enclosed spaces or continuous use, temperature still builds up.
So the role of a heat sink is not optional in many cases. It is a simple but critical component that protects long-term performance.
Where is a heat sink mounted on LEDs?
Many beginners are confused about placement. A heat sink only works if installed correctly.
A heat sink is mounted on the back of the LED, directly connected to the thermal pad or substrate to ensure efficient heat transfer.
Heat always flows from hot to cold. So the mounting position must allow heat to move away from the LED as fast as possible.
Standard mounting structure
Most high power LEDs follow this structure:
- LED chip
- Substrate (MCPCB or ceramic)
- Thermal interface material (TIM)
- Heat sink
Mounting location explained
The heat sink is always attached to the backside of the LED module. This is because:
- The junction heat flows downward
- The substrate is designed to conduct heat
- The backside offers the shortest thermal path
Common mounting methods
1. Direct mounting
LED module is screwed onto the heat sink.
2. Thermal adhesive
Used when screws are not practical.
3. Soldering (for MCPCB)
Provides strong thermal connection.
Importance of thermal interface material (TIM)
Even flat surfaces have microscopic gaps. Air fills these gaps, and air is a poor conductor.
TIM helps fill these gaps and improves heat transfer.
Types of TIM
- Thermal paste
- Thermal pads
- Phase change materials
Mistakes to avoid
- Loose mounting
- Uneven pressure
- No TIM layer
- Using plastic instead of metal
Real case insight
In one project, poor mounting increased thermal resistance significantly. After correcting the interface, temperature dropped by over 10°C without changing the heat sink.
Key takeaway
The position is not just about placement. It is about ensuring a continuous thermal path.
Even the best heat sink fails if it is not properly connected to the LED.
Which LED power levels require heat sinks?
Many people ask where the threshold is. At what point does a heat sink become necessary?
LEDs above 0.5W typically benefit from a heat sink, while 1W and higher LEDs almost always require one for stable and safe operation.
There is no single rule that fits all cases. But practical experience provides clear guidelines.
General guideline
| LED Power | Heat Sink Requirement |
|---|---|
| <0.5W | Usually not needed |
| 0.5–1W | Recommended |
| 1–3W | Required |
| 3W+ | Mandatory |
Why 1W is the turning point
At 1W, heat density becomes significant. The LED chip is small, so heat cannot spread easily without help.
Factors that influence the need
1. Operating time
Continuous use increases heat buildup.
2. Ambient temperature
Higher surrounding temperature reduces cooling efficiency.
3. Enclosure design
Closed systems trap heat.
4. PCB material
Standard FR4 boards do not dissipate heat well.
Example scenarios
Scenario A: Open environment
A 1W LED may survive without a heat sink for short use.
Scenario B: Enclosed housing
Even a 1W LED will overheat quickly without proper cooling.
Scenario C: High ambient temperature
Heat sinks become essential even below 1W.
Practical recommendation
From real applications, using a small aluminum heat sink for 1W LEDs is a low-cost and high-benefit decision.
Why not skip it?
Skipping a heat sink may save a small cost upfront. But it leads to:
- Shorter lifespan
- Performance drop
- Customer complaints
- Higher replacement cost
Design mindset
Thermal design should not be an afterthought. It should be part of the initial design process.
A reliable LED system always considers heat from the beginning.
Conclusion
A 1 watt LED may seem small, but heat still matters. Using a heat sink ensures stable performance, longer lifespan, and better reliability in real applications.


