Heat Sink for Arduino?
- Yongxing
- 28 May ,2026
Arduino boards can get warm during heavy use, risking damage to sensitive parts and circuit failure.
A heat sink protects Arduino components by absorbing and dissipating heat from chips and regulators, keeping the board stable and extending its lifespan.
Knowing how and when to use heat sinks ensures your Arduino projects run safely and reliably.
How does a heat sink protect Arduino components?
Arduino boards are small, but they contain chips that generate heat. Without cooling, components can fail or behave unpredictably.
Heat sinks draw heat away from processors, voltage regulators, and power transistors, spreading it over a larger surface to prevent overheating.
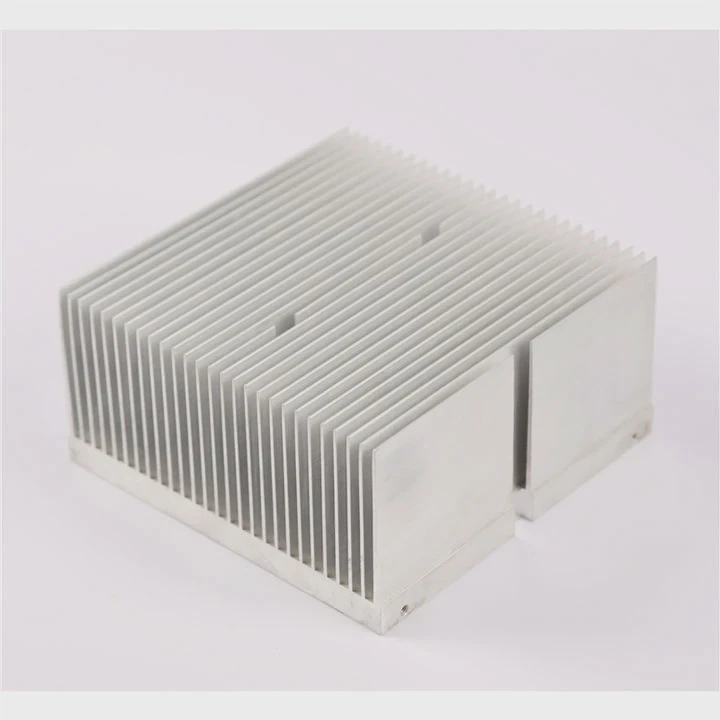
How heat sinks work on Arduino
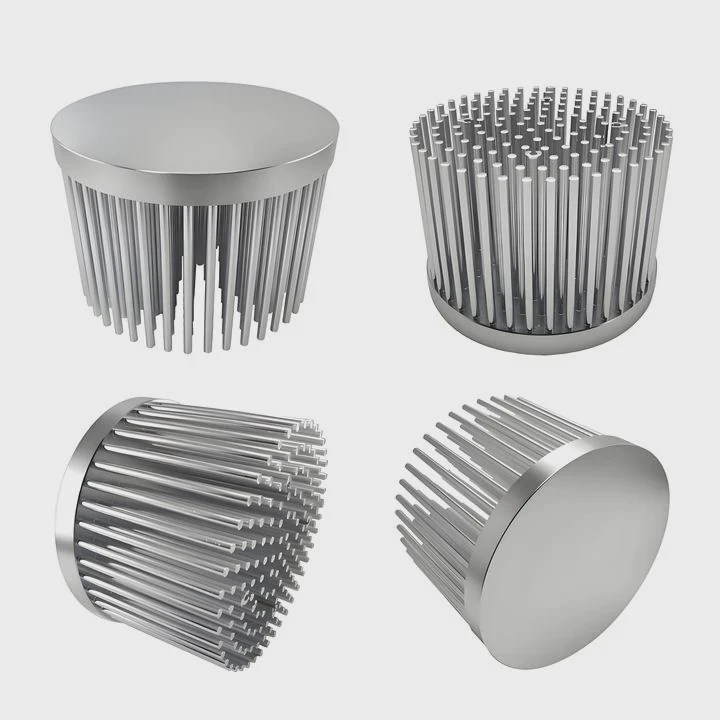
A heat sink connects directly to the component generating heat. Metal fins increase surface area, letting air move heat away faster. The process reduces the component temperature, keeping voltage and current stable.
Types of heat sinks
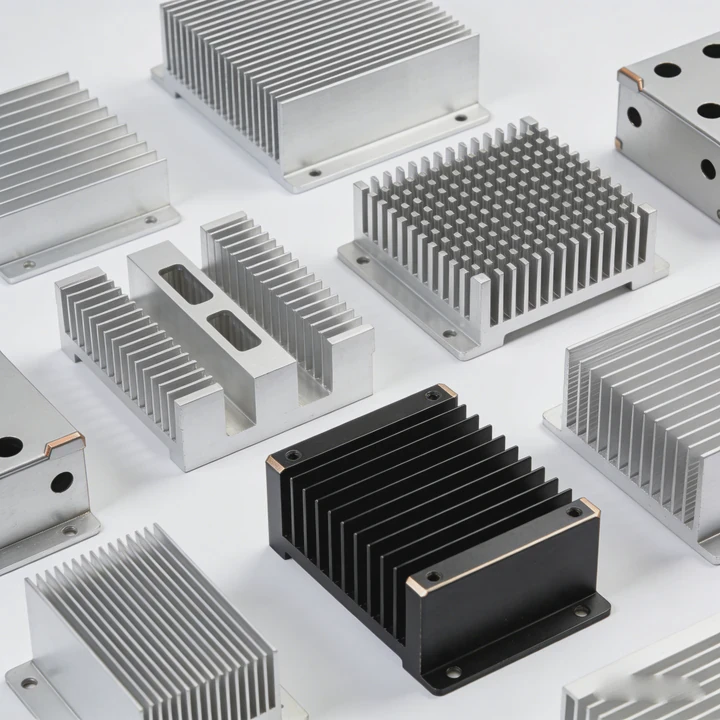
Arduino heat sinks come in several forms:
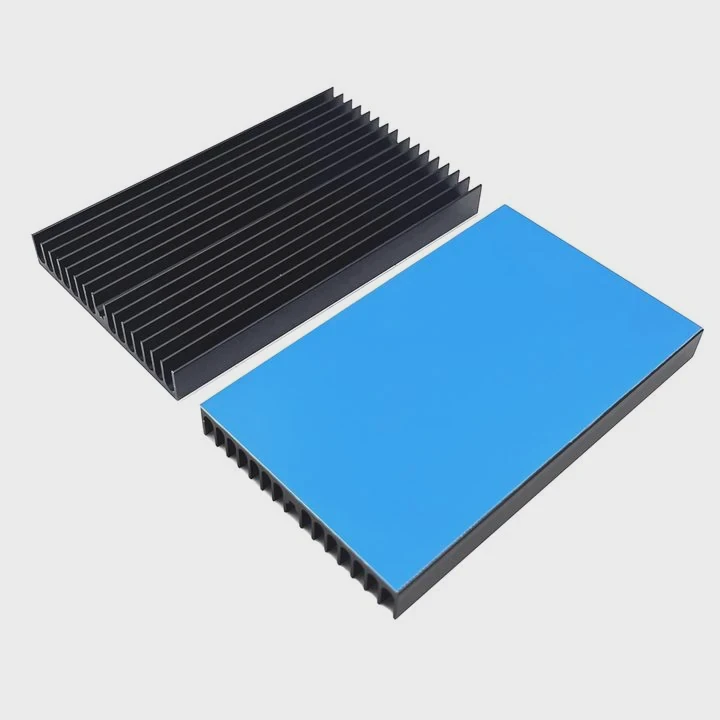
- Clip-on aluminum fins: Easy to attach on voltage regulators.
- Copper pads: Conduct heat efficiently for high-power components.
- Mini fan-assisted sinks: Rare, used for high-current circuits.
Role of thermal paste
Applying thermal paste between the component and the heat sink improves contact. This ensures maximum heat transfer and prevents hotspots.
Real-world benefits
Using heat sinks prevents thermal throttling in Arduino boards. For example, when controlling motors or LEDs, the voltage regulator may get hot. A heat sink keeps it safe, avoiding shutdowns and extending the board’s life.
Why do Arduino circuits overheat?
Arduino circuits are small but can handle significant current. Some projects push components beyond their comfort zone.
Circuits overheat when high current passes through chips or regulators, or when voltage drops unevenly, creating excessive thermal energy.
Common causes of overheating
- High-current loads: Motors, LEDs, and relays draw more current than regulators are rated for.
- Poor ventilation: Enclosed cases trap heat around the board.
- Prolonged operation: Continuous running at maximum load increases temperature.
- Voltage mismatches: Supplying more voltage than required makes components heat faster.
Identifying overheating
Arduino boards may show discoloration near regulators or have slightly warped components. Measuring surface temperature with a thermometer can reveal hotspots. Early detection helps prevent permanent damage.
Preventive measures
- Use heat sinks on regulators or high-power ICs.
- Ensure airflow around the board.
- Limit maximum current to safe levels.
- Avoid running projects continuously at full load.
Where should heat sinks be attached on Arduino?
Placement determines efficiency. A heat sink must be attached where heat is generated most.
Heat sinks should be attached to voltage regulators, power MOSFETs, or high-current ICs to efficiently disperse heat away from critical components.
Typical heat sink spots
- Voltage regulators: These components handle varying voltage and can get very hot.
- Motor drivers: MOSFETs in H-bridges often produce heat under load.
- LED drivers: High-power LEDs controlled by Arduino can heat ICs.
Attachment methods
- Thermal adhesive pads: Easy for small DIY projects.
- Screws or clips: Secure metal heat sinks for larger or heavier components.
- Thermal paste: Improves contact for maximum heat transfer.
Example heat sink placement table
| Component | Heat Sink Type | Recommended Attachment |
|---|---|---|
| Voltage regulator | Aluminum fin | Clip-on or adhesive |
| Motor driver IC | Mini copper plate | Thermal paste + screw |
| LED driver transistor | Small aluminum pad | Thermal adhesive pad |
Tips for airflow
Ensure there is some airflow around the heat sink. Passive cooling works well if the board is in an open case. For high-current or compact enclosures, a small fan can help remove heat faster.
Which Arduino projects need heat sinks?
Not all Arduino projects require extra cooling. Simple LED blinking or sensor reading projects usually stay cool.
Projects with high-current devices, continuous operation, or heavy processing need heat sinks to prevent thermal damage and maintain reliability.
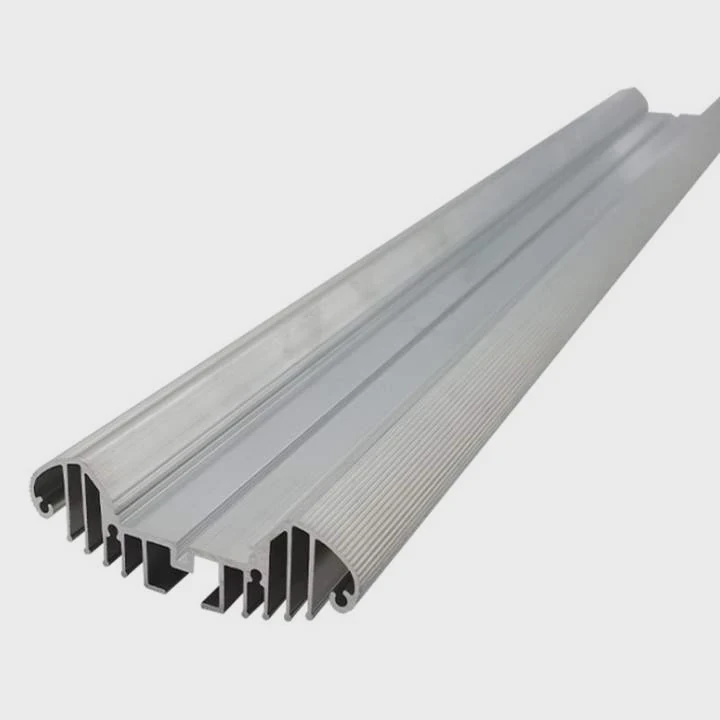
Examples of heat-sensitive projects
- Robotics: Motor drivers and stepper controllers generate heat during extended movement.
- High-power LEDs: LED strips draw significant current over long periods.
- 3D printing controllers: Stepper motor drivers produce heat during long prints.
- Audio amplifiers: Arduino-based amps drive speakers and can heat the power ICs.
Choosing the right heat sink
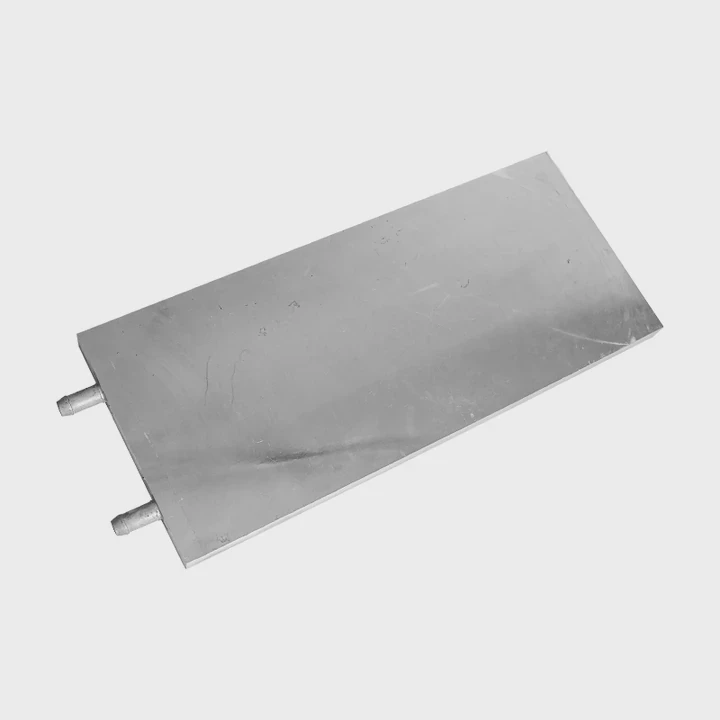
Consider current draw, voltage, and operating duration. Higher current and longer operation require larger or more efficient heat sinks. Materials like copper provide better heat transfer but cost more, while aluminum is lightweight and sufficient for many projects.
Example of projects and heat sink needs table
| Project Type | Power Demand | Heat Sink Requirement |
|---|---|---|
| LED lighting | Medium | Small aluminum pad |
| Motor control | High | Copper plate + clip |
| 3D printer controller | High | Aluminum fin + airflow |
| Audio amplifier | Medium-High | Aluminum plate or mini fan |
Maintenance tips
Regularly inspect heat sinks for dust and ensure contact with components remains solid. Reapply thermal paste if it dries out to maintain efficiency. Keeping the Arduino board cool ensures long-term reliability and consistent performance.
Conclusion
Heat sinks are essential for Arduino projects with high-power components. Proper placement, materials, and airflow prevent overheating, ensuring stable performance and protecting sensitive electronics.