
How to Design Heat Sink for LED?
- Yongxing
- 23 Apr ,2026
Many LED systems fail early because of overheating. Users see brightness drop or color shift. This creates cost and trust issues fast.
LED heat sink design focuses on moving heat away from the chip quickly, lowering junction temperature, and keeping stable performance over time through proper structure, material, and airflow design.
Good design is not only about adding metal. It is about balance. Structure, material, and environment must work together to control heat flow effectively.
What Considerations Are Key for LED Heat Sink Design?
Heat problems often start small but grow fast. Poor design leads to hot spots, reduced life, and unstable light output.
Key considerations include thermal resistance, airflow, surface area, material conductivity, and system integration to ensure heat is transferred efficiently from LED junction to ambient air.
When designing a heat sink for LEDs, I always begin with understanding the heat path. Heat starts at the LED junction, moves through the substrate, into the heat sink, and finally into the air. Every step adds resistance.
Key Design Parameters
| Parameter | Why It Matters | Design Focus |
|---|---|---|
| Thermal Resistance | Controls heat flow efficiency | Lower is better |
| Surface Area | Increases heat dissipation | Use fins or pins |
| Airflow | Removes heat from surface | Natural vs forced |
| Contact Quality | Reduces interface loss | Flatness and TIM |
Thermal Resistance Chain
Each layer adds resistance. If one part is weak, the whole system fails. I often explain it like a chain. One weak link breaks everything.
- Junction to substrate
- Substrate to baseplate
- Baseplate to heat sink
- Heat sink to air
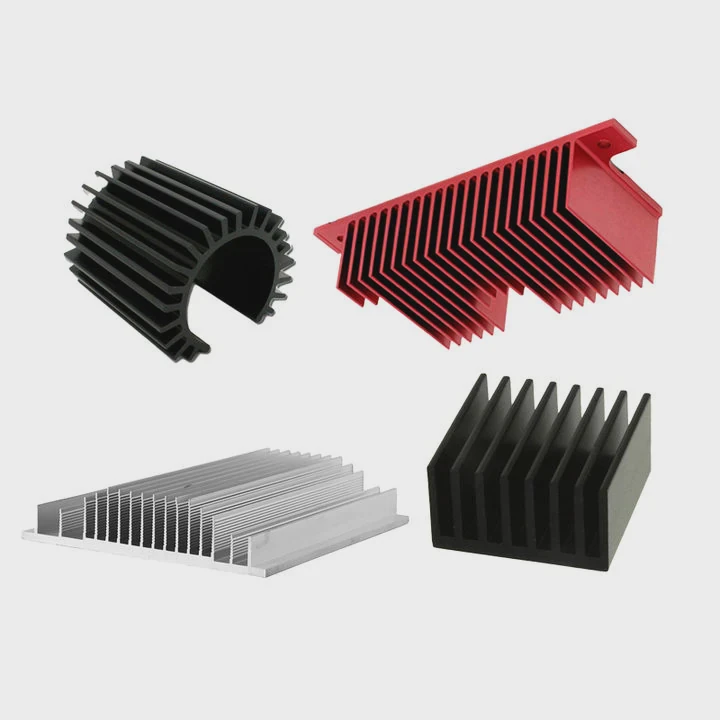
Structural Design Choices
There are several common structures:
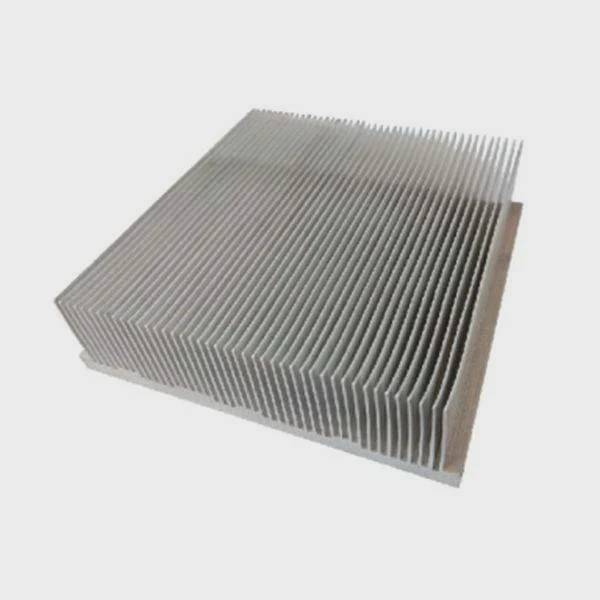
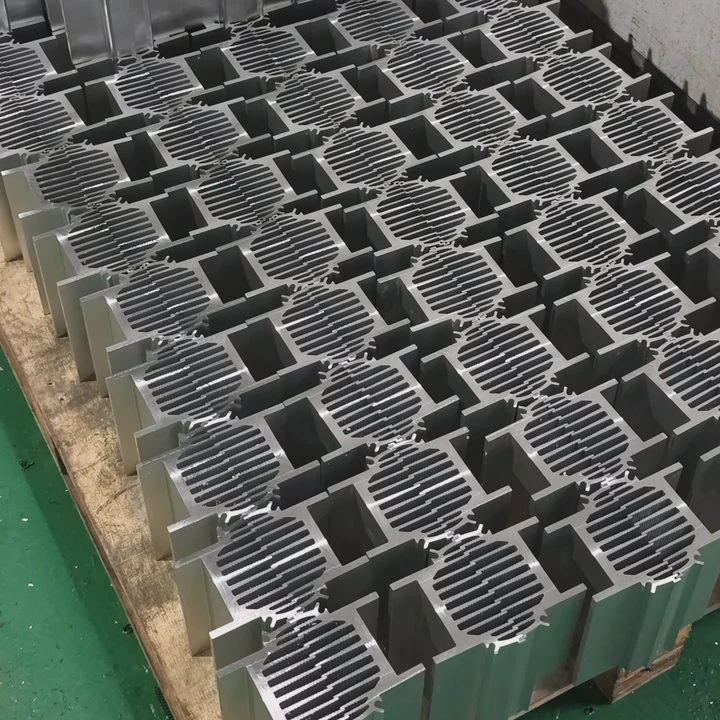
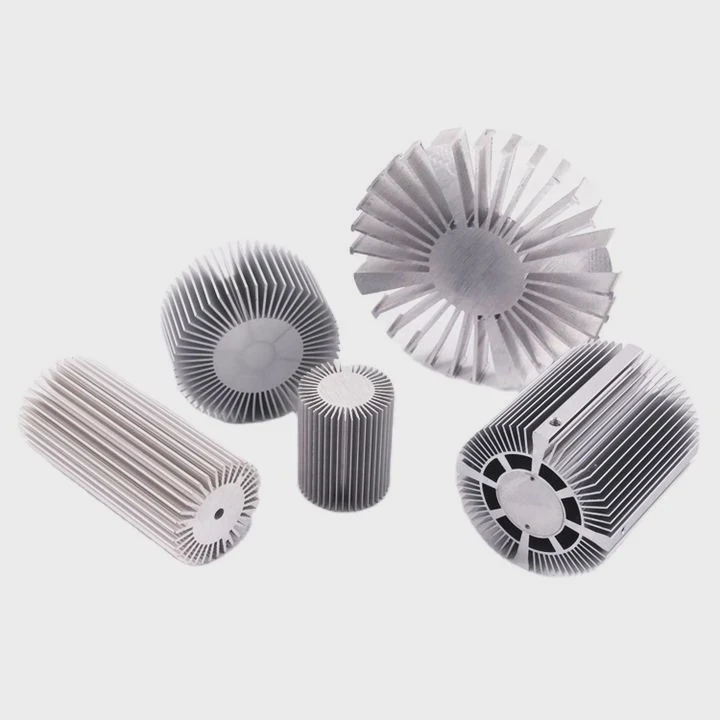
- Extruded fin heat sinks
- Skived fin structures
- Pin fin designs
- Vapor chamber integrated systems
Each has trade-offs. For example, pin fins work well in multi-direction airflow. Straight fins work better in controlled airflow.
Real Design Insight
In one project, a client increased fin density too much. It looked better on paper. But airflow dropped. Heat stayed trapped. The temperature rose instead.
So I always remind teams: more metal does not mean better cooling.
Design Balance
A good design balances:
- Fin spacing
- Fin height
- Base thickness
- Air movement
Too thick base increases weight. Too thin base creates hot spots.
The best design is always system-driven, not component-driven.
Why Do LEDs Require Thermal Management?
Many people think LEDs are cool because they are efficient. That is only half true. They still generate heat, and it must be controlled.
LEDs require thermal management because excess heat raises junction temperature, which reduces efficiency, shifts color, and shortens lifespan significantly.
LEDs convert only part of energy into light. The rest becomes heat. This heat stays inside a very small chip area.
What Happens Without Cooling?
If heat is not managed:
- Light output drops
- Color changes (often towards yellow)
- Lifetime decreases sharply
- Driver components may fail
Temperature Impact Table
| Junction Temperature | Effect on LED |
|---|---|
| < 85°C | Stable performance |
| 85–105°C | Efficiency drops |
| > 120°C | Rapid degradation |
Heat vs Lifetime
LED lifetime is directly linked to temperature. A small increase can cut life in half.
For example:
- 10°C increase → lifetime reduces by ~50%
Why This Matters in Real Use
In industrial lighting or medical systems, failure is not acceptable. A simple heat issue can cause system shutdown.
I have seen projects where LEDs failed in less than 6 months because of poor thermal paths. The design ignored airflow conditions in the final environment.
Thermal Design Is Not Optional
Thermal design must be part of the initial design stage. It cannot be added later.
Key steps include:
- Thermal simulation
- Material selection
- Prototype testing
Skipping these steps always leads to risk.
Where Should Heat Be Dissipated in LED Systems?
Many designs fail because they do not guide heat correctly. Heat must move in the right direction.
Heat should be dissipated from the LED junction through the heat sink and released efficiently into the surrounding air, avoiding heat accumulation inside the system enclosure.
Heat always follows the path of least resistance. If the path is blocked, heat builds up.
Ideal Heat Flow Path
- LED junction
- PCB or substrate
- Thermal interface material
- Heat sink base
- Heat sink fins
- Ambient air
Common Mistakes
- Trapping heat inside sealed enclosures
- Poor contact between LED and heat sink
- Using thick coatings that block heat
- Ignoring airflow direction
Open vs Closed Systems
| System Type | Heat Strategy |
|---|---|
| Open System | Natural convection |
| Closed System | Forced cooling or conduction |
Airflow Direction Matters
Heat sinks must align with airflow.
- Vertical fins → better for natural convection
- Horizontal fins → may trap heat
Real Case Insight
In one outdoor LED lamp project, the heat sink worked well in testing. But in real installation, it was mounted horizontally. Heat got trapped. Temperature increased by 15°C.
That small change caused early failures.
Design Tip
Always design based on actual installation conditions, not lab conditions.
Advanced Heat Dissipation Methods
For high-power LEDs:
- Vapor chambers
- Heat pipes
- Liquid cooling plates
These methods spread heat faster and reduce hot spots.
Which Materials Suit LED Heat Sinks Best?
Material choice directly affects performance. It controls how fast heat moves.
Aluminum and copper are the best materials for LED heat sinks due to their high thermal conductivity, with aluminum offering a balance of cost, weight, and performance.
Material Comparison
| Material | Thermal Conductivity | Weight | Cost | Use Case |
|---|---|---|---|---|
| Aluminum | ~200 W/m·K | Light | Low | Most LED systems |
| Copper | ~400 W/m·K | Heavy | High | High-power LEDs |
| Graphite | Very high | Very light | Medium | Special designs |
Why Aluminum Is Common
Aluminum is widely used because:
- Easy to extrude
- Lightweight
- Good corrosion resistance
- Cost-effective
When Copper Is Better
Copper is used when:
- Heat density is very high
- Space is limited
- Fast heat spreading is required
However, copper is heavier and more expensive.
Hybrid Designs
Modern designs often combine materials:
- Copper base + aluminum fins
- Vapor chamber + aluminum structure
This gives both performance and cost balance.
Surface Treatment
Surface also affects performance:
- Anodizing improves corrosion resistance
- Black coating improves radiation
But thick coatings can reduce conductivity.
Manufacturing Methods
Material choice also affects production:
- Extrusion → aluminum
- CNC machining → both
- Skiving → high-density fins
- Vacuum brazing → complex structures
Practical Selection Strategy
When selecting material, I usually consider:
- Power level
- Budget
- Weight limit
- Manufacturing method
There is no single best material. The best choice depends on the system.
Conclusion
LED heat sink design requires a clear understanding of heat flow, materials, and real-world conditions. A balanced design ensures stable performance, long life, and reliable operation across different applications.


