
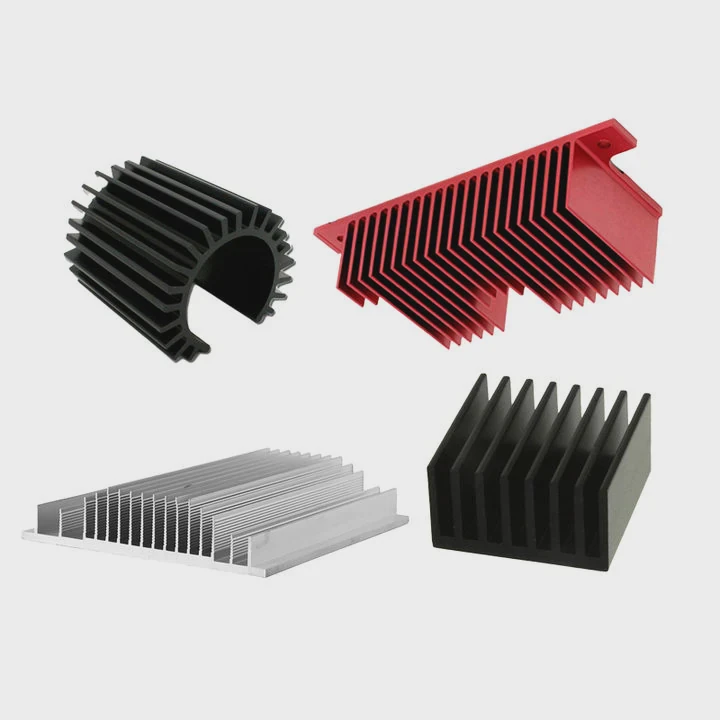
How to Fix Heat Sink on 3D Printer Nozzle?
- Yongxing
- 16 Mar ,2026
Many 3D printer users face overheating or filament jams. The nozzle gets too hot. The printer stops working well. These problems often come from a loose or poorly mounted heat sink.
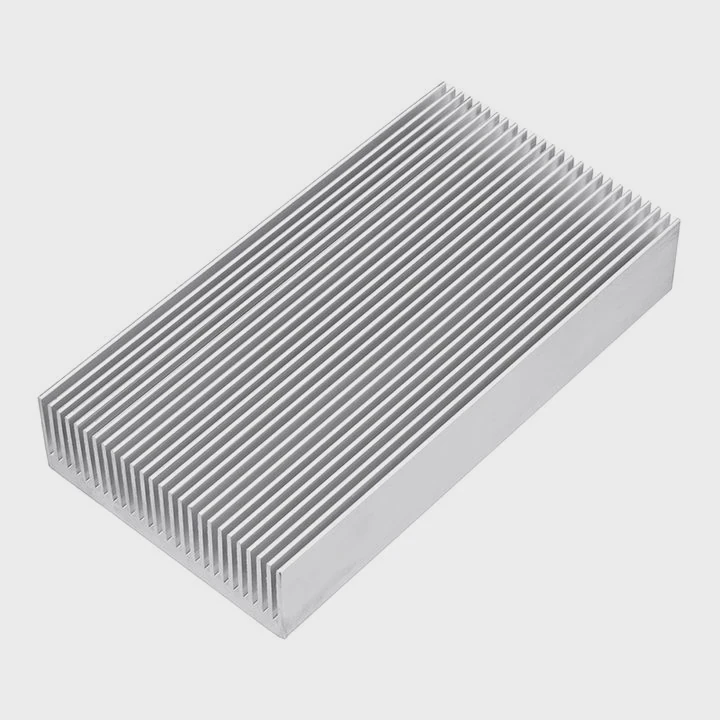
A heat sink on a 3D printer hotend should be firmly mounted using screws, thermal paste, and correct alignment with the heat break. Proper installation helps control heat flow and prevents clogs or heat creep.
A correct heat sink installation keeps the hotend stable and cool. When the heat sink works well, the printer maintains temperature control and prints smoothly. Understanding the tools, position, and risks of poor mounting helps avoid many printing problems.
What tools are needed to mount a nozzle heat sink?
Small mistakes during installation cause big printing issues. A loose screw or poor contact can quickly lead to overheating and filament jams.
Basic tools such as hex keys, screwdrivers, thermal paste, and mounting screws are required to install a heat sink on a 3D printer hotend. These tools ensure proper alignment, heat transfer, and mechanical stability.
Installing a heat sink on a 3D printer hotend is simple when the correct tools are ready. Most hotend assemblies follow a similar design. The heat sink attaches to the heat break or mounting bracket with small screws. These screws must be tightened carefully.
Common Tools Used
| Tool | Purpose |
|---|---|
| Hex key (Allen wrench) | Tighten hotend mounting screws |
| Small screwdriver | Secure fan shroud or brackets |
| Thermal paste | Improve heat transfer between metal parts |
| Tweezers | Handle small screws or components |
| Cleaning brush | Remove dust from cooling fins |
These tools are common in most 3D printer maintenance kits. A hex key is often the most important tool because most hotends use hex socket screws.
Preparing the Heat Sink Before Installation
A proper setup begins with clean parts. The heat sink and heat break must be free from dust, oil, or old thermal paste. A small cleaning brush works well for this job.
Thermal paste should be applied in a thin layer. Many beginners apply too much paste. Too much paste reduces heat transfer instead of improving it. A thin and even layer works best.
Tightening and Alignment
Alignment matters. The heat sink must sit straight on the heat break. If the alignment is tilted, heat cannot move efficiently from the hot block to the cooling fins.
A simple tightening sequence helps:
- Insert screws loosely.
- Check alignment.
- Tighten screws gradually.
- Avoid over-tightening.
Over-tightening can strip small threads. Many hotend components are aluminum. Aluminum threads are softer than steel screws.
Tool Quality and Maintenance
Cheap tools can damage screws. Worn hex keys round off screw heads. Once a screw head is damaged, removing it becomes difficult.
Good tools help protect small precision parts.
For regular users or print farms, keeping a dedicated maintenance tool set saves time. When tools are organized and ready, heat sink installation becomes quick and reliable.
Why is proper installation important for hotends?
Many printing problems begin with poor heat management. Filament softens too early. The extruder cannot push material smoothly.
Proper heat sink installation prevents heat creep, stabilizes temperature zones, and allows the hotend to maintain consistent melting conditions during printing.
The hotend is a thermal control system. It must keep two zones separated. One zone must stay hot enough to melt plastic. The other zone must remain cool so the filament stays solid before entering the melt chamber.
The heat sink plays a key role in this balance.
Heat Flow in a Hotend
A hotend has several main components:
| Component | Function |
|---|---|
| Nozzle | Extrudes melted filament |
| Heater block | Generates heat |
| Heat break | Controls heat transfer |
| Heat sink | Removes excess heat |
| Cooling fan | Enhances heat sink performance |
The heater block produces temperatures that can exceed 200–300°C depending on the material. Without cooling, this heat travels upward.
The heat break limits this heat flow. The heat sink then removes the remaining heat.
Preventing Heat Creep
Heat creep happens when heat travels too far up the hotend. When this happens, filament softens before reaching the nozzle.
Soft filament expands inside the tube. This creates friction. The extruder motor struggles to push the filament.
Eventually, the printer stops extruding.
Proper heat sink mounting ensures strong contact with the heat break. This improves heat transfer away from the hotend core.
Print Quality and Stability
Temperature stability directly affects print quality. If the heat sink works poorly, temperature fluctuations appear in the hotend.
These fluctuations cause:
- inconsistent extrusion
- stringing
- partial clogs
- weak layer bonding
Stable cooling helps maintain a predictable melt zone. This consistency is essential for materials like PLA, PETG, and ABS.
Cooling Fan Interaction
The heat sink is designed with fins. These fins increase surface area.
A cooling fan blows air across the fins. The air removes heat quickly.
If the heat sink is installed incorrectly, airflow cannot pass through the fins properly. Cooling efficiency drops significantly.
This is why many hotend manufacturers design precise mounting structures. The heat sink must sit exactly where airflow is strongest.
Where is the heat sink placed on a hotend?
New users often confuse the different parts of the hotend. Many assume the heat sink sits near the nozzle, but this is not correct.
The heat sink is mounted above the heat break and below the cooling fan, forming the cold zone of the hotend assembly.
The hotend consists of several stacked components. Each part controls temperature and material flow.
The heat sink belongs to the cooling section.
Basic Hotend Structure
The vertical layout usually looks like this:
| Position | Component |
|---|---|
| Top | Cooling fan |
| Upper middle | Heat sink |
| Middle | Heat break |
| Lower middle | Heater block |
| Bottom | Nozzle |
The heat sink sits directly above the heat break. This location allows it to remove heat traveling upward from the heater block.
Cold Zone vs Hot Zone
A hotend contains two main thermal zones.
Hot zone
- heater block
- nozzle
- melt chamber
Cold zone
- heat sink
- cooling fan
- upper heat break section
The heat break acts as the boundary between these zones.
If the heat sink sits in the wrong position, the boundary moves upward. This causes filament to soften too early.
Airflow Path
Cooling fans usually blow air horizontally through the heat sink fins.
This airflow removes heat quickly.
For effective cooling, the heat sink must align with the fan.
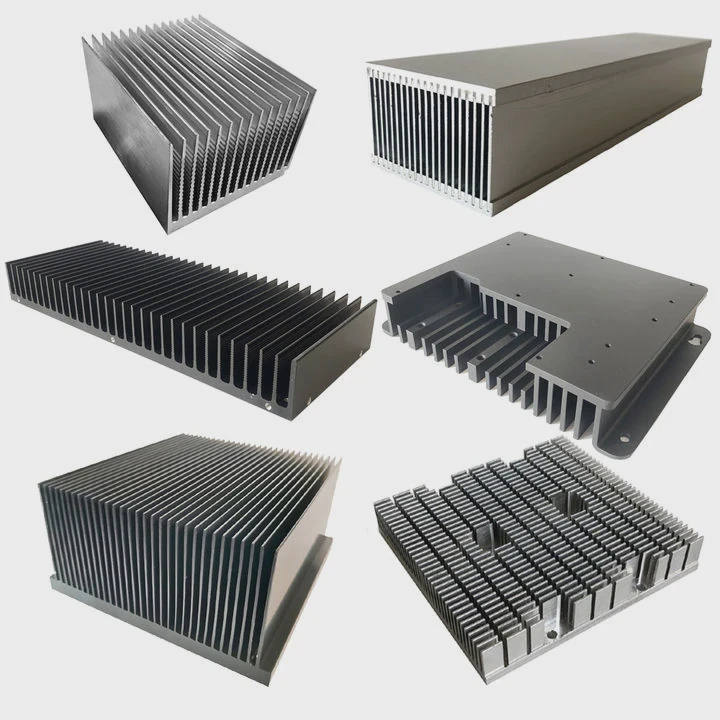
Mounting Brackets and Printer Design
Different printers use different mounting methods.
Some examples include:
- threaded heat sinks
- clamped heat sinks
- integrated hotend modules
Many modern hotends combine several parts into one assembly.
However, the basic placement rule remains the same. The heat sink always sits above the heat break and below the cooling fan.
Practical Example
During a printer upgrade project, a hotend was reassembled after cleaning. The heat sink was mistakenly installed slightly higher than its correct position.
The cooling fan still ran, but the printer began clogging after long prints.
After repositioning the heat sink correctly, the problem disappeared. This small adjustment restored the hotend’s thermal balance.
Which issues occur if the heat sink is loose?
A loose heat sink may seem like a minor problem. In reality, it can quickly damage print quality and cause frequent clogs.
If the heat sink is loose, heat transfer becomes inefficient. This leads to heat creep, unstable extrusion, filament jams, and possible hotend damage.
A heat sink must maintain solid contact with the heat break. This contact allows heat to move away from the hot zone.
When the connection becomes loose, the cooling system fails.
Common Problems Caused by Loose Heat Sinks
| Problem | Description |
|---|---|
| Heat creep | Heat travels upward into filament path |
| Filament jamming | Soft filament expands and blocks the tube |
| Extruder skipping | Motor cannot push filament smoothly |
| Temperature instability | Melt zone becomes inconsistent |
These problems often appear gradually.
At first, prints may show small defects. Later, full nozzle clogs can occur.
Reduced Heat Transfer
Heat moves through metal contact surfaces.
If a gap forms between the heat sink and heat break, heat transfer becomes inefficient.
Even a small gap filled with air reduces cooling performance dramatically.
Air acts as a thermal insulator.
Vibration and Mechanical Wear
3D printers generate vibration during movement. If the heat sink is not firmly mounted, vibration can slowly loosen screws.
Loose components may start rattling.
Over time, this movement can damage threads or bend small parts.
Increased Maintenance
Loose heat sinks create recurring maintenance issues.
Users may experience:
- frequent nozzle cleaning
- repeated filament jams
- failed prints
These problems waste both material and time.
Preventive Maintenance
Simple checks help prevent these issues.
A basic maintenance routine includes:
- Inspect hotend screws every few weeks.
- Check heat sink alignment.
- Clean cooling fins.
- Ensure fan airflow is not blocked.
Regular inspection keeps the hotend working reliably.
A firmly installed heat sink ensures stable temperature control, smooth extrusion, and long printing sessions without interruption.
Conclusion
A properly installed heat sink is essential for stable hotend performance. Correct tools, correct placement, and secure mounting prevent heat creep, clogs, and temperature instability, allowing a 3D printer to operate reliably and produce consistent print quality.


