
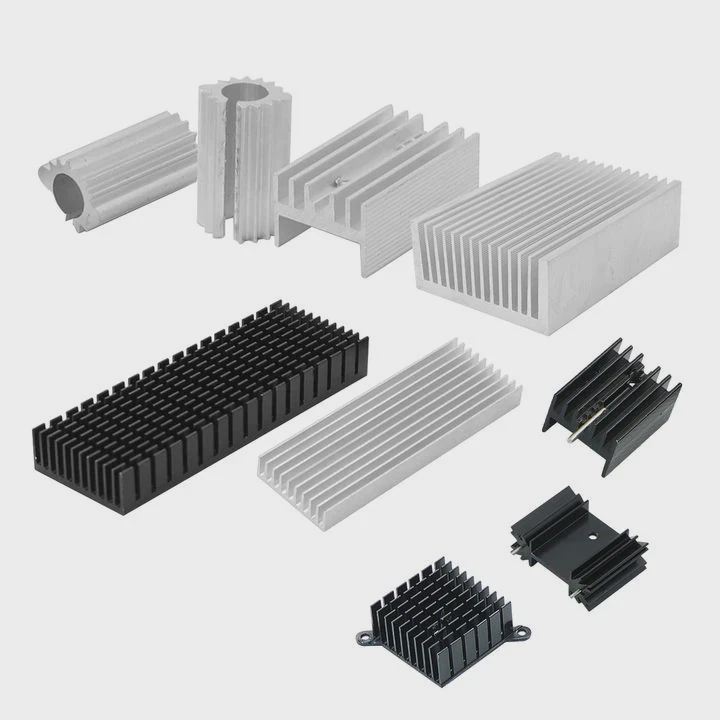
How to install and maintain Aluminum Heat sink assemblies?
- Yongxing
- 04 Feb ,2026
When heat builds up inside a system, performance drops. That’s when a well-installed aluminum heat sink makes all the difference.
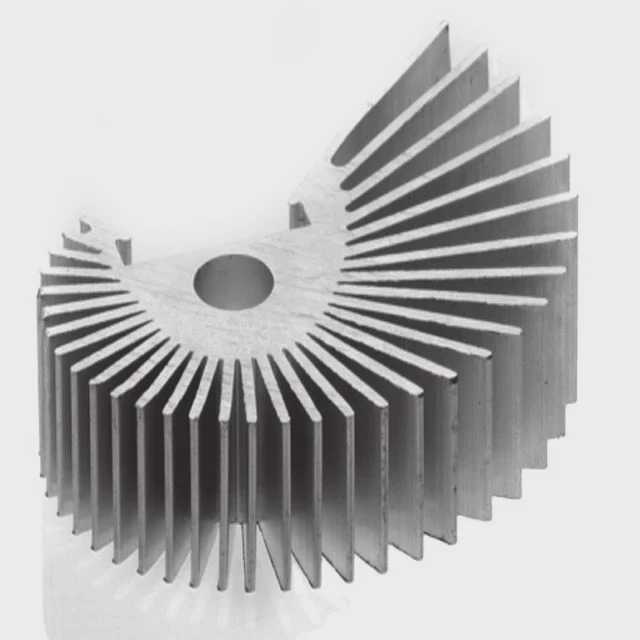
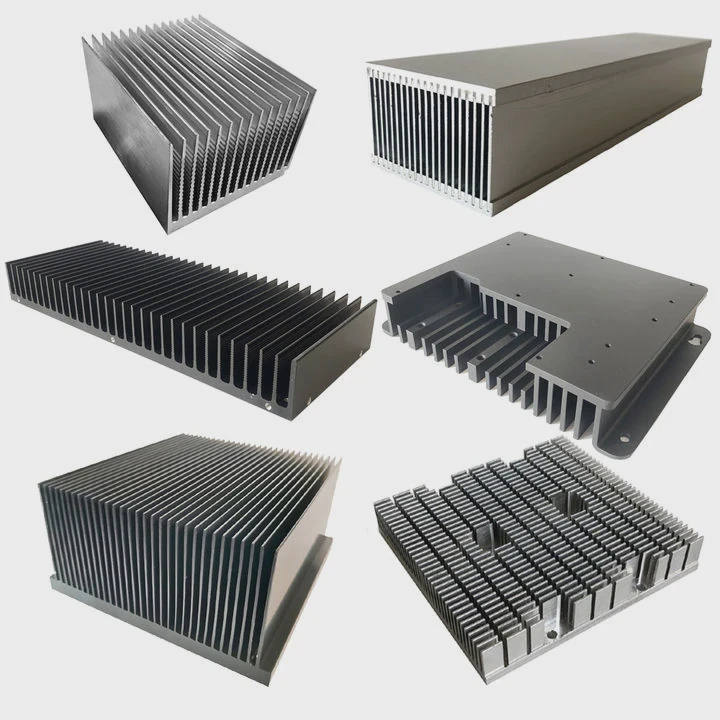
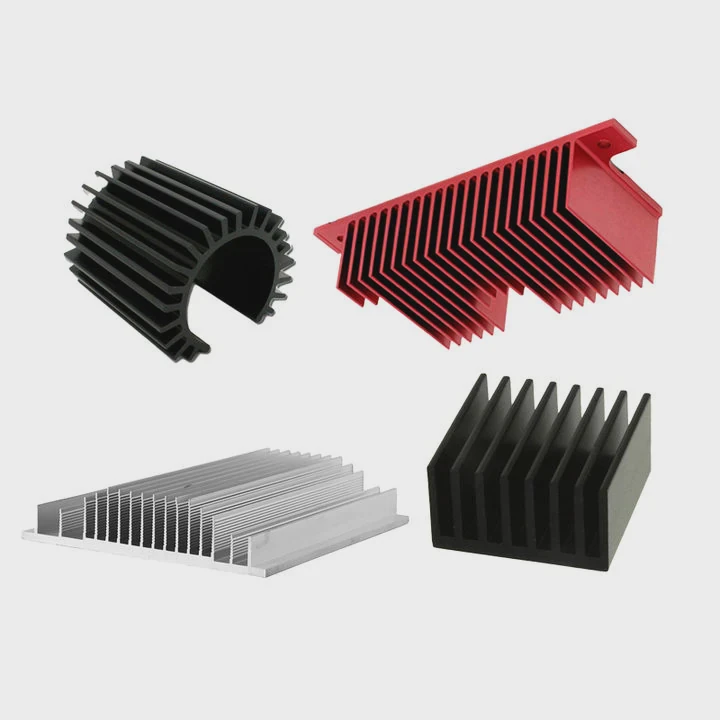
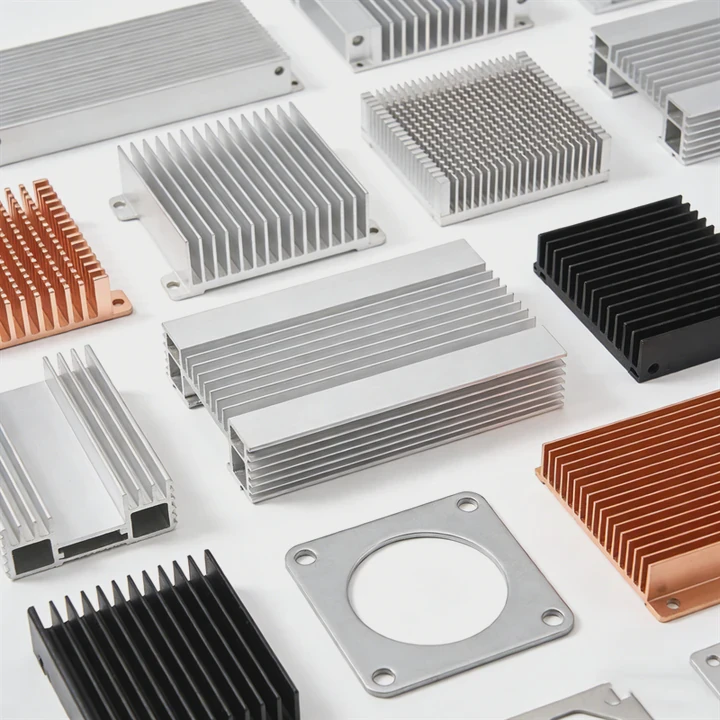
Aluminum heat sink assemblies are easy to install and maintain if you follow some basic steps and stay consistent with your inspection and cleaning routine.
Understanding what works and what doesn’t helps avoid system overheating. Let’s look at the best ways to install and care for your heat sink to ensure optimal performance.
What tools are required for proper heat sink mounting?
When installing a heat sink, many people rely on guesswork. This leads to misalignment, air gaps, and weak performance.
The right tools ensure that the heat sink makes full contact with the component, which is critical for effective heat dissipation.
Using the proper tools helps achieve even pressure, accurate placement, and secure fastening. Here’s what’s typically needed:
Basic tools checklist
| Tool Name | Purpose | Notes |
|---|---|---|
| Screwdriver (Torque set) | Fastening heat sink screws evenly | Prevents overtightening or cracking |
| Thermal paste spatula | Evenly applying thermal paste | Prevents air pockets |
| Isopropyl alcohol wipes | Cleaning CPU/GPU surfaces | Use 90%+ concentration |
| Caliper or ruler | Measuring mounting dimensions | Ensures mechanical compatibility |
| Anti-static wrist strap | Prevents electrostatic discharge | Especially needed for sensitive PCBs |
Assembly methods
There are multiple ways to mount aluminum heat sinks. Depending on the application, you may choose one of the following:
1. Screw and spring clips
This method is widely used for large surfaces. Spring pressure ensures better thermal contact.
2. Thermal adhesive
For lightweight applications, thermal glue can provide both adhesion and conductivity.
3. Push-pins
Found in many PC applications, they offer easy removal and reinstallation.
Make sure to follow the component manufacturer’s torque and pressure specifications during installation. Uneven pressure leads to warped PCBs or fractured substrates.
How often should thermal paste be reapplied?
People often forget thermal paste after installation. Over time, it dries out and loses effectiveness, causing temperatures to rise.
Thermal paste should be reapplied every 2 to 3 years, or sooner if temperatures increase or the heat sink is removed.
The paste acts as a bridge between two surfaces—usually a heat sink base and a chip. When this material degrades, heat transfer drops significantly.
When to reapply
| Condition | Reapply Paste? |
|---|---|
| After removing the heat sink | Yes |
| System has run 24⁄7 for over 2 years | Yes |
| Thermal paste is dry or cracked | Yes |
| Device still under warranty | Maybe - check policies |
Reapplication steps
Step 1: Power off and unplug
Let the system cool fully before starting.
Step 2: Remove the heat sink
Gently twist before pulling. Avoid snapping the component.
Step 3: Clean the surfaces
Use isopropyl alcohol and a lint-free cloth.
Step 4: Apply a pea-sized drop
Spread it evenly with a spatula, but don’t overdo it. Too much paste insulates instead of conducts.
Step 5: Reinstall heat sink
Apply even pressure and follow the original mounting method.
If you notice your device running hotter than usual or the fan speed consistently maxing out, the paste may be dried or poorly applied.
What signs indicate a poorly installed heat sink?
Even with the right heat sink, poor installation ruins thermal performance. Many systems fail because of simple mistakes during mounting.
Signs include system overheating, unstable performance, loud fan operation, and visible gaps between the heat sink and chip.
Knowing these signs helps fix issues before they become expensive failures.
Top warning signs
1. Rising temperatures
Use a hardware monitoring tool. If CPU/GPU idles above 60°C or reaches 90°C+ under load, it’s likely a contact issue.
2. Fan noise increase
The system tries to compensate for poor heat transfer. Fans will spin faster for longer.
3. Visible misalignment or gaps
Check if the heat sink is flush with the chip. Even a slight tilt can introduce air pockets.
4. System throttling or crashes
Thermal throttling is the CPU reducing its speed to avoid heat damage. If performance drops or the system reboots, heat sink contact is probably poor.
5. Loose mounting screws or clips
Over time, vibration or improper tightening can loosen the heat sink. Periodically check the fasteners.
Simple inspection steps
- Visual check: Look for dust build-up, corrosion, or damage.
- Manual test: Try moving the heat sink gently; it shouldn’t shift.
- Software test: Use tools like HWMonitor or CoreTemp to track thermal behavior.
Fixing a poor installation usually means removing the unit, reapplying thermal paste, and reseating the heat sink using the correct torque.
Can regular cleaning improve heat dissipation?
Dust buildup is one of the biggest silent killers of thermal performance. Most users don’t notice until the system runs hotter than it should.
Yes, cleaning removes dust and grime that block airflow and reduce surface contact, directly improving heat dissipation.
Over time, fans pull dust into heat sink fins and fan blades. This acts as a blanket, trapping heat instead of letting it escape.
How often to clean
For most systems, once every 3–6 months is ideal. In dusty or industrial environments, monthly checks may be needed.
Cleaning methods
Method 1: Compressed air
Hold the fan to prevent spinning, then blow air through the fins. Work from inside out.
Method 2: Soft brush
Use an anti-static brush to remove stubborn buildup.
Method 3: Full disassembly
Every 12 months, consider removing the fan and heat sink for deep cleaning.
Cleaning process table
| Step | Tool/Material | Description |
|---|---|---|
| Power off and unplug | — | Safety first |
| Remove outer casing | Screwdriver | Get access to the fan and sink |
| Hold fan in place | Hand or clip | Prevent motor damage |
| Blow compressed air | Compressed air can | Clean between all fins |
| Wipe exposed surfaces | Isopropyl wipe or cloth | Remove remaining dust |
| Reinstall components | — | Ensure correct alignment and screws |
Avoid using water or harsh chemicals. Aluminum is durable, but some coatings may react to aggressive cleaning agents.
Regular cleaning can improve airflow by 20% or more. It also extends fan and heat sink life by reducing load and vibration caused by dust buildup.
Conclusion
Installing and maintaining aluminum heat sink assemblies isn’t complicated. But doing it right—from using the proper tools, managing thermal paste, to recognizing installation faults—makes all the difference in performance and reliability.


