
How to test heat sink?
- Yongxing
- 20 Apr ,2026
Thermal issues often hide until devices fail. Many systems overheat without warning. This creates risk for performance and safety.
Heat sink testing checks how well a design removes heat. It uses methods like thermal resistance measurement, airflow testing, and real load simulation to confirm cooling performance.
A good test plan helps avoid failure later. It also helps improve design early. Now, let us break down the key questions step by step.
What methods evaluate heat sink efficiency?
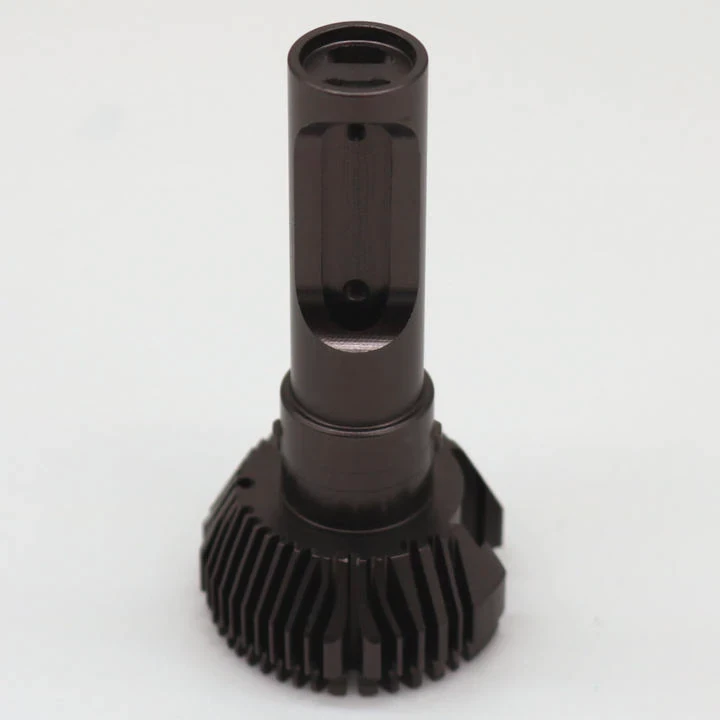
Heat sinks may look simple, but their performance is not easy to judge by appearance. Many engineers rely on guesswork, which often leads to poor thermal control.
The main methods include thermal resistance testing, wind tunnel testing, infrared imaging, and real application simulation to measure how efficiently heat is transferred and dissipated.
To understand heat sink efficiency, one must look at how heat moves from source to air. This process includes conduction, spreading, and convection. Each step must be tested.
Thermal Resistance Testing
Thermal resistance is the most direct way to evaluate performance. It shows how much temperature rises per unit of power.
| Parameter | Meaning | Unit |
|---|---|---|
| Thermal Resistance (Rth) | Heat transfer efficiency | °C/W |
| Power Input | Heat load applied | W |
| Temperature Rise | Difference between source and ambient | °C |
Lower thermal resistance means better cooling. In most cases, engineers use a heater block to simulate a heat source. Sensors measure temperature at different points.
Wind Tunnel Testing
Airflow plays a major role in cooling. A heat sink may work well in theory but fail in real airflow conditions.
A wind tunnel test controls air speed, direction, and temperature. This allows repeatable and stable testing conditions.
Common variables include:
- Air velocity
- Air temperature
- Fan type
- Orientation of heat sink
By adjusting airflow, engineers can find the optimal design.
Infrared Thermal Imaging
Infrared cameras show heat distribution clearly. This method helps identify hot spots and uneven cooling.
It is useful for:
- Visualizing heat spread
- Detecting poor contact areas
- Comparing different designs
However, it needs proper calibration. Surface emissivity must be considered.
Real Load Simulation
Testing under actual working conditions gives the most reliable results. This includes:
- Real power cycles
- Actual device layout
- Environmental conditions
This method takes more time, but it reflects real-world performance.
Key Insight
Each method has limits. A complete evaluation often combines multiple approaches. In many projects, thermal resistance testing is used first, then validated by real system testing.
Why is thermal testing necessary?
Many products fail not because of design flaws, but because heat was not managed properly. This issue is common in high-power electronics.
Thermal testing is necessary to ensure reliability, prevent overheating, and verify that the heat sink meets design requirements under real conditions.
Heat affects almost every part of a system. It changes material properties, reduces efficiency, and shortens lifespan.
Preventing Failure
Excess heat can cause:
- Component degradation
- Solder joint fatigue
- Material expansion mismatch
Without testing, these risks remain hidden until failure occurs.
Improving Design Accuracy
Simulation tools are useful, but they are not perfect. Many assumptions are made during modeling.
Thermal testing helps:
- Validate simulation data
- Adjust design parameters
- Improve accuracy for future projects
Meeting Industry Standards
Many industries require strict thermal validation. This includes:
- Automotive
- Aerospace
- Medical devices
Standards often define:
- Maximum temperature limits
- Test conditions
- Safety margins
Without testing, products may fail certification.
Cost Control
Fixing thermal problems after production is expensive. Early testing reduces redesign costs.
A simple test can reveal:
- Insufficient cooling
- Poor material choice
- Bad airflow design
Long-Term Reliability
Heat accelerates aging. Components that operate at high temperature degrade faster.
Testing helps estimate:
- Product lifespan
- Maintenance cycles
- Warranty limits
Key Insight
Thermal testing is not just about performance. It is about risk control. It ensures that a product works safely over time.
Where should tests be conducted?
Testing location has a strong impact on results. Many engineers overlook this and get inconsistent data.
Heat sink testing should be conducted in controlled environments like thermal labs or wind tunnels, but also validated in real application conditions for accuracy.
Choosing the right environment depends on the purpose of the test.
Laboratory Testing
A thermal lab provides controlled conditions. This includes:
- Stable ambient temperature
- Controlled airflow
- Accurate measurement tools
Advantages:
- High repeatability
- Precise control
- Easy comparison between designs
However, lab conditions may not reflect real usage.
Wind Tunnel Facilities
Wind tunnels simulate airflow conditions. They are useful for:
- Forced convection systems
- Fan-based cooling
- Airflow optimization
They allow testing under different air speeds and directions.
Real Application Environment
Testing inside the actual system is critical. This includes:
- Full device assembly
- Real operating cycles
- Environmental factors
For example:
- Outdoor equipment faces temperature variation
- Industrial systems deal with dust and vibration
Comparison Table
| Test Location | Advantage | Limitation |
|---|---|---|
| Lab | High accuracy | Not real environment |
| Wind Tunnel | Controlled airflow | Limited system complexity |
| Real System | Realistic conditions | Hard to control variables |
Hybrid Approach
Most advanced projects use a mix:
- Lab testing for baseline data
- Wind tunnel for airflow optimization
- Real system validation
This approach ensures both accuracy and practicality.
Key Insight
No single location is enough. Testing must balance control and realism.
Which factors affect test results?
Many test results look inconsistent, even when using the same heat sink. This often confuses engineers.
Factors such as airflow, contact resistance, ambient temperature, measurement accuracy, and mounting conditions can all affect heat sink test results.
Understanding these factors is key to reliable testing.
Airflow Conditions
Airflow is one of the most critical variables.
Changes in:
- Air speed
- Flow direction
- Turbulence
can significantly alter performance.
Even small changes can cause large differences in results.
Contact Resistance
The interface between heat source and heat sink matters a lot.
Factors include:
- Surface flatness
- Thermal interface material (TIM)
- Mounting pressure
Poor contact increases thermal resistance.
Ambient Temperature
Heat transfer depends on temperature difference.
Higher ambient temperature reduces cooling efficiency.
Testing must maintain consistent ambient conditions.
Measurement Accuracy
Sensors must be accurate and properly placed.
Common issues:
- Sensor misplacement
- Calibration errors
- Slow response time
Even a small error can affect results.
Mounting Method
How the heat sink is installed affects performance.
Variables include:
- Orientation (vertical or horizontal)
- Clamping force
- Mechanical stability
Different mounting setups can produce different outcomes.
Power Input Stability
The heat load must be stable during testing.
Fluctuations in power lead to unstable temperature readings.
Key Insight
Reliable testing requires control of all variables. Even minor changes can lead to misleading conclusions.
Conclusion
Heat sink testing ensures performance, safety, and reliability. Using proper methods, environments, and controls helps deliver accurate results and better designs.


