Where to Place Heat Sinks on Raspberry Pi?
- Yongxing
- 30 Apr ,2026
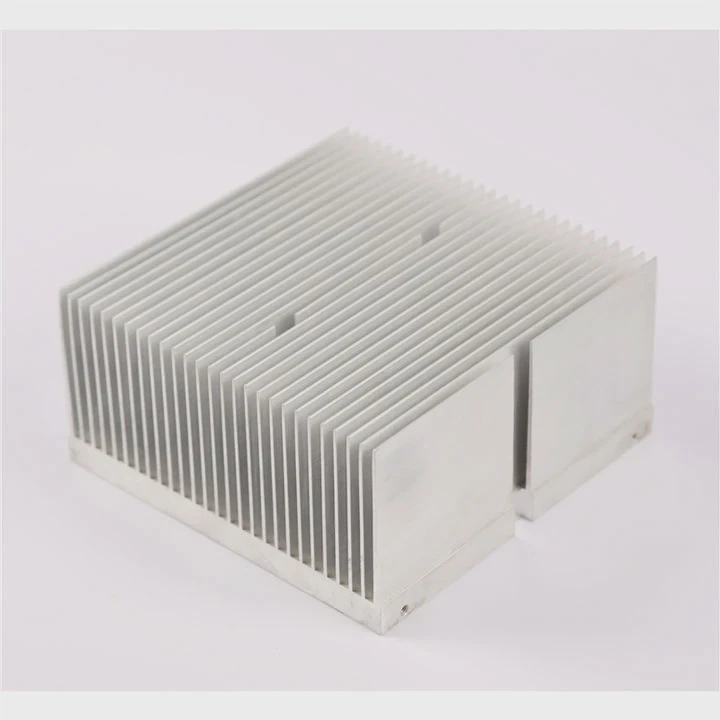
Raspberry Pi boards often run hot under heavy loads, causing slowdowns or instability. Knowing where to put heat sinks can prevent overheating.
Placing heat sinks correctly improves performance and reliability by keeping key chips cool, extending the board’s lifespan and preventing thermal throttling.
Understanding which chips need cooling and how to attach heat sinks properly ensures your Raspberry Pi runs smoothly, even during intense workloads.
Which Chips Need Heat Sinks on Raspberry Pi?
Many users wonder why some chips get hot while others stay cool. Without proper cooling, certain components may overheat quickly.
The main chips that benefit from heat sinks are the CPU, GPU, and power management ICs. These chips generate the most heat during normal operation.
Raspberry Pi boards, like the Raspberry Pi 4, have several heat-producing chips. The CPU and GPU often share the same system-on-chip (SoC). This SoC handles all processing tasks, so it heats up first. Power management ICs also generate heat when the board draws high current for peripherals. Some Raspberry Pi models have Ethernet or USB controllers that can get warm too, especially when running network-heavy tasks.
Heat-Producing Chips List
| Chip Type | Function | Heat Level |
|---|---|---|
| CPU | Main processor | High |
| GPU | Graphics processor | High |
| SoC | Combined CPU/GPU | High |
| PMIC | Power management | Medium |
| USB/Ethernet Controller | I/O management | Medium |
Adding heat sinks to these chips reduces thermal stress. Even if your Raspberry Pi has a fan, heat sinks help spread heat over a larger area. For beginners, placing a heat sink on the SoC is the most important step. Experienced users may add small sinks to the PMIC or USB controller for extra stability. This approach prevents sudden throttling during tasks like video streaming, gaming, or software compiling.
Why Placement Affects Raspberry Pi Cooling Efficiency?
Many assume any placement works, but poor positioning can reduce heat dissipation. Heat sinks must touch the right surface to be effective.
Proper heat sink placement allows heat to flow away from the chip efficiently, maximizing cooling and reducing the risk of throttling.
Correct placement depends on the chip layout and airflow around the board. The heat sink must cover the chip fully. If it overhangs or touches nearby components, heat may not transfer correctly, and other parts could get hotter. Orientation also matters; vertical fins allow air to move better than flat fins lying on the board. Airflow from fans or passive convection affects performance too.
Factors Influencing Efficiency
| Factor | Description | Impact |
|---|---|---|
| Surface Contact | Must touch the chip | High |
| Orientation | Fins aligned with airflow | Medium |
| Chip Size | Matches heat sink dimensions | High |
| Surrounding Components | Avoids obstruction | Medium |
Even a small misalignment can reduce cooling efficiency by 20% or more. Applying thermal paste or pads correctly is part of proper placement. Heat sinks that only partially contact the chip surface trap heat, creating hot spots. For Raspberry Pi enthusiasts aiming for maximum overclocking, these details are critical. Learning to position heat sinks well improves stability and helps the board perform at full capacity without throttling.
Where Exactly Should Each Heat Sink Be Attached?
Identifying the precise location for each heat sink prevents mistakes. Each chip has an ideal spot to maximize cooling.
The CPU/GPU SoC should always get the largest heat sink. Smaller chips like PMICs or USB controllers need appropriately sized sinks directly on top.
On a Raspberry Pi 4, the largest chip near the center is the SoC. Place the biggest heat sink here. The PMIC usually sits close to the SoC, often near the edge of the board. A smaller heat sink fits directly on top. USB and Ethernet controllers may sit along the side of the board. A thin heat sink works here, enough to manage moderate heat. Avoid placing heat sinks where they interfere with GPIO pins, HATs, or attached cables.
Suggested Placement Table
| Chip | Heat Sink Size | Placement Tips |
|---|---|---|
| CPU/GPU SoC | Large | Center, avoid blocking other components |
| PMIC | Small | Near edge, ensure flat contact |
| USB/Ethernet Controller | Thin | Align with airflow, avoid connectors |
| RAM (if exposed) | Optional | Only if overheating occurs |
Even small heat sinks help spread heat from PMICs. If airflow is limited, combining a fan with these sinks boosts efficiency. Users should check clearance above the board to avoid mechanical interference. For compact cases, prioritize SoC first, then add sinks to secondary chips if space allows. This strategy ensures every heat-generating component stays within safe temperature ranges.
How to Ensure Proper Contact on Raspberry Pi Chips?
Attaching heat sinks is easy, but ensuring proper contact is crucial. Poor contact reduces performance gains significantly.
Use thermal paste or adhesive pads to create a tight connection between the heat sink and chip surface, improving heat transfer.
Start by cleaning the chip surface with isopropyl alcohol. This removes dust and oils. Next, apply a thin layer of thermal paste or stick a thermal pad. Press the heat sink firmly onto the chip. Hold it for a few seconds to allow the adhesive to bond. Avoid using too much paste, as it can spread to other components and reduce effectiveness. The goal is a thin, uniform layer between the heat sink and chip.
Tips for Proper Contact
- Clean Surface – Dust and oils prevent heat transfer.
- Thin Thermal Layer – Excess paste reduces performance.
- Firm Attachment – Press evenly without tilting.
- Check Alignment – Ensure it covers the full chip.
- Verify Fit – No interference with other parts or cases.
Even after installation, monitor the temperature using software like vcgencmd measure_temp. Adjust or reposition heat sinks if temperatures remain high. Proper contact not only reduces peak heat but also keeps temperature fluctuations smaller. For Raspberry Pi boards running continuously, this prevents long-term wear. Combining correct placement and proper contact ensures the board remains reliable even under stress.
Common Mistakes to Avoid
- Skipping thermal pads or paste – Direct contact may seem enough but is often insufficient.
- Oversized heat sinks – Can touch nearby components causing shorts or interference.
- Uneven pressure – Only part of the chip gets cooled, leaving hot spots.
- Ignoring airflow – Even perfect contact under poor airflow reduces efficiency.
By following these simple steps, you ensure that each chip operates at its optimal temperature. This keeps the Raspberry Pi stable for gaming, media centers, or intensive computation.
Conclusion
Correct heat sink placement on Raspberry Pi ensures stable performance, prevents thermal throttling, and prolongs chip life. Start with the SoC, then add smaller sinks as needed, and always ensure proper contact.