
Why Heat Sink Not Working?
- Yongxing
- 21 Apr ,2026
Many devices fail even when a heat sink is installed. Temperature rises fast, and performance drops. This problem often confuses engineers and buyers.
A heat sink fails when heat cannot transfer efficiently from the source to air. Poor contact, wrong design, and airflow issues are the most common causes.
Many teams assume the heat sink itself is defective. In reality, most failures come from system-level mistakes. So it is important to break down each possible cause step by step.
What factors reduce heat sink performance?
Many systems overheat even with large heat sinks. This creates frustration and delays. The real issue often hides in design details.
Heat sink performance drops due to poor airflow, wrong material, bad geometry, and incorrect installation. These factors increase thermal resistance and block heat flow.
A heat sink works by moving heat from a hot surface to the air. If any step in this path fails, performance drops. This is why a full system view is required.
Airflow Limitation
Airflow is one of the biggest factors. Even the best heat sink cannot work in stagnant air.
- Blocked vents reduce cooling efficiency
- Poor fan placement causes uneven airflow
- Dust buildup creates insulation
In many real cases, airflow design is weaker than expected. Engineers may focus too much on the heat sink and ignore the air path.
Thermal Resistance Build-Up
Thermal resistance is the core concept. Heat must pass through multiple layers.
- Chip to interface material
- Interface to heat sink base
- Heat sink to air
If resistance increases at any layer, heat accumulates. This leads to overheating.
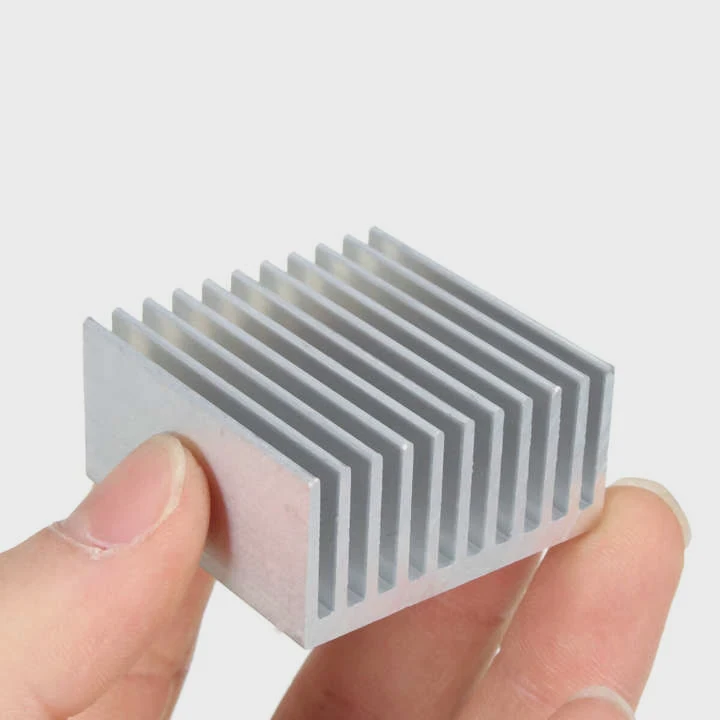
Geometry and Surface Area
More surface area improves heat transfer. But shape matters too.
Thin fins increase area but can block airflow. Thick fins improve strength but reduce surface exposure. Balance is critical.
Material Mismatch
Different materials expand differently under heat. This can cause gaps over time.
Here is a simple overview:
| Factor | Impact on Performance | Common Issue |
|---|---|---|
| Airflow | High | Blocked or uneven flow |
| Material | Medium | Expansion mismatch |
| Geometry | High | Poor fin design |
| Installation | High | Loose mounting |
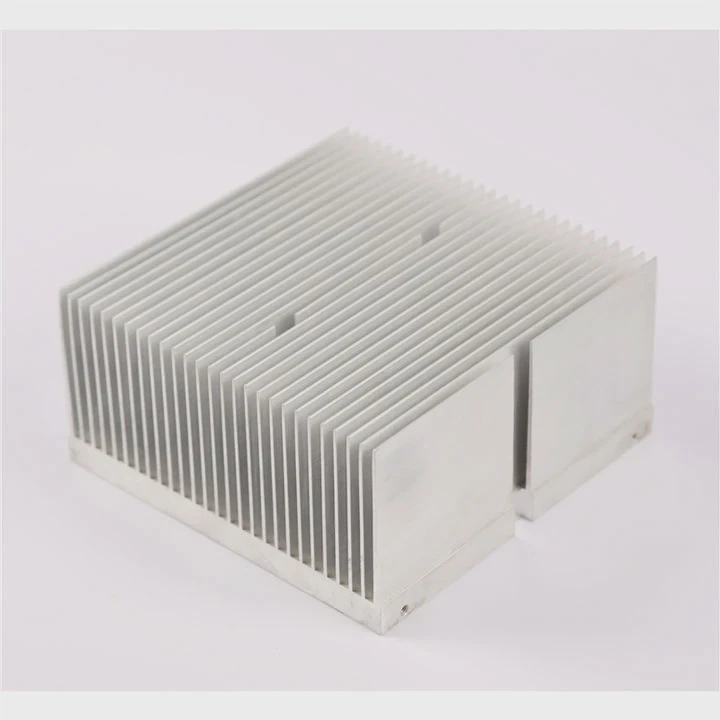
Real-World Insight
In one project, a system used a large aluminum heat sink. Yet temperature stayed high. The issue was not size. The fan direction was wrong. After fixing airflow, temperature dropped by 15°C.
This shows a simple truth. A heat sink is part of a system, not a standalone solution.
Why does poor contact cause failure?
Many heat sink failures come from invisible gaps. These gaps seem small but cause large thermal problems.
Poor contact creates air gaps, which act as insulation. This blocks heat transfer and causes rapid temperature rise at the source.
Heat transfer needs direct contact. Metal surfaces may look flat, but they are not perfectly smooth. Microscopic gaps exist everywhere.
Surface Imperfections
Even polished surfaces have roughness. When two surfaces meet, only small points actually touch.
Air fills the rest. Air has very low thermal conductivity. So heat cannot pass through efficiently.
Role of Thermal Interface Materials (TIM)
Thermal paste or pads fill these gaps. They improve contact by replacing air.
However, problems happen when:
- Too little paste is applied
- Too much paste creates thickness
- Paste dries out over time
Correct application is critical.
Mounting Pressure
Pressure ensures proper contact. If pressure is uneven, heat spreads poorly.
Common issues include:
- Loose screws
- Warped heat sink base
- Uneven mounting brackets
Contact Quality Comparison
| Contact Condition | Thermal Performance | Result |
|---|---|---|
| Perfect contact | Excellent | Stable temperature |
| With TIM applied | Good | Acceptable performance |
| Air gaps present | Poor | Overheating |
Real Case Experience
In a high-power module, temperature kept rising beyond limits. The design looked correct. Later inspection showed uneven screw torque. One corner had weak contact.
After tightening evenly, temperature dropped significantly. This small detail made a big difference.
Long-Term Reliability
Over time, vibration and thermal cycling can reduce contact quality. Materials expand and contract. Screws loosen slightly. Paste degrades.
This is why long-term testing is important. A system that works today may fail later if contact is not stable.
Where should troubleshooting begin?
When a heat sink fails, random changes waste time. A structured approach saves effort and cost.
Troubleshooting should begin with heat source analysis, then check contact, airflow, and finally heat sink design. This step-by-step method finds root causes quickly.
A clear process avoids guesswork. Each step should isolate one variable at a time.
Step 1: Verify Heat Source
First, confirm the actual heat load.
- Measure power consumption
- Check if load exceeds design limit
- Compare real vs expected values
Sometimes the issue is not the heat sink. The device may produce more heat than planned.
Step 2: Inspect Contact Interface
Next, check physical contact.
- Remove heat sink and inspect paste spread
- Look for dry or uneven areas
- Check mounting pressure
This step often reveals hidden problems.
Step 3: Evaluate Airflow
Airflow must be verified, not assumed.
- Check fan operation
- Measure air velocity
- Identify blocked paths
A simple smoke test can show airflow direction clearly.
Step 4: Review Heat Sink Design
If earlier steps pass, review the design.
- Is the surface area enough?
- Is material suitable?
- Is fin spacing correct?
Troubleshooting Flow
| Step | Focus Area | Goal |
|---|---|---|
| 1 | Heat source | Confirm actual load |
| 2 | Contact | Ensure proper transfer |
| 3 | Airflow | Improve convection |
| 4 | Design | Optimize structure |
Practical Observation
In many cases, engineers jump directly to redesign. This increases cost. But simple fixes often solve the issue.
System Thinking
Heat problems are rarely isolated. Electrical, mechanical, and thermal aspects interact. So troubleshooting must consider the full system.
Which fixes restore proper operation?
Fixing heat sink issues requires targeted actions. Random changes rarely work. Each fix should match a specific problem.
Effective fixes include improving contact, optimizing airflow, upgrading materials, and redesigning heat sink geometry. The right combination restores stable temperature.
A good fix improves heat flow across all stages. From source to air, every step must be optimized.
Improve Contact Quality
Start with the simplest fix.
- Apply proper amount of thermal paste
- Use high-quality interface materials
- Ensure even mounting pressure
These changes often deliver immediate results.
Enhance Airflow
Airflow upgrades can be very effective.
- Add or reposition fans
- Increase ventilation openings
- Clean dust and debris
Even small airflow improvements can reduce temperature significantly.
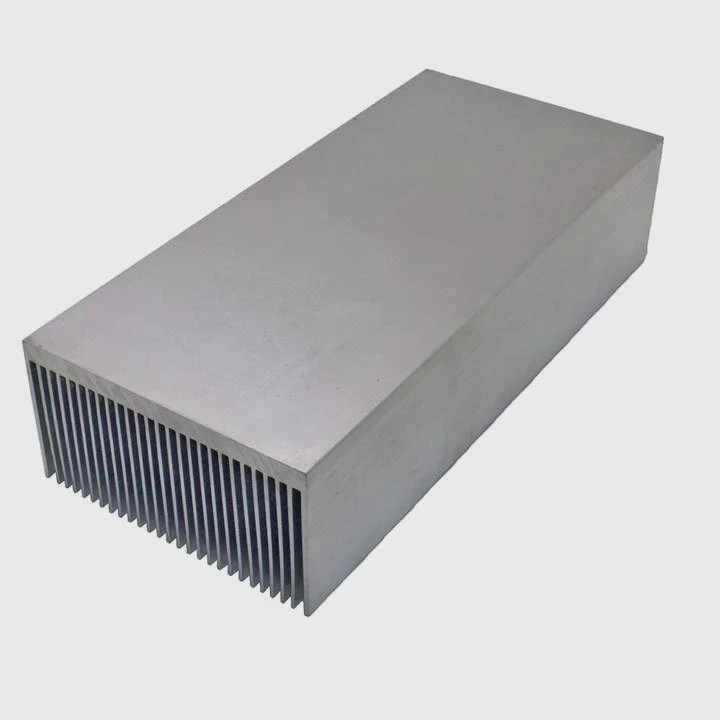
Upgrade Material
For high power systems, aluminum may not be enough.
- Use copper base for better conductivity
- Combine materials for hybrid solutions
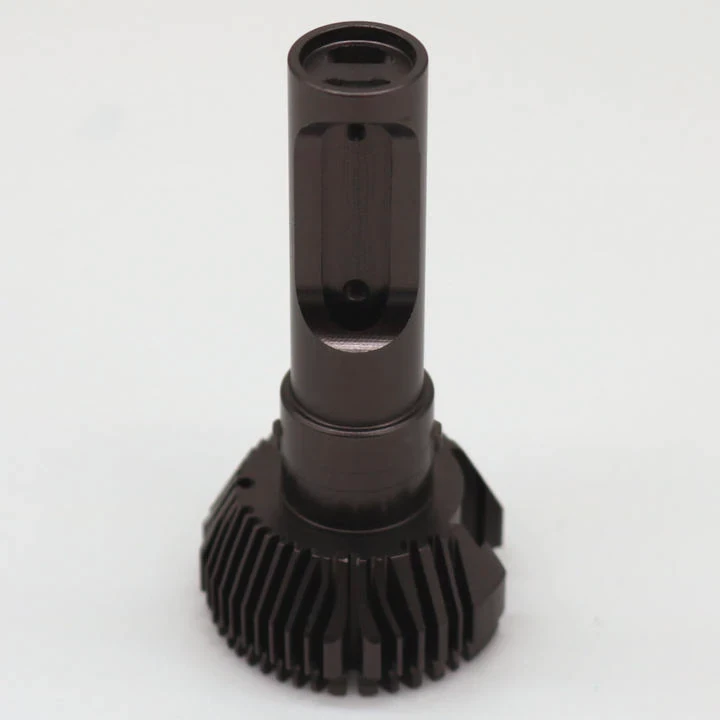
Redesign Geometry
When basic fixes fail, redesign is needed.
- Increase fin surface area
- Optimize fin spacing
- Use advanced structures like vapor chambers
Fix Strategy Comparison
| Fix Type | Complexity | Impact | When to Use |
|---|---|---|---|
| Improve contact | Low | High | First step |
| Airflow upgrade | Medium | High | Limited cooling |
| Material upgrade | Medium | Medium | High heat density |
| Redesign | High | Very High | System-level issue |
Real Engineering Insight
In one project, a liquid cooling plate replaced an air-cooled heat sink. Temperature dropped by over 25°C. But this came with higher cost and complexity.
This shows that the best solution depends on system needs.
Long-Term Stability
A fix must last over time.
- Use reliable materials
- Ensure mechanical stability
- Test under real conditions
Short-term fixes may fail in real operation.
Conclusion
Heat sink failure is usually a system problem, not a single defect. By checking contact, airflow, and design step by step, stable and efficient cooling can be achieved.


