
How to Fix Overheating Heat Sink?
- Yongxing
- 17 Apr ,2026
Overheating heat sinks can silently damage your equipment. Rising temperatures reduce performance and may cause sudden shutdowns or long-term failure.
To fix an overheating heat sink, you must identify causes like poor airflow, weak thermal contact, or design limits. Then apply targeted fixes such as cleaning, remounting, or upgrading the cooling system.
Many users only treat symptoms. The real solution comes from understanding heat transfer and fixing the root problem step by step.
What Causes a Heat Sink to Overheat?
Heat sinks are designed to remove heat, but they can fail under certain conditions. When this happens, heat builds up instead of dissipating.
A heat sink overheats due to blocked airflow, poor thermal interface, undersized design, or high heat load. Each factor reduces its ability to transfer heat efficiently.
Main Causes of Overheating
Dust and Dirt Build-Up
Dust acts like insulation. It blocks airflow between fins and traps heat inside the heat sink. This is common in industrial and outdoor environments.Poor Thermal Contact
If the heat sink does not sit flat on the chip, heat cannot transfer well. Gaps caused by uneven surfaces or bad thermal paste create resistance.Insufficient Heat Sink Size
Sometimes the heat sink is too small for the power load. As power increases, the heat sink reaches its limit and overheats.High Ambient Temperature
Hot environments reduce the temperature difference between the heat sink and air. This lowers cooling efficiency.Material Limitations
Low-quality aluminum or poor manufacturing can reduce thermal conductivity. This limits heat transfer from base to fins.
Deeper Analysis
Heat Transfer Bottlenecks
Heat must move through three stages:
- From chip to heat sink base
- Through the heat sink material
- From fins to surrounding air
If any stage fails, overheating happens.
Typical Warning Signs
- Sudden temperature spikes
- Thermal throttling
- Fan running at full speed
- Device shutdown
| Cause | Effect on Heat Sink | Result |
|---|---|---|
| Dust buildup | Blocks airflow | Heat accumulation |
| Bad thermal paste | Poor heat transfer | Local overheating |
| Small heat sink | Limited capacity | Constant high temperature |
| Hot environment | Reduced cooling efficiency | Slower heat dissipation |
Understanding these causes helps target the exact problem instead of guessing.
Why Does Airflow Impact Heat Sink Cooling?
Many people underestimate airflow. Even a perfect heat sink fails without proper air movement.
Airflow removes heat from the fins. Without it, heat stays trapped, causing the heat sink temperature to rise quickly.
How Airflow Works
Air carries heat away from the heat sink. This process is called convection.
There are two types:
- Natural convection – relies on passive air movement
- Forced convection – uses fans or blowers
Forced airflow is much more effective, especially for high-power devices.
Key Airflow Problems
Blocked Air Paths
Cables, dust, or poor layout can block airflow. This reduces cooling capacity.Weak or Failing Fans
Fans may slow down over time. Reduced speed means less air passes through fins.Poor Heat Sink Orientation
Air must flow through fins, not against them. Wrong orientation reduces efficiency.Recirculation of Hot Air
Hot air can loop back into the heat sink instead of leaving the system.
Airflow Optimization
Simple Improvements
- Clear obstructions around the heat sink
- Use higher-quality fans
- Align airflow direction with fin design
Advanced Adjustments
- Add ducts or guides to control airflow
- Separate intake and exhaust paths
- Increase fan pressure for dense fin designs
| Airflow Issue | Impact | Solution |
|---|---|---|
| Blocked airflow | Heat trapped | Remove obstacles |
| Weak fan | Low cooling rate | Replace or upgrade fan |
| Poor direction | Inefficient heat removal | Adjust fan position |
| Hot air recirculation | Rising internal temp | Improve ventilation layout |
Airflow is often the easiest fix, yet it gives the biggest improvement.
Where Should Improvements Be Made?
Fixing overheating requires focusing on the right areas. Random changes waste time and money.
Improvements should focus on thermal contact, airflow path, heat sink structure, and system-level cooling design.
Critical Improvement Areas
1. Contact Surface
The base must be flat and clean. Even small gaps reduce performance.
- Remove old thermal paste
- Use a thin, even new layer
- Ensure proper mounting pressure
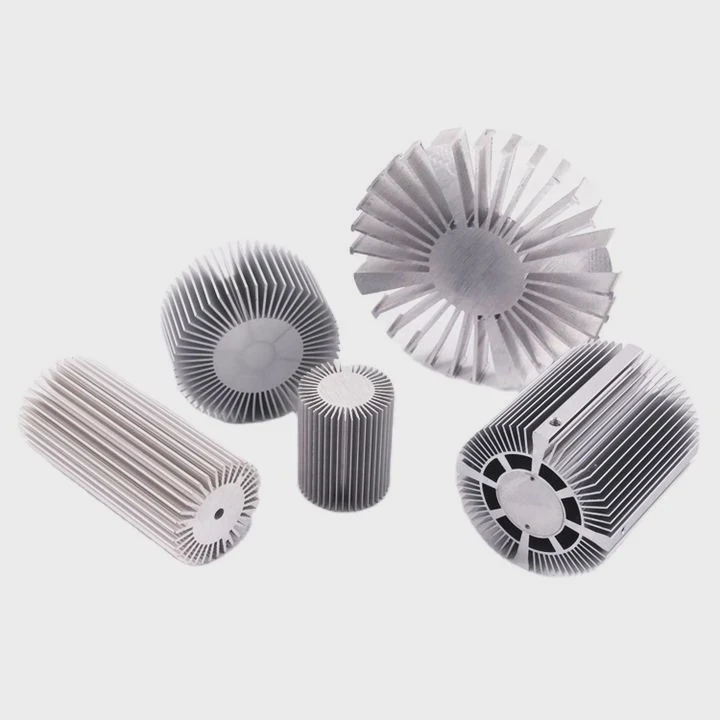
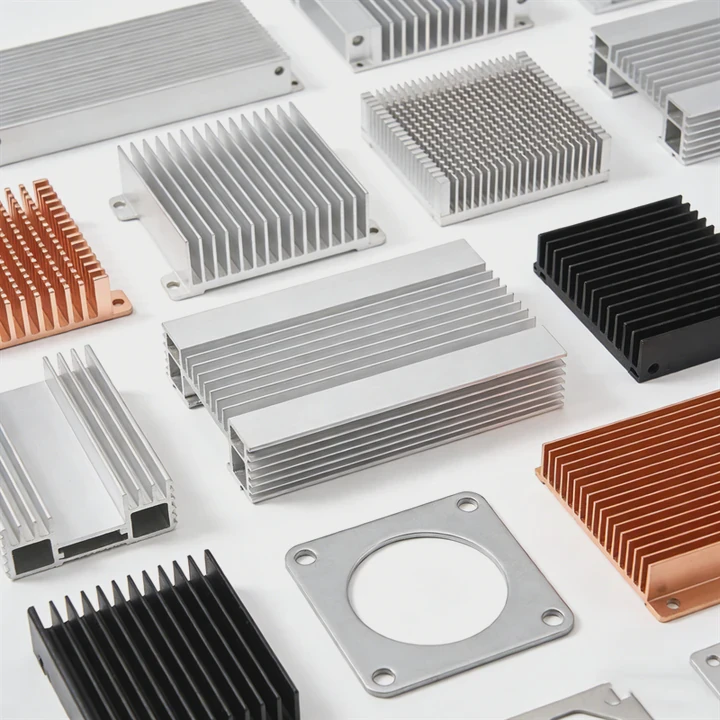
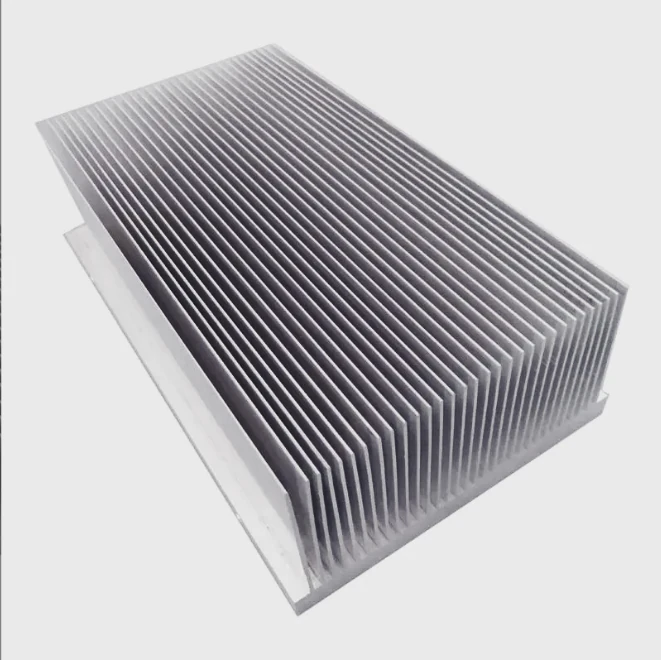
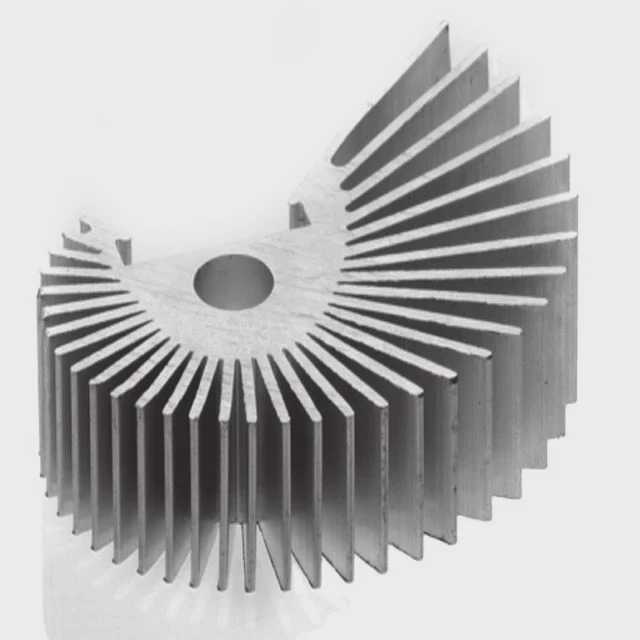
2. Heat Sink Structure
Design matters more than size alone.
- Increase fin density for more surface area
- Use heat pipes or vapor chambers for better spreading
- Choose high-conductivity materials
3. Airflow Channel
Air must move efficiently through the heat sink.
- Ensure straight airflow paths
- Avoid dead zones where air stagnates
- Improve case ventilation
4. System-Level Design
Sometimes the problem is not the heat sink itself.
- Check enclosure design
- Reduce internal heat sources
- Improve overall thermal balance
Practical Evaluation Method
A simple way to evaluate is to divide the system:
| Area | What to Check | Improvement Method |
|---|---|---|
| Interface | Paste, flatness | Reapply paste, remount |
| Heat sink body | Size, fin condition | Upgrade or repair |
| Airflow system | Fans, path | Optimize layout |
| Environment | Ambient temperature | Improve ventilation |
Engineering Perspective
Thermal Resistance Chain
Each part adds resistance:
- Interface resistance
- Material resistance
- Air convection resistance
Reducing any of these improves cooling.
Cost vs Benefit
- Cleaning and remounting → low cost, high impact
- Fan upgrade → medium cost, strong improvement
- Heat sink redesign → high cost, maximum performance
Targeting improvements correctly saves both time and resources.
Which Fixes Reduce Overheating Issues?
Once the problem is clear, the right fixes can restore performance quickly.
Effective fixes include cleaning, improving airflow, reapplying thermal paste, tightening mounts, or upgrading to a better heat sink design.
Step-by-Step Fixes
1. Clean the Heat Sink
Dust removal is the first step.
- Use compressed air
- Clean between fins carefully
- Avoid bending fins
2. Reapply Thermal Interface Material
Old paste dries out.
- Remove residue with alcohol
- Apply a thin, even layer
- Avoid excess paste
3. Secure the Mounting
Loose mounting reduces contact.
- Tighten screws evenly
- Replace worn clips
- Ensure even pressure
4. Improve Airflow
- Add or upgrade fans
- Improve case ventilation
- Align airflow with fin direction
5. Upgrade the Heat Sink
If all else fails:
- Use larger heat sink
- Add heat pipes or vapor chamber
- Switch to liquid cooling if needed
Performance Improvement Comparison
| Fix Type | Difficulty | Impact Level | When to Use |
|---|---|---|---|
| Cleaning | Easy | High | Dust buildup |
| Thermal paste renewal | Easy | High | Poor contact |
| Mount tightening | Easy | Medium | Loose heat sink |
| Fan upgrade | Medium | High | Weak airflow |
| Heat sink upgrade | Hard | Very high | Design limitation |
Real-World Insight
In many projects, overheating comes from simple issues like dust or poor mounting. Complex redesign is often not needed.
However, in high-power systems like EV controllers or 5G equipment, advanced solutions such as liquid cooling or vapor chambers become necessary.
Long-Term Prevention
- Schedule regular cleaning
- Monitor temperature trends
- Use reliable mounting systems
- Design with thermal margin
Consistent maintenance prevents overheating from returning.
Conclusion
Overheating heat sinks fail due to airflow, contact, or design limits. Clean, secure, and optimize airflow first. Then upgrade if needed. A systematic approach restores cooling and protects your system long term.


