How to Replace Heat Sink?
- Yongxing
- 18 Jun ,2026
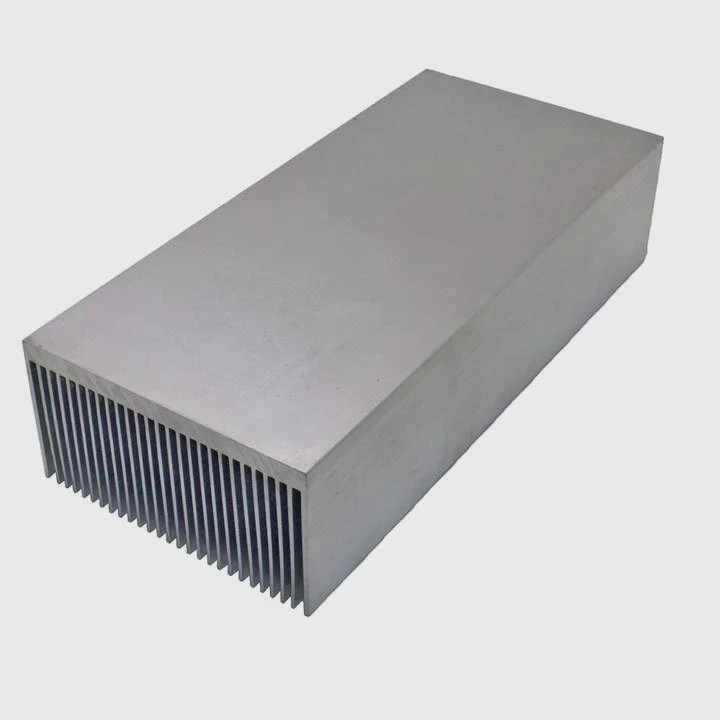
Replacing a heat sink can improve cooling or fix an overheating problem. Incorrect replacement can damage your CPU or GPU.
Replacing a heat sink involves removing the old one, cleaning thermal paste, applying new paste, aligning the new sink, and securing it correctly.
Proper replacement ensures optimal heat transfer and system stability for long-term use.
What steps are needed to replace a heat sink?
Replacing a heat sink requires careful handling and a methodical approach to avoid damage.
Key steps include shutting down the system, removing the old heat sink, cleaning the CPU/GPU surface, applying thermal paste, installing the new heat sink, and testing temperatures.
Step-by-Step Replacement Guide
- Power off and unplug - Safety first.
- Remove the old heat sink - Unscrew or unclip it gently.
- Clean the chip - Use isopropyl alcohol to remove old thermal paste.
- Inspect components - Check for bent pins or damaged surfaces.
- Apply thermal paste - Use a pea-sized or thin line in the center.
- Install the new heat sink - Align over CPU/GPU and secure evenly.
- Connect fan - Attach to the proper header (CPU_FAN or GPU_FAN).
- Test system - Boot and monitor temperatures for stability.
Replacement Checklist
| Step | Purpose |
|---|---|
| Remove old sink | Access chip safely |
| Clean surface | Ensure full thermal contact |
| Thermal paste | Enable efficient heat transfer |
| Secure sink | Prevent tilting or uneven pressure |
| Test temperatures | Confirm installation success |
Following these steps reduces the risk of hotspots, overheating, or system instability after the replacement.
Why clean old thermal paste before replacement?
Old thermal paste can be dry, cracked, or uneven, preventing good heat transfer between the chip and heat sink.
Cleaning old thermal paste ensures the new heat sink makes full contact with the CPU or GPU, allowing maximum cooling efficiency.
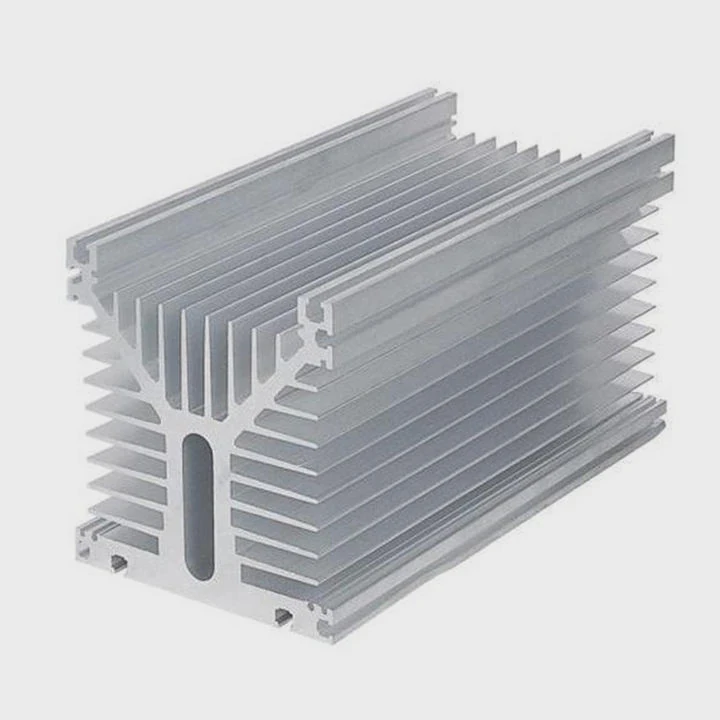
Residual paste can create gaps or air pockets that act as insulators. Even high-performance heat sinks cannot work efficiently without a clean surface. Use lint-free cloths or coffee filters with isopropyl alcohol to remove all traces.
Cleaning Tips
| Tip | Reason |
|---|---|
| Use 90%+ isopropyl alcohol | Dissolves old paste effectively |
| Apply gentle pressure | Avoid scratching the chip |
| Avoid touching cleaned surface | Oils from fingers reduce thermal conductivity |
| Clean mounting hardware | Ensures proper seating of new sink |
Proper cleaning guarantees full surface contact, preventing hotspots and ensuring the new heat sink performs as intended.
Where should the new heat sink be positioned?
Correct placement ensures efficient heat transfer and proper airflow over the fins.
The new heat sink should be aligned directly on the chip, flat against the thermal paste, and positioned to allow unobstructed airflow from case fans.
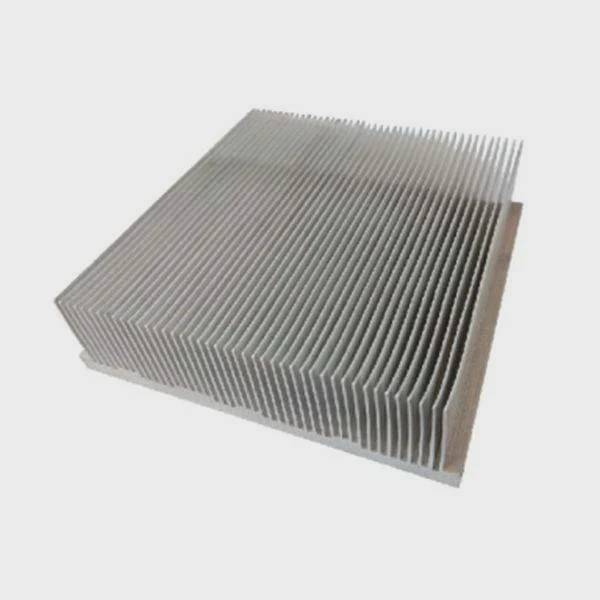
Position the heat sink so it covers the entire CPU or GPU die. Some coolers have directional airflow; align fins with case exhaust vents for optimal cooling. Ensure clearance around RAM modules, VRMs, or other components.
Alignment Checklist
| Aspect | Recommendation |
|---|---|
| Centering | Cover entire chip surface |
| Fins orientation | Match airflow direction |
| Clearance | Avoid touching nearby components |
| Secure mounting | Tighten screws evenly without tilting |
Proper alignment ensures heat is transferred efficiently, preventing overheating and maximizing cooling performance.
Additional Notes
- Use thermal pads if included for VRMs or memory modules.
- Confirm fan headers are connected and functioning.
- Verify no obstruction blocks airflow after installation.
- Test under load to ensure temperatures are safe.
Which compatibility factors should be checked?
Before installing a new heat sink, check compatibility with the chip, motherboard, and case to avoid fitting issues.
Compatibility factors include socket type, heat sink dimensions, mounting mechanism, and airflow clearance inside the chassis.
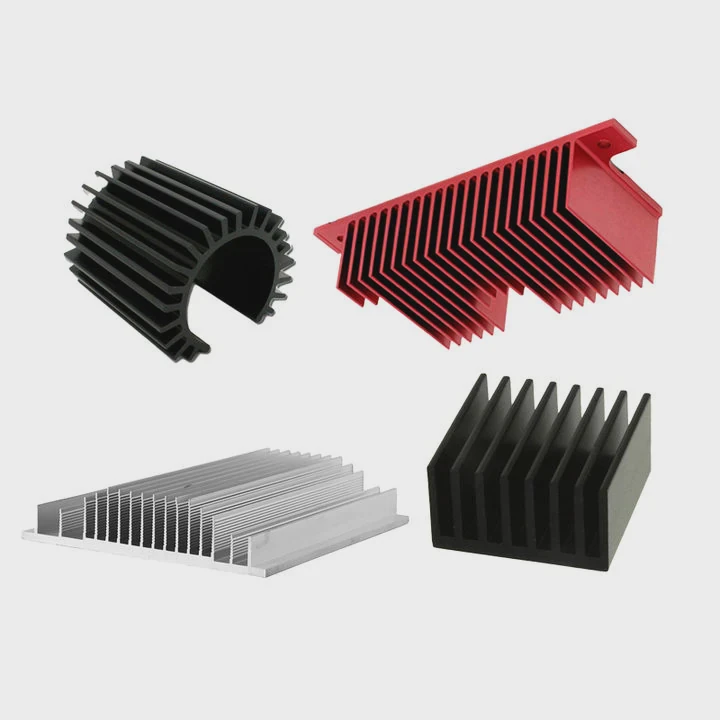
Ensure the new heat sink matches the CPU or GPU socket type. Measure available space in your case for height and width. Some aftermarket coolers may be taller and interfere with RAM or other components. Check if mounting brackets match the motherboard design.
Compatibility Checklist
| Factor | Importance |
|---|---|
| Socket type | Must match CPU/GPU socket for proper fit |
| Case clearance | Avoid conflicts with RAM or panels |
| Fan orientation | Align with airflow for optimal cooling |
| Weight | Heavy sinks may require reinforced mounting |
Ignoring compatibility can lead to poor performance or even hardware damage. Planning ahead prevents installation problems and ensures the heat sink can perform efficiently.
Tips for Safe Replacement
- Read manufacturer instructions carefully.
- Measure all dimensions before purchasing.
- Use proper torque when fastening screws.
- Monitor temperatures after installation for the first few hours.
Checking all compatibility factors ensures smooth installation and long-term reliability.
Conclusion
Replacing a heat sink requires careful preparation, cleaning, correct alignment, and proper thermal paste application. Checking compatibility ensures optimal cooling, prevents overheating, and maintains system stability for both CPU and GPU components.