How to Remove Heat Sink?
- Yongxing
- 17 Jun ,2026
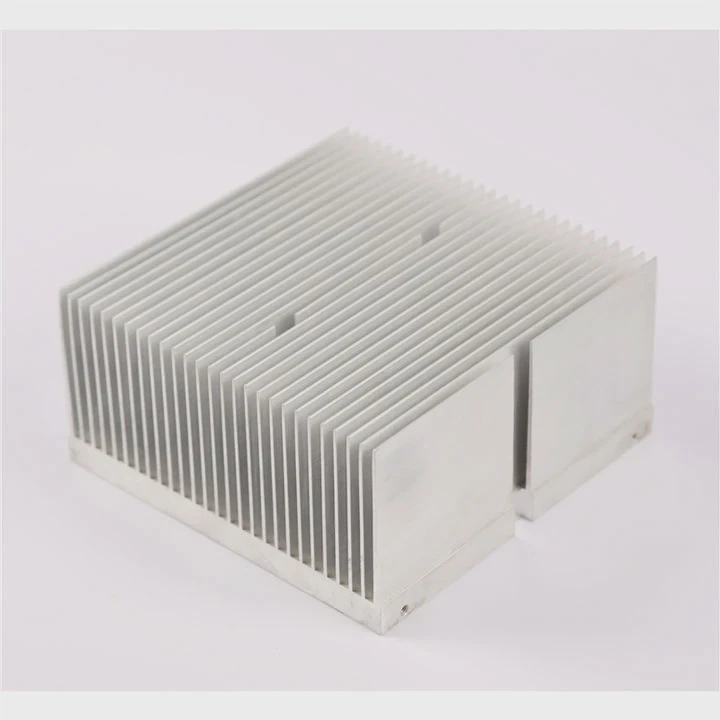
Removing a heat sink can seem simple, but doing it incorrectly can damage components. How can it be done safely?
A heat sink must be detached carefully to avoid harming the CPU, GPU, or SSD. Understanding thermal adhesives, clips, and proper force application is essential before starting.
Knowing the right method and tools prevents damage and ensures components remain usable.
What precautions should be taken before removal?
Before removing a heat sink, make sure the device is powered off, unplugged, and fully cooled. Residual heat or electricity can cause injury or component damage.
Proper precautions minimize risk and prevent static discharge that could harm sensitive electronics.
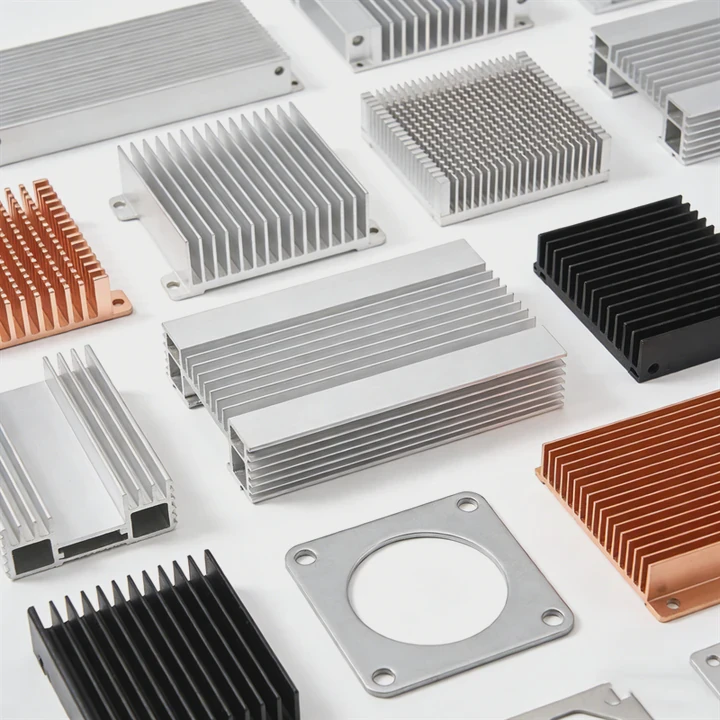
Key precautions
- Power off and unplug: Never remove a heat sink while the system is powered.
- Allow cooling: Let the component reach room temperature to avoid burns or warped parts.
- Anti-static measures: Use an anti-static wrist strap or work on an anti-static mat.
- Read manufacturer instructions: Some heat sinks have special clips or adhesives.
Safety checklist table
| Step | Reason |
|---|---|
| Power off | Prevent electrical shock |
| Unplug device | Avoid short circuits |
| Let components cool | Prevent burns or thermal damage |
| Anti-static protection | Protect sensitive electronics |
| Inspect mounting method | Avoid breaking clips or PCB traces |
Following precautions ensures safe removal without harming hardware.
Why can heat sinks stick to components?
Heat sinks often use thermal paste or pads to improve heat transfer. Over time, the paste may harden or create suction, making the heat sink stick firmly to the chip.
Improper removal can pull off the chip or damage the socket, so care is essential.
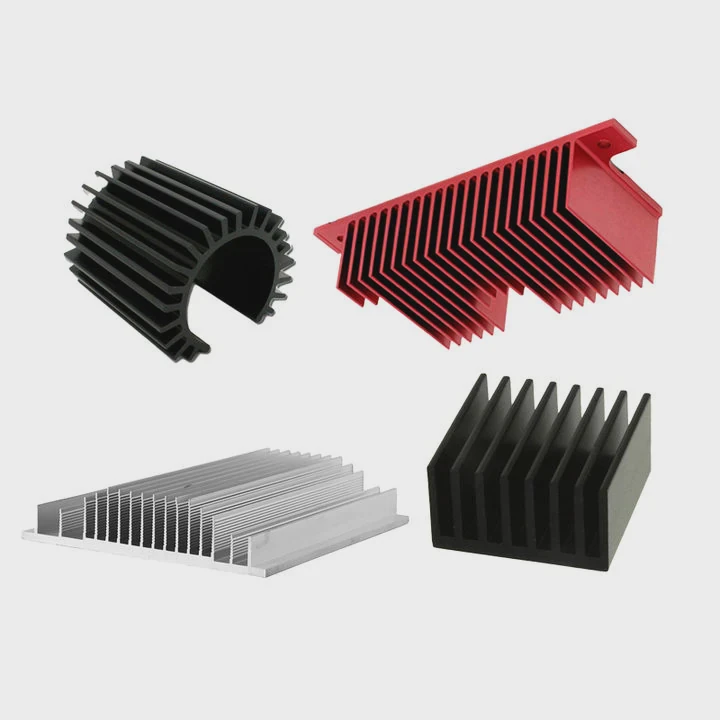
Causes of sticking
- Thermal paste adhesion: Hardened or viscous paste bonds heat sink to component.
- Suction effect: Flat surfaces with paste may create a vacuum-like grip.
- Clips and screws: Mechanically secure the heat sink, resisting removal.
Risks
- Pulling too hard can crack the CPU or GPU.
- PCB traces can lift if stress is applied incorrectly.
- Thermal pads may tear, requiring replacement for proper reinstallation.
Thermal adhesion table
| Type of Adhesive | Stickiness Level | Removal Consideration |
|---|---|---|
| Thermal paste | Moderate to high | Gentle twisting recommended |
| Thermal pad | Medium | Peel slowly, replace after removal |
| Thermal adhesive glue | Very high | May need heat or solvent to loosen |
Understanding why heat sinks stick helps guide safe removal methods.
Where should force be applied when removing?
Force should never be applied directly upward or with twisting that stresses the component. Gentle, even pressure at the edges helps detach the heat sink safely.
Controlled movements prevent bending pins, cracking chips, or damaging sockets.
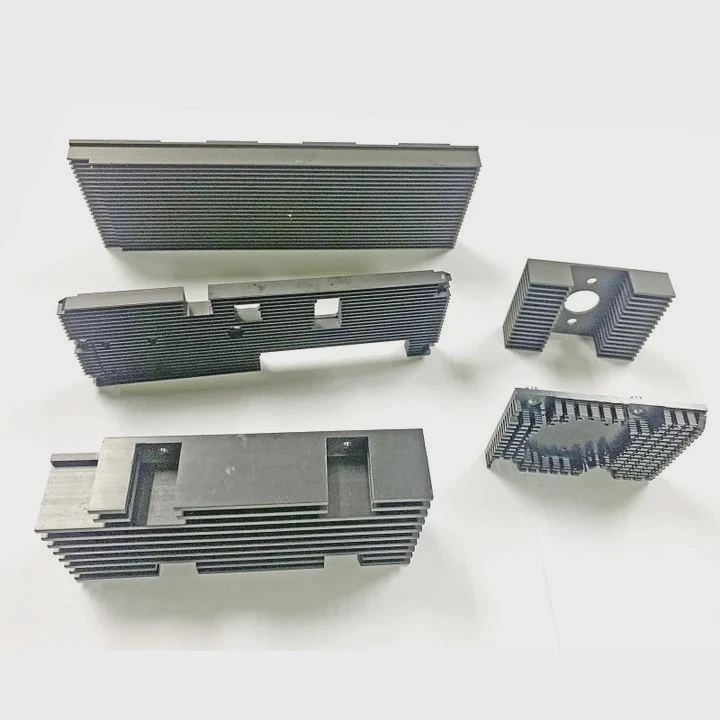
Correct removal technique
- Loosen screws or clips first - Always release mechanical fasteners before prying.
- Twist gently - Rock the heat sink in small motions to break thermal paste adhesion.
- Lift evenly - Apply force at the edges rather than the center to prevent chip damage.
- Avoid prying under the component - This can lift solder points or pins.
Force application table
| Heat Sink Type | Recommended Force Method | Notes |
|---|---|---|
| CPU/GPU finned | Gentle twisting + lift | Avoid center pressure |
| SSD heat spreader | Edge lifting | Replace thermal pads afterward |
| Large heatsink | Even pressure at screws | Ensure thermal interface is broken first |
| Adhesive-mounted | Heat application + twist | Avoid pulling straight up |
Applying force correctly ensures safe detachment without damaging the underlying component.
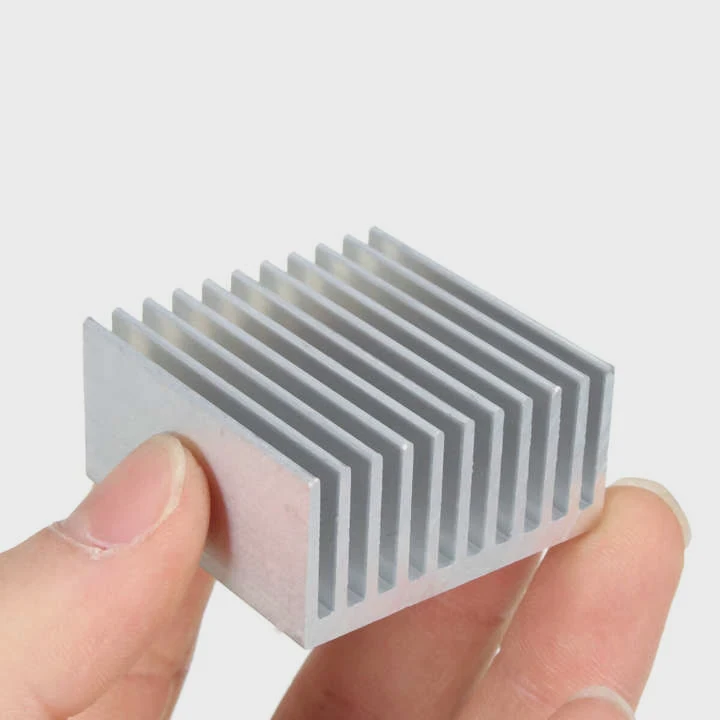
Which tools help remove heat sinks safely?
Several tools make heat sink removal easier and safer. Using the right tools reduces risk of damaging the chip or PCB.
Useful tools
- Plastic pry tools: Avoid scratching or bending metal surfaces.
- Anti-static tweezers: Useful for removing clips or pads carefully.
- Heat gun or hair dryer: Softens thermal adhesive for easier removal.
- Screwdrivers: Properly sized to avoid stripping screws or breaking clips.
- Isopropyl alcohol: Cleans residual thermal paste after removal.
Tool usage table
| Tool | Purpose | Tips |
|---|---|---|
| Plastic pry tool | Lift heat sink without scratching | Use edges only |
| Anti-static tweezers | Remove clips or pads | Avoid touching solder points |
| Heat gun / hair dryer | Soften adhesive | Low heat to prevent component damage |
| Screwdrivers | Unscrew mounts | Correct size, slow turns |
| Isopropyl alcohol | Clean thermal paste | Use lint-free cloth |
With proper tools, heat sinks can be removed efficiently while keeping components safe for reuse or reinstallation.
Conclusion
Removing a heat sink requires caution, correct technique, and the right tools. Following safety steps, understanding adhesion, applying force evenly, and using appropriate tools prevents damage to CPUs, GPUs, or SSDs. Careful removal ensures components remain functional and ready for reinstallation.