How to Remove Heat Sink from CPU?
- Yongxing
- 17 Jun ,2026
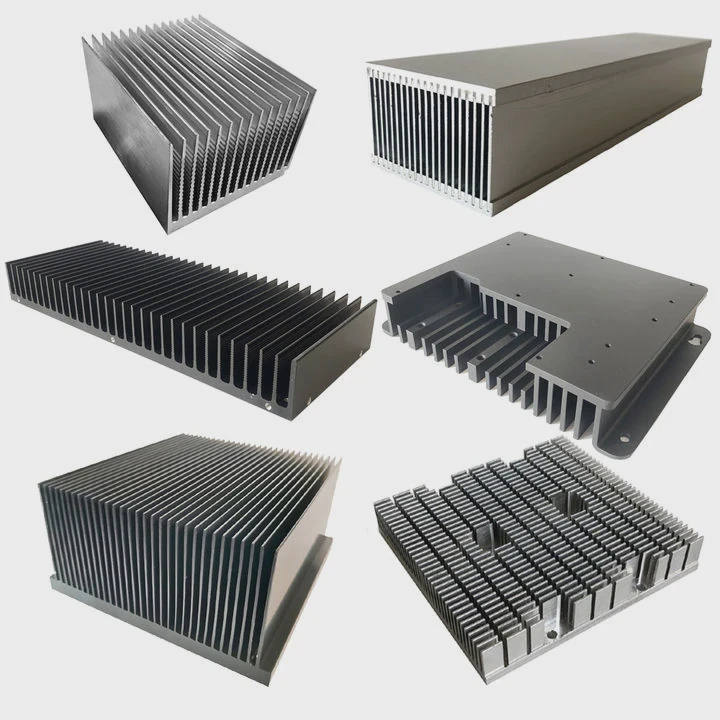
Removing a CPU heat sink requires care. Improper handling can damage the processor or motherboard.
Removing a CPU heat sink safely involves loosening mounting screws, softening thermal paste, and lifting the sink carefully to prevent bending pins or cracking the CPU.
Following correct steps ensures your CPU and socket remain intact for reuse or maintenance.
What steps prevent CPU damage during removal?
Rushing heat sink removal can bend pins, crack the CPU, or damage the motherboard. Careful preparation is crucial.
To prevent damage, power off the system, unplug all cables, discharge static electricity, and remove the heat sink slowly while supporting the CPU area.
Before touching the CPU, ensure the system is completely powered down. Ground yourself using an anti-static wrist strap or by touching a metal surface. Remove nearby components that could obstruct access. Heat sinks often stick due to thermal paste, so don’t force them straight off.
Key steps for safe removal
- Power down and unplug the PC.
- Discharge static by touching a grounded metal surface.
- Remove surrounding components for clear access.
- Loosen screws or clips according to the manufacturer’s instructions.
- Twist gently if the heat sink is stuck due to hardened thermal paste.
- Lift the heat sink evenly without tilting or jerking.
Table: CPU Safety Checklist
| Step | Reason |
|---|---|
| Power off system | Prevent electrical damage |
| Ground yourself | Avoid static discharge to CPU |
| Remove obstructions | Prevent accidental contact or dropping parts |
| Loosen mounting | Reduce mechanical stress |
| Twist/lift slowly | Avoid bending CPU pins or cracking CPU |
Patience is key. Rushing or forcing the heat sink can lead to permanent damage to your CPU or socket.
Why should thermal paste be softened first?
Thermal paste bonds the heat sink to the CPU for efficient heat transfer. Dried paste can resist removal.
Softening thermal paste with gentle twisting or heat prevents the CPU from being pulled or stressed, reducing the risk of damage.
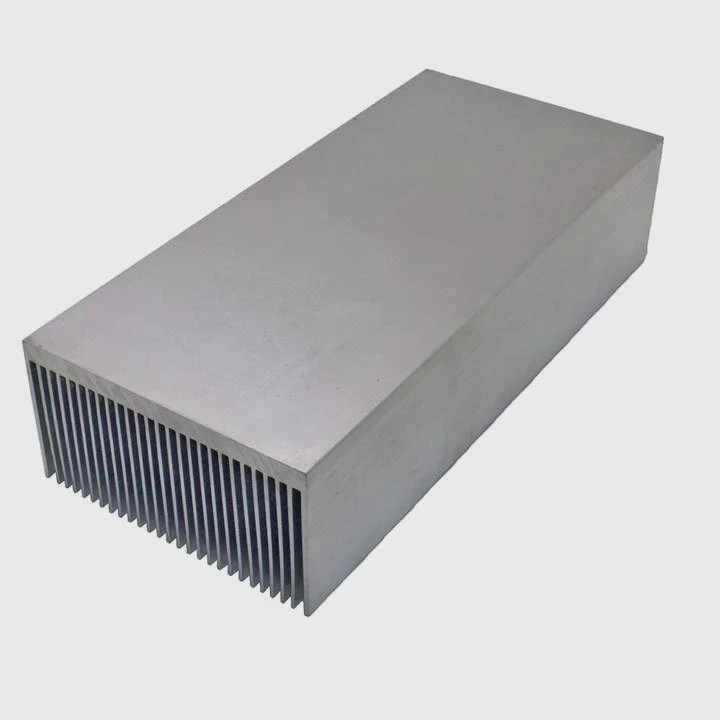
Hardened thermal paste can make the heat sink stick to the CPU. Pulling straight up may lift the CPU from the socket or bend pins. Slight twisting back and forth loosens the bond. For stubborn paste, applying a bit of heat using the system fan or a warm room can soften it.
Softening methods
- Gently twist the heat sink side to side.
- Let the CPU cool if recently powered.
- Avoid using metal tools between CPU and heat sink.
Table: Thermal Paste Softening Tips
| Method | Purpose |
|---|---|
| Side-to-side twist | Loosens paste without pulling CPU |
| Warm ambient or recent operation | Softens hardened paste |
| Avoid prying with tools | Prevents scratching or bending pins |
Softening paste reduces mechanical stress and prevents damage to the CPU die or socket.
Where should you twist or lift the heat sink?
Twisting or lifting incorrectly can bend CPU pins or crack the die. Correct grip and motion are essential.
Twist or lift from the sides where screws or clips are located, applying even pressure and keeping the motion small and controlled.
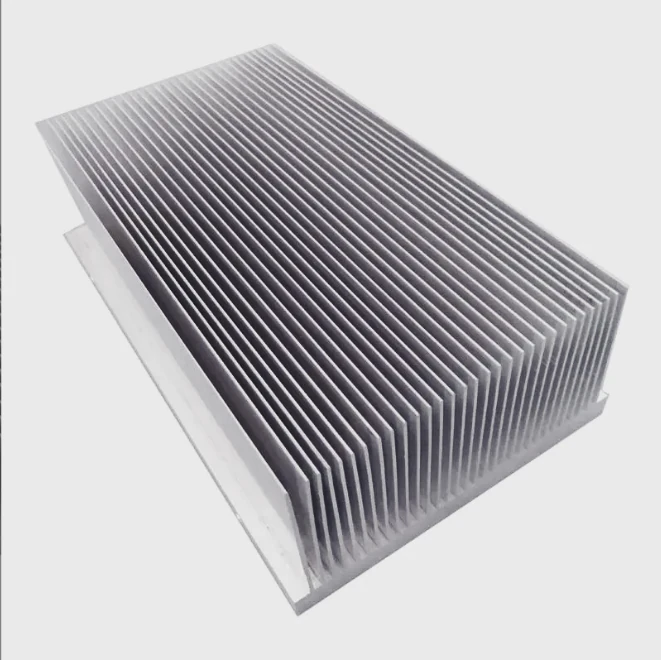
Most heat sinks are secured with screws or push-pins. Release all mounting points first. Twist gently from one side to another, not diagonally or randomly. If it’s a clip-on cooler, push the latch gently while supporting the base. Lift straight up only after the paste has loosened.
Placement tips
- Support the CPU area with a finger or flat tool (non-metal).
- Avoid tilting the heat sink to one side excessively.
- Lift slowly and evenly to prevent jerking motion.
Diagram: Proper Heat Sink Lifting
| Action | Tip |
|---|---|
| Twist | Small side-to-side movements |
| Lift | Even, vertical motion after loosening |
| Support | Hold CPU area lightly to reduce stress |
| Avoid | Pulling straight up without loosening |
Even small mistakes in motion can lead to bent pins or damaged solder points on the motherboard.
Which mistakes can damage the CPU socket?
Several common errors can permanently damage the CPU or socket during heat sink removal.
Mistakes include pulling the heat sink too hard, twisting diagonally, prying with metal tools, or applying uneven force on the CPU.
Forgetting to loosen screws or clips before lifting can stress the CPU. Using metal tools to pry can scratch the die or socket. Lifting one side first while the other is still stuck may bend pins. Pulling with force instead of twisting or softening the thermal paste often results in broken or misaligned pins.
Table: CPU Socket Mistakes
| Mistake | Risk |
|---|---|
| Pulling hard | Bends CPU pins or lifts socket |
| Twisting diagonally | Uneven stress on CPU die |
| Using metal tools | Scratches die or socket contacts |
| Lifting one side first | Pins may bend or break |
| Ignoring thermal paste | Heat sink sticks, causing stress |
Following proper procedures prevents these mistakes and ensures the CPU and motherboard remain functional.
Conclusion
Removing a CPU heat sink safely requires patience, proper preparation, and correct motion. Softening thermal paste, twisting gently, and supporting the CPU prevents bent pins or damage. Avoiding common mistakes ensures the CPU and socket remain intact for future use.