How to Put Heat Sink on SSD?
- Yongxing
- 16 Jun ,2026
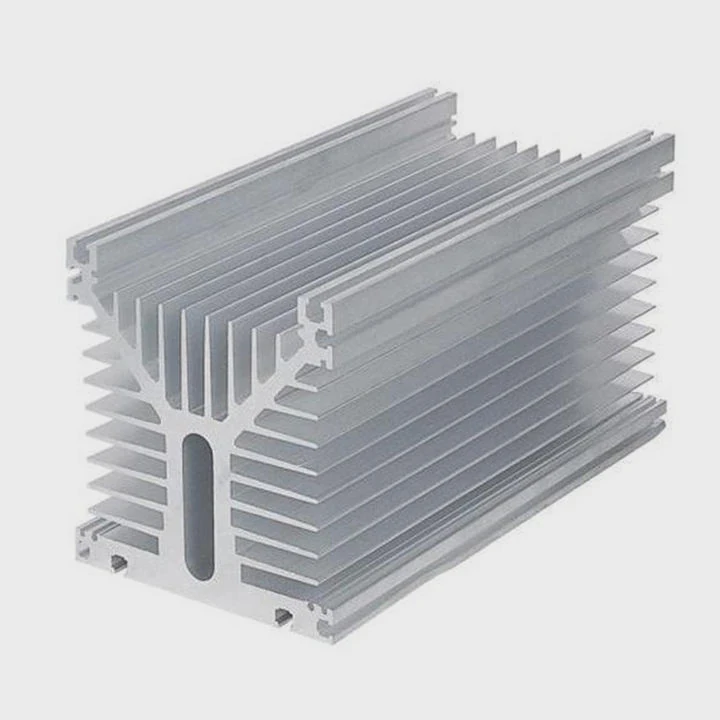
SSDs can get hot during heavy read/write operations, risking throttling and reduced lifespan.
A heat sink on an SSD absorbs and disperses heat, keeping NAND chips and controllers cool for consistent performance.
Proper installation ensures optimal contact and maximum cooling efficiency.
What tools are needed for SSD heat sink installation?
Installing a heat sink is simple but requires the right tools to avoid damaging your SSD.
Basic tools include a screwdriver, cleaning materials, and optionally thermal pads or paste to improve contact between the heat sink and SSD chips.
Essential tools
- Screwdriver: Needed if the heat sink comes with screws or a bracket.
- Isopropyl alcohol: Cleans SSD surface before installation.
- Lint-free cloth: Removes dust and oils for proper adhesion.
- Thermal pad or paste: Ensures full contact between heat sink and chips.
Optional tools
- Tweezers: Help place thermal pads accurately.
- Plastic card or spreader: For evenly spreading thermal paste if needed.
Installation tip
Always handle the SSD by the edges to avoid damaging chips. Preparing the surface before installing the heat sink improves heat transfer and prolongs SSD life.
Why ensure proper contact with SSD chips?
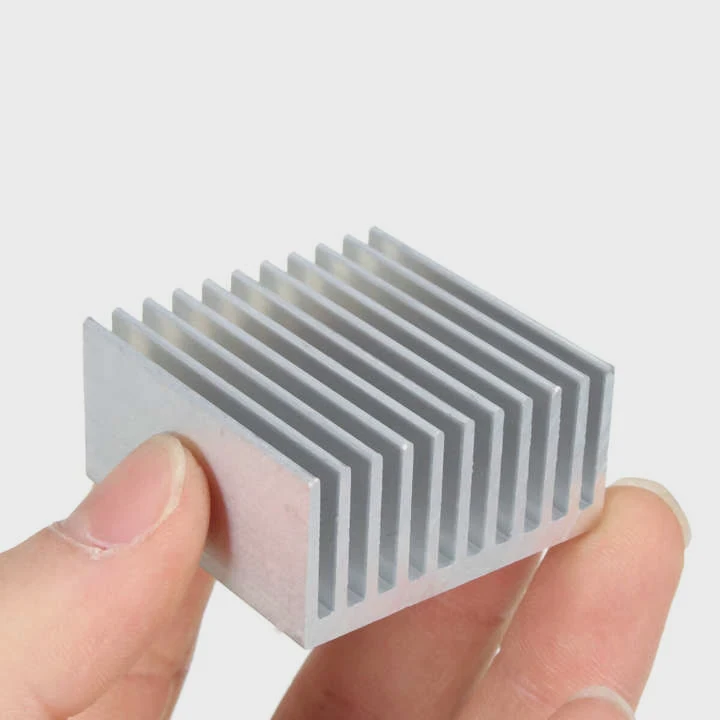
A heat sink only works if it touches the components generating heat. Gaps reduce cooling efficiency significantly.
Proper contact ensures heat flows directly from the SSD controller and NAND chips into the heat sink, preventing hotspots and throttling.
Importance of contact
- Thermal transfer: Heat moves through metal, so full contact is crucial.
- Hotspot prevention: Uneven contact leaves areas exposed to heat.
- Consistent performance: SSD speed remains stable under sustained workloads.
How to achieve proper contact
- Clean the chip surface before installation.
- Use pre-cut thermal pads or apply a thin layer of thermal paste.
- Press heat sink evenly, avoiding excessive pressure that could damage components.
Example contact tips table
| Component | Thermal Interface | Installation Advice |
|---|---|---|
| SSD controller | Thermal pad or paste | Centered and pressed evenly |
| NAND chips | Thermal pad | Align with pad, avoid gaps |
| SSD PCB | None or light paste | Only if heat sink covers PCB |
Where should the heat sink be placed on SSD?
Placement affects how efficiently the SSD stays cool. Heat sinks need to touch the components that generate the most heat.
Heat sinks should be placed directly on the controller and NAND chips, ensuring even contact across all critical areas of the SSD.
Typical placement
- Controller chip: The main heat source during read/write operations.
- NAND memory chips: Heat builds up when reading/writing large files.
- Entire surface coverage: Some heat sinks cover multiple chips for consistent cooling.
Placement tips
- Align heat sink over chips before securing it.
- Check that thermal pads or paste cover the chip surface completely.
- Ensure no components or connectors are blocked.
Heat sink placement table
| SSD Component | Heat Sink Coverage | Notes |
|---|---|---|
| Controller | Full contact | Critical for performance |
| NAND chips | Partial or full contact | Prevents throttling |
| PCB edges | Optional | Only if heat sink is wide |
Which SSD types support heat sinks?
Not all SSDs are designed for heat sinks. NVMe drives usually generate more heat and benefit from cooling.
M.2 NVMe SSDs often support heat sinks, while SATA SSDs generate less heat and usually do not require additional cooling.
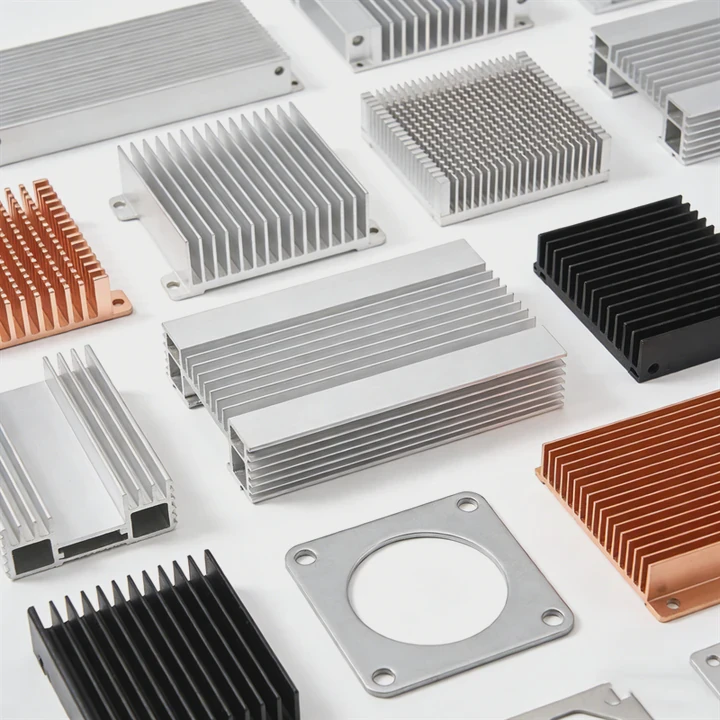
SSD types and cooling
- M.2 NVMe: High-speed drives that frequently throttle under heavy loads; heat sinks recommended.
- SATA SSD: Slower speeds generate less heat; heat sinks optional.
- PCIe add-in card SSDs: Often come with integrated heat sinks; additional cooling optional.
Choosing heat sinks
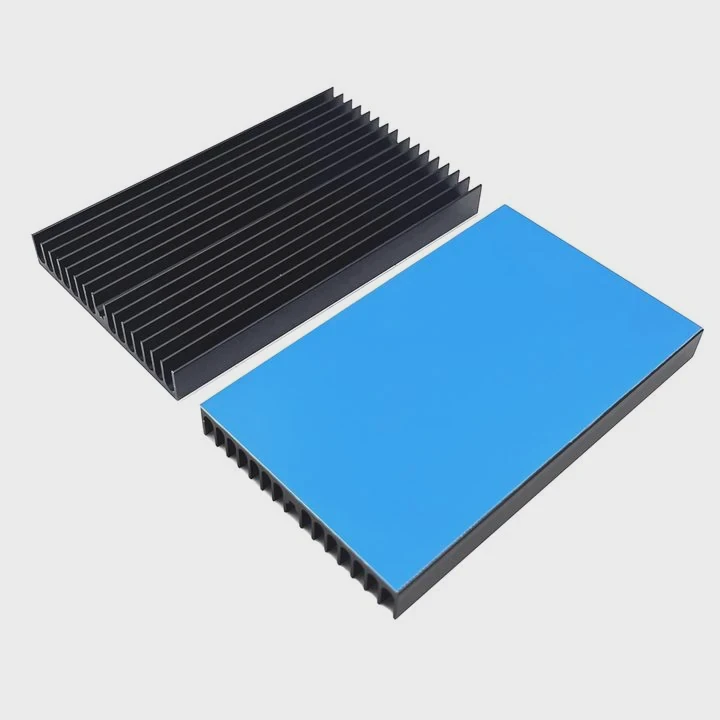
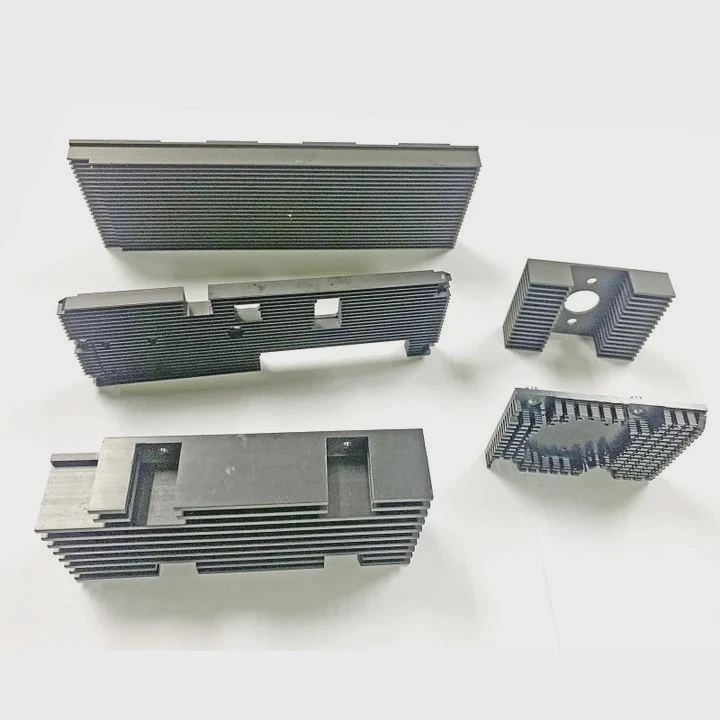
Select heat sinks designed for your SSD form factor. M.2 drives require thin, low-profile sinks to fit in laptops or compact PC cases, while full-size PCIe drives may use larger aluminum blocks.
SSD heat sink compatibility table
| SSD Type | Heat Sink Needed | Notes |
|---|---|---|
| M.2 NVMe | Recommended | High-speed drives overheat easily |
| M.2 SATA | Optional | Usually runs cooler |
| PCIe add-in card | Optional | Many have pre-installed heat sinks |
Maintenance tips
Clean the heat sink periodically and ensure pads are intact. Proper installation prevents thermal throttling, maintaining peak performance over long-term use.
Conclusion
Proper heat sink installation on SSDs improves thermal performance, prevents throttling, and prolongs component life. Correct tools, placement, and contact ensure reliable cooling for high-speed drives.