how to put heat sink on cpu?
- Yongxing
- 16 Jun ,2026
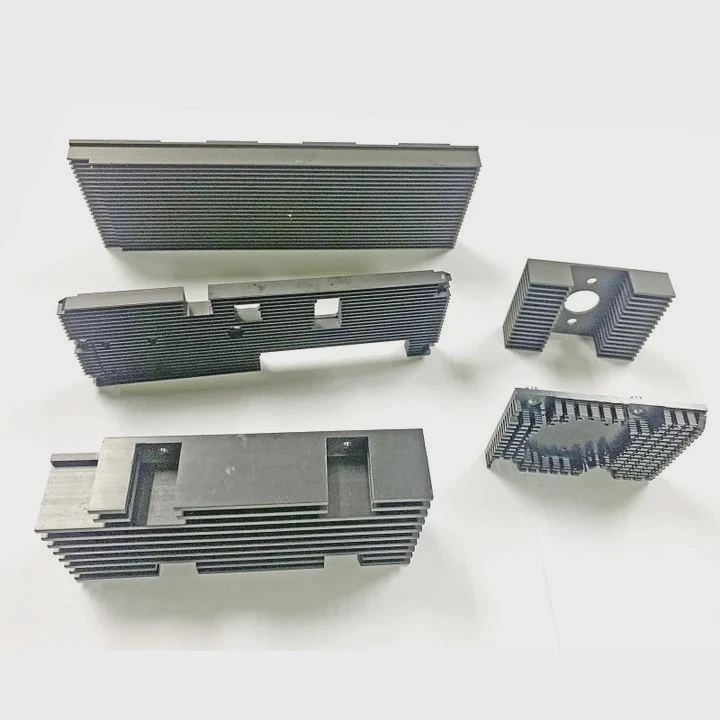
Installing a CPU heat sink is more than screwing on a metal block. Improper installation can cause overheating and throttle CPU performance.
A CPU heat sink must be properly installed with thermal paste and even mounting pressure to ensure efficient heat transfer and stable operation under load.
Correct installation protects the CPU and ensures long-term system reliability.
What steps ensure correct CPU heat sink installation?
Installing a CPU heat sink requires careful preparation and step-by-step procedure.
Correct steps include cleaning the CPU surface, applying thermal paste, positioning the heat sink properly, and fastening it evenly to achieve optimal thermal contact.
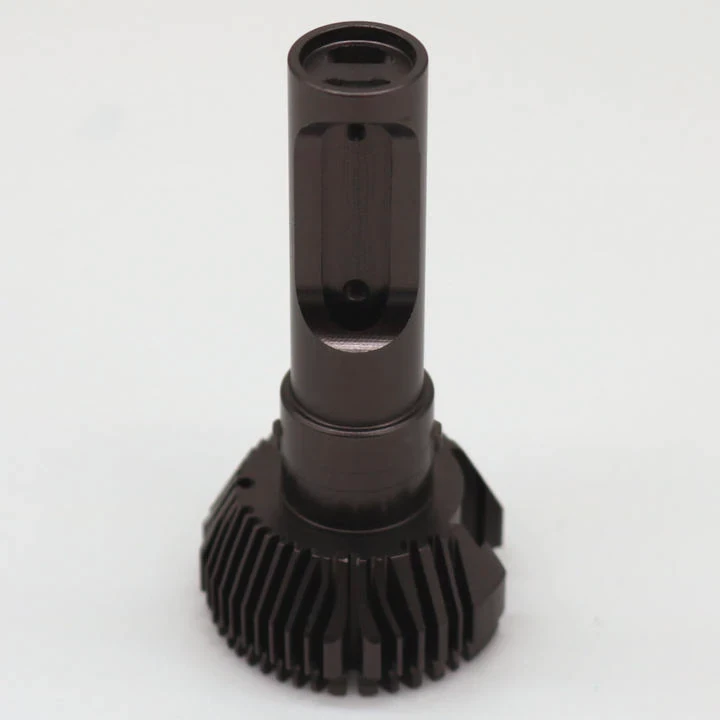
Step-by-step guide
- Power down and remove old cooler - Ensure no power to the motherboard and remove any previous heat sink.
- Clean CPU surface - Use isopropyl alcohol and a lint-free cloth.
- Apply thermal paste - A small pea-sized amount in the center of the CPU is sufficient.
- Align the heat sink - Position it directly above the CPU die.
- Fasten evenly - Screw or clip it in place with uniform pressure.
- Connect fan power - Ensure the CPU fan is plugged into the correct motherboard header.
- Test - Power on the system and monitor temperatures.
Practical tip
Avoid excess thermal paste. Too much can reduce performance by creating a thick layer that slows heat transfer.
Real-world observation
A colleague installed a CPU without cleaning old paste. The CPU temperature under load was 20°C higher. Cleaning and reapplying paste solved the problem immediately.
Why is thermal paste required for CPUs?
Metal surfaces have tiny imperfections that trap air. Air is a poor heat conductor.
Thermal paste is required because it fills microscopic gaps between the CPU and heat sink, ensuring efficient heat transfer and preventing hotspots.
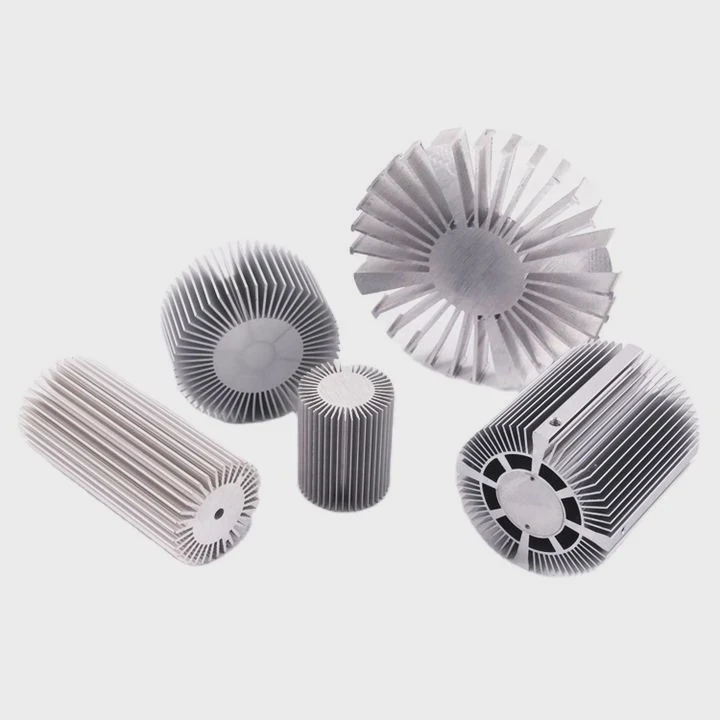
Function of thermal paste
- Fills uneven surfaces
- Improves thermal conductivity
- Reduces CPU temperature under load
Types of thermal paste
| Type | Conductivity | Notes |
|---|---|---|
| Silicone-based | Moderate | Affordable, easy to apply |
| Metal-based | High | Excellent conductivity, careful application |
| Ceramic-based | Medium | Safe and stable, non-conductive |
Application tips
- Apply small pea-sized or line in the center
- Avoid spreading by hand; heat sink pressure will spread it evenly
- Do not overapply; excess paste can leak onto motherboard
Real-world effect
Using thermal paste reduced CPU temperature from 85°C to 65°C under full load during stress testing. It also reduced fan noise since the cooler did not need to spin as fast.
Where should the heat sink be aligned on CPU?
Alignment is critical for optimal heat transfer. Misalignment reduces contact area and efficiency.
The heat sink should be aligned so its base covers the CPU die entirely, with the mounting holes or clips matching the motherboard’s socket pattern for even pressure distribution.
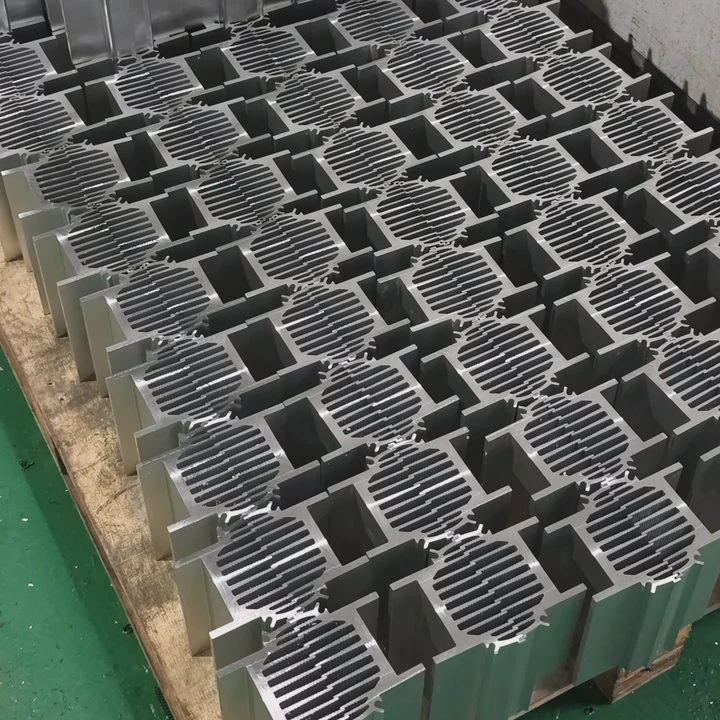
Alignment guidelines
- Center the heat sink over the CPU die
- Ensure mounting brackets line up with motherboard holes
- Avoid tilting to prevent uneven thermal contact
- Check that RAM or other components do not block cooler placement
Importance
Even a slight tilt can reduce thermal efficiency and create hotspots, which may lead to CPU throttling.
Real-world insight
In compact ITX builds, heat sinks must fit carefully. Misalignment against RAM slots caused partial contact, resulting in higher temperatures until adjusted.
Visual checklist
- Heat sink base flat on CPU
- Screws or clips lined up evenly
- Thermal paste spread evenly
- Fan cables connected without strain
Which installation mistakes should be avoided?
Common mistakes can compromise CPU cooling and system stability.
Mistakes to avoid include skipping thermal paste, uneven mounting pressure, misaligned heat sinks, over-tightening screws, and failing to secure the fan properly.
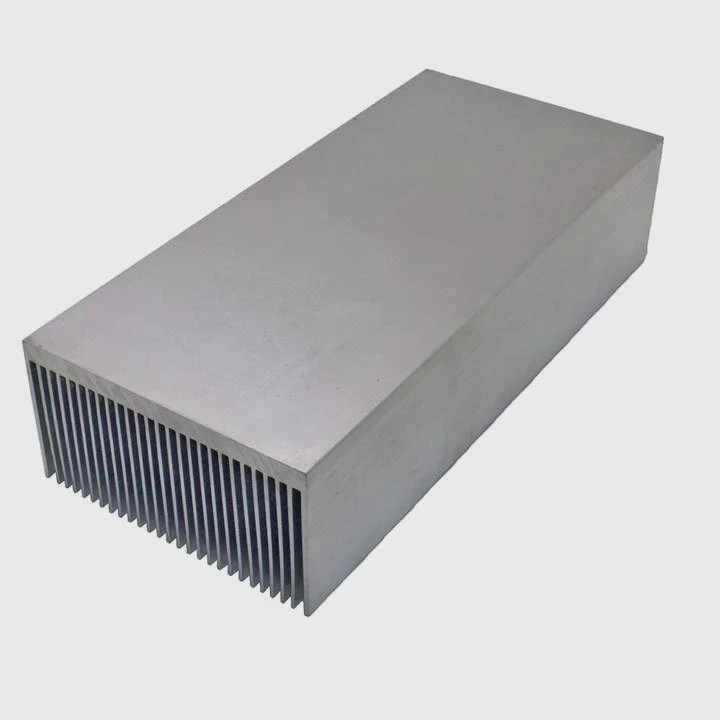
Typical errors
- No thermal paste - Creates air gaps, poor heat transfer.
- Excess paste - Can cause spillover, reducing efficiency.
- Uneven pressure - Tilts heat sink, reduces contact.
- Over-tightening screws - Can warp motherboard or CPU.
- Loose fan connection - Fan does not spin, leading to overheating.
Prevention tips
- Follow manufacturer torque recommendations
- Check thermal paste amount and placement
- Verify alignment before final tightening
- Inspect fan operation before powering full system
Practical lesson
One system had high idle CPU temperatures. Investigation showed the heat sink was slightly tilted due to uneven screw pressure. Re-mounting corrected the issue, reducing idle temperatures by 15°C.
Quick checklist
| Mistake | Effect | Solution |
|---|---|---|
| No paste | Poor heat transfer | Apply thermal paste |
| Tilted heat sink | Hotspots | Adjust and tighten evenly |
| Loose screws | Reduced contact | Even torque |
| Fan unplugged | Overheating | Connect properly |
Final thought
Careful installation ensures efficient cooling, protects the CPU, and prolongs system life.
Conclusion
Installing a CPU heat sink correctly involves cleaning, applying thermal paste, aligning properly, and securing with even pressure. Avoid common mistakes to maintain optimal temperatures and CPU performance.