How to Mount Heat Sink?
- Yongxing
- 15 Jun ,2026
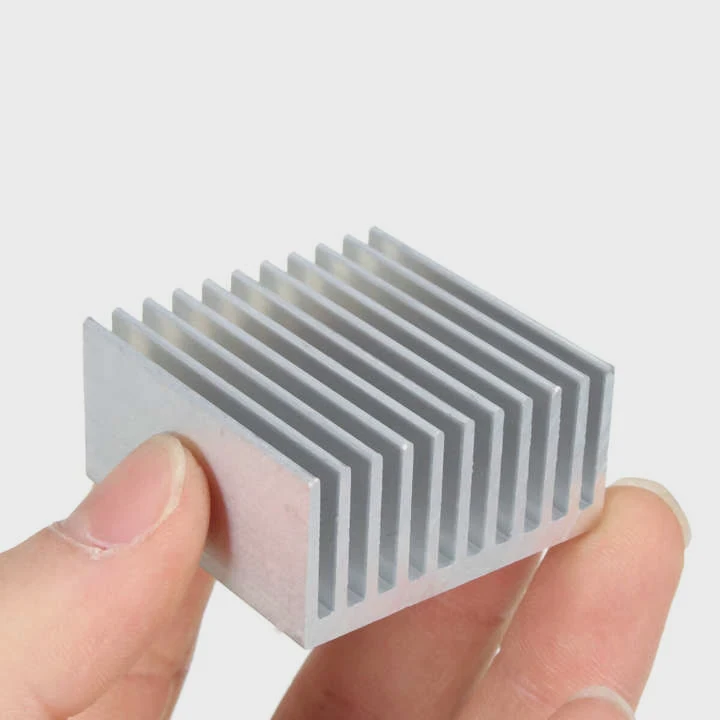
Incorrectly mounted heat sinks reduce cooling efficiency. Many devices overheat because installation steps are skipped or misaligned.
Proper heat sink mounting ensures efficient heat transfer, maintains device performance, and prevents overheating or component damage.
Knowing correct techniques protects electronics and maximizes thermal management.
What steps ensure correct heat sink mounting?
Mounting a heat sink requires care. Clean surfaces, apply thermal material, and secure firmly without damaging components. Missing any step can reduce cooling effectiveness.
Following correct steps ensures heat flows from the component to the heat sink efficiently, preventing thermal issues.
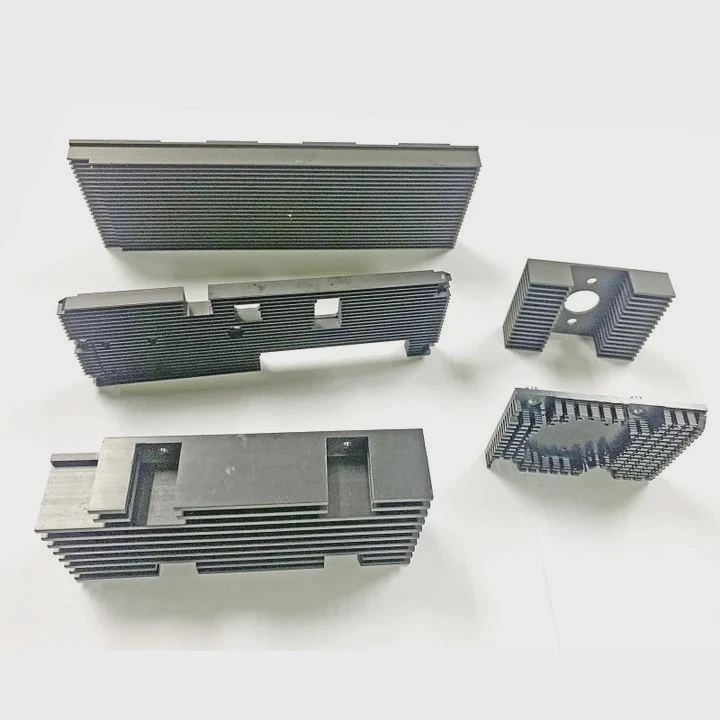
Step-by-step guide
- Clean the surface - Remove dust, grease, or old thermal paste from both component and heat sink.
- Apply thermal interface material - Use thermal paste or a thermal pad to fill microscopic gaps.
- Position heat sink correctly - Align with component chips or hot surfaces.
- Secure the heat sink - Use screws, clips, or adhesive, applying even pressure.
- Check contact - Ensure the heat sink sits flush with the component surface.
- Test system - Power on and monitor temperatures to verify proper cooling.
Common mistakes
- Applying too much or too little thermal paste.
- Uneven pressure causing poor contact.
- Misaligned heat sinks covering wrong areas.
- Loose clips or screws reducing heat transfer.
Tips for better mounting
- Use moderate pressure; overtightening can damage the component.
- For large heat sinks, tighten screws diagonally to balance pressure.
- Ensure no airflow is blocked by the heat sink orientation.
Why alignment matters during mounting?
A misaligned heat sink contacts the component unevenly. This reduces heat transfer efficiency, causes hotspots, and may trigger thermal throttling.
Alignment is critical because proper contact ensures optimal heat conduction from component to heat sink.
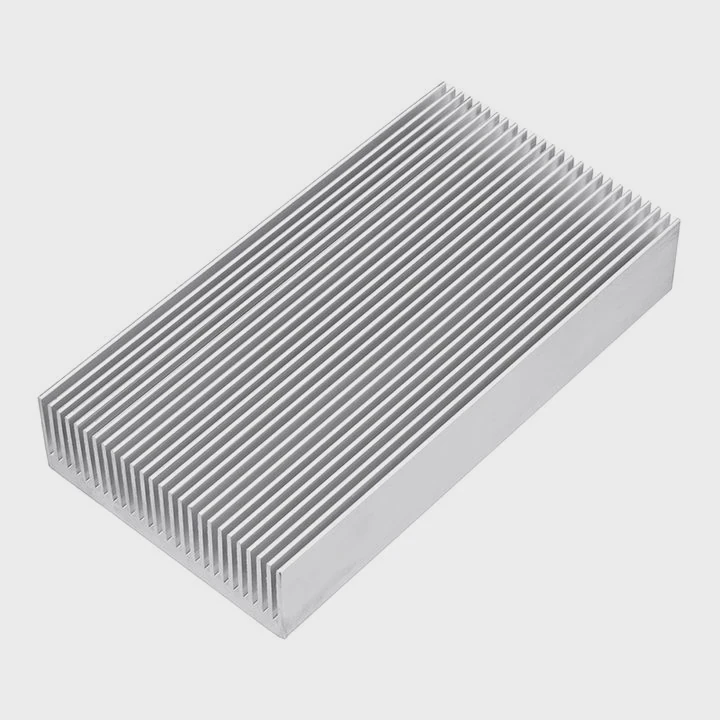
Effects of poor alignment
- Uneven cooling causes local hotspots.
- Thermal interface material may not spread evenly.
- Reduced lifespan and performance of the device.
Alignment strategies
- Center the heat sink over chips or the hot surface.
- Use guides or notches on the component or heat sink.
- Ensure clearance from nearby components to prevent physical interference.
Visual guide
| Misalignment Issue | Effect | Solution |
|---|---|---|
| Tilted heat sink | Reduced contact area | Adjust and re-secure |
| Off-center placement | Hotspots on critical chips | Reposition carefully |
| Overlapping other components | Airflow blocked | Choose smaller heat sink or adjust orientation |
Proper alignment improves both passive and active cooling performance, especially in compact electronics.
Where should clips or screws be tightened?
Clips or screws should provide even pressure across the heat sink without warping it. Uneven tightening creates gaps, reducing thermal conductivity.
Tightening clips or screws evenly ensures secure contact and optimal heat dissipation.
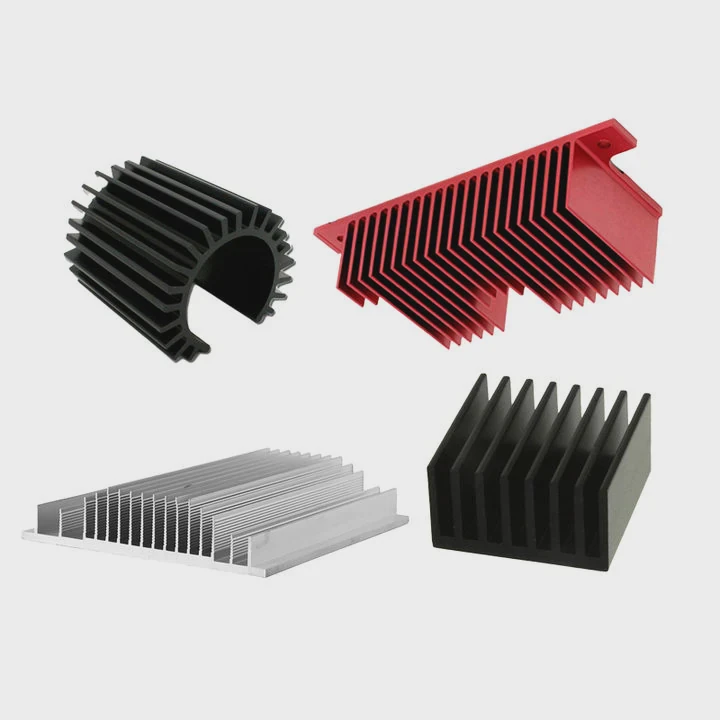
Tightening guidelines
- Diagonal pattern - Tighten opposite screws alternately to balance pressure.
- Moderate force - Enough to hold firmly but not crush the component.
- Check contact - After tightening, inspect for gaps or uneven areas.
Hardware considerations
- Use manufacturer-recommended screws or clips.
- Avoid mixing hardware types to prevent warping.
- For adhesive or clip-on heat sinks, ensure even attachment along the surface.
Example table of screw torque
| Component Type | Recommended Torque | Notes |
|---|---|---|
| CPU heat sink | 0.5-0.7 Nm | Check for even seating |
| MOSFET module | 0.3-0.5 Nm | Use thermal pad if needed |
| M.2 SSD heat sink | Clip-on | Ensure full contact |
| LED array heat sink | 0.4-0.6 Nm | Avoid bending PCB |
Following correct torque values preserves components and maximizes heat transfer.
Which mounting systems are commonly used?
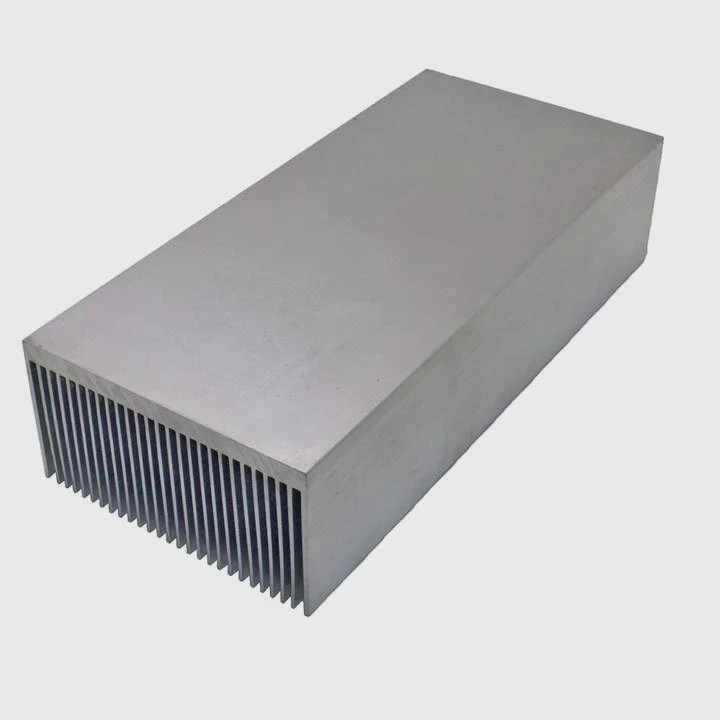
Heat sinks use several mounting methods depending on component type, space, and cooling needs. Common methods include screws, clips, adhesives, and integrated brackets.
Choosing the right mounting system depends on device type, thermal requirements, and mechanical constraints.
Mounting methods
- Screws - Provide secure and adjustable mounting, common in CPUs and high-power modules.
- Clips - Quick installation, used in M.2 SSDs or small components.
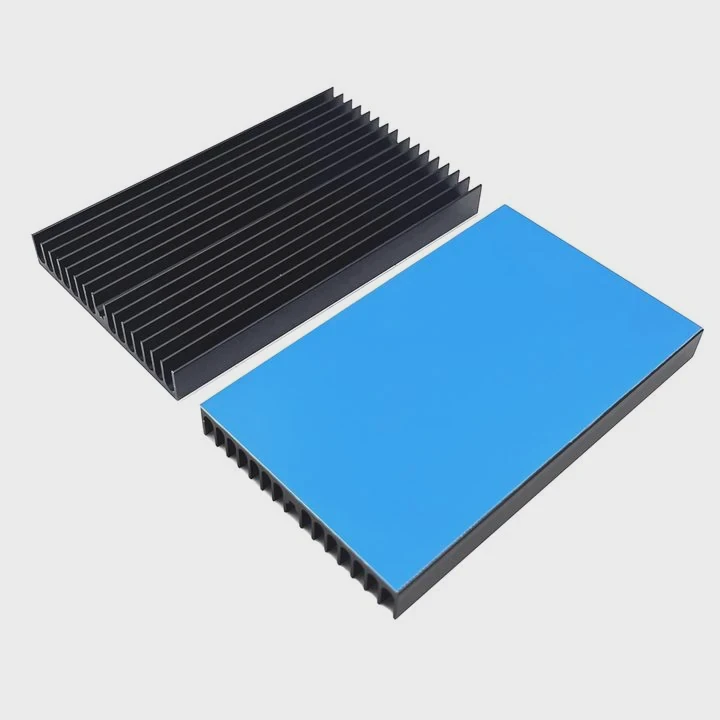
- Thermal adhesive / glue - Permanent contact, often for low-profile heat sinks.
- Integrated brackets - Built into the component or chassis, simplifies installation.
Comparison table
| Method | Pros | Cons |
|---|---|---|
| Screws | Strong, adjustable | Requires precise alignment |
| Clips | Fast, no tools | May provide uneven pressure |
| Thermal adhesive | Simple, no screws | Permanent, hard to remove |
| Bracket-integrated | Easy installation | Limited flexibility |
Application examples
- CPU coolers often use screws with spring-loaded brackets.
- MOSFET modules may use screws with thermal pads.
- M.2 SSDs frequently use clip-on aluminum heat sinks.
- LED modules often rely on thermal adhesive for compact design.
Correct system choice ensures secure mounting, optimal thermal performance, and long-term reliability.
Conclusion
Mounting a heat sink correctly requires cleaning surfaces, applying thermal material, aligning properly, and tightening evenly. Selecting the appropriate mounting system ensures effective heat transfer, prevents hotspots, and protects device performance.