Are heat sink installations complicated?
- Yongxing
- 06 Jul ,2026
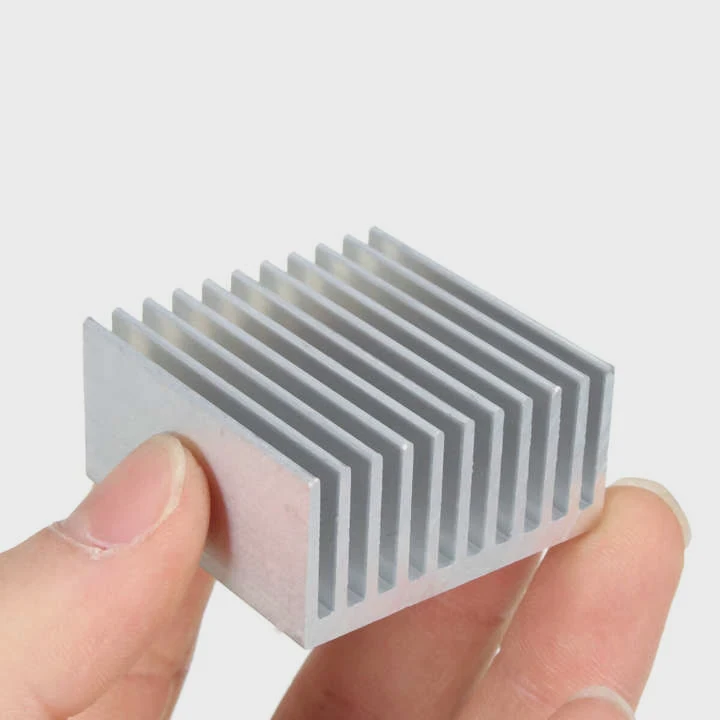
Heat sink installation often looks complex at first. Many people worry about alignment, pressure, and thermal contact. Real difficulty depends on design, mounting method, and system structure.
In most real projects, installation is manageable when the process is planned well.
Do mounting methods affect ease of installation?
Mounting methods often decide how simple or difficult installation becomes. Some methods are quick and tool-light, while others require precise alignment and controlled force.
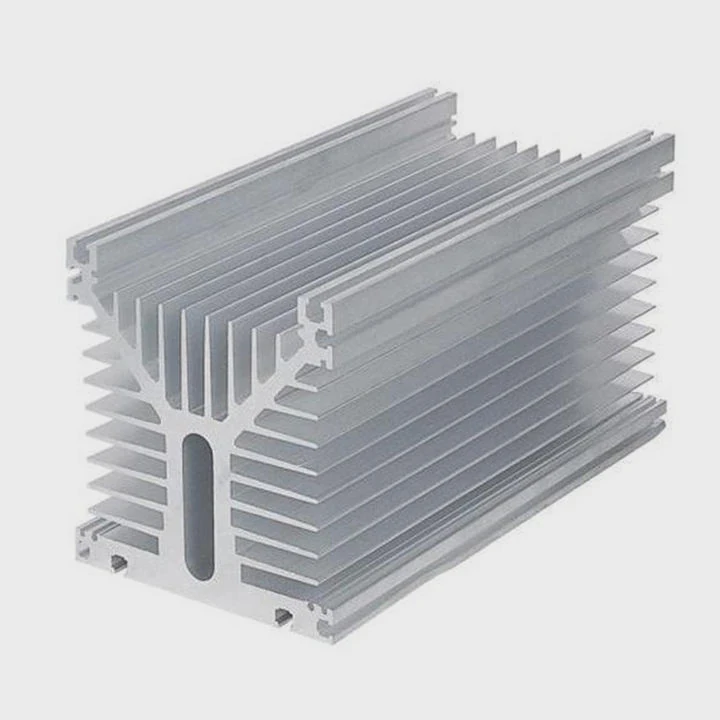
Featured explanation: Different mounting systems change installation time, required skill level, and error risk. Clip-based systems are easier, while screw and spring systems need more control.
Transition: Understanding these differences helps reduce installation errors and improves assembly speed.
Dive deeper
Heat sink installation is not a single fixed process. It depends heavily on how the heat sink is attached to the heat source. My experience in thermal system design shows that mounting structure is often more important than heat sink shape itself when it comes to installation difficulty.
Common mounting methods
There are several widely used mounting methods in thermal systems:
- Spring clip mounting
- Screw and bolt mounting
- Push-pin fastening
- Adhesive bonding
- Integrated bracket systems
Each method changes how force is applied to the heat sink. For example, spring clips apply even pressure without tools, while screw systems require torque control.
Why mounting method matters
The mounting method directly affects:
- Alignment precision
- Contact pressure stability
- Installation speed
- Risk of thermal interface damage
- Maintenance accessibility
If pressure is uneven, thermal resistance increases. This can lead to overheating even if the heat sink design is good.
Table 1: Mounting method comparison
| Mounting Method | Ease of Installation | Tool Requirement | Stability | Maintenance |
|---|---|---|---|---|
| Spring clip | High | Low | Medium | Easy |
| Screw mounting | Medium | High | High | Medium |
| Push-pin | High | Low | Medium | Easy |
| Adhesive bond | Medium | None | High | Difficult |
| Bracket system | Medium-High | Medium | High | Medium |
Practical installation behavior
In real factory or field assembly, clip-based systems reduce installation time significantly. However, they may not be suitable for high vibration environments.
Screw systems take longer but provide stable long-term pressure. This is important in high-power systems like industrial drives or telecom equipment.
Design trade-offs
Engineers often balance ease of installation with performance stability. A simple mounting system may reduce labor time, but it can introduce long-term reliability concerns.
A more rigid system increases installation steps, but it ensures consistent thermal contact over time.
Can thermal interface materials simplify setup?
Thermal interface materials (TIMs) make installation easier by filling microscopic gaps between surfaces. They reduce the need for perfect surface flatness and pressure control.
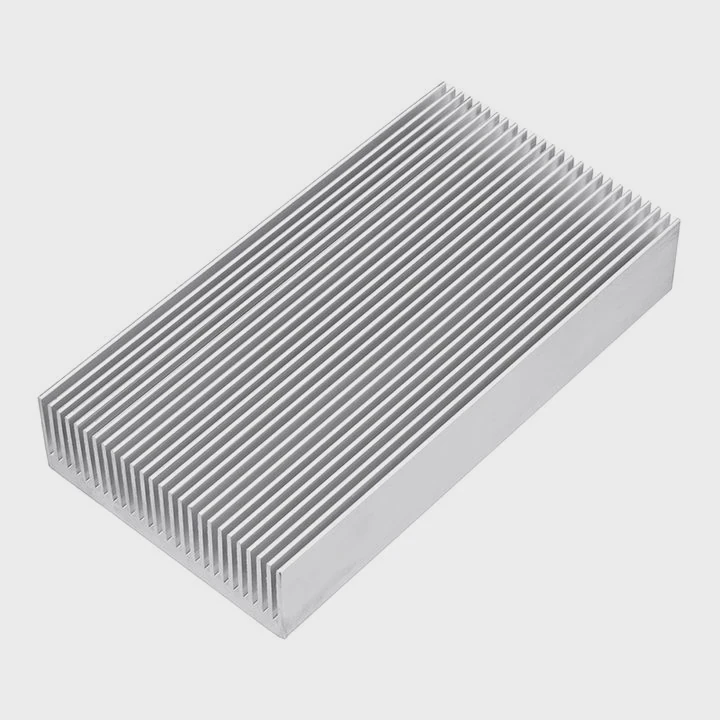
Featured explanation: TIMs improve heat transfer and reduce installation sensitivity by compensating for surface irregularities.
Transition: Proper TIM selection can reduce installation errors and improve thermal stability.
Dive deeper
Thermal interface materials play a major role in simplifying heat sink installation. Without them, even small surface imperfections can trap air, which significantly increases thermal resistance. My experience with thermal systems shows that TIM selection often determines both installation success and long-term performance stability.
Types of thermal interface materials
Common TIM types include:
- Thermal grease
- Thermal pads
- Phase change materials
- Graphite sheets
- Liquid metal compounds
Each type has different installation behavior and performance level.
How TIM improves installation
TIMs simplify setup in several ways:
- Reduces need for perfect surface polishing
- Compensates for pressure unevenness
- Improves thermal contact consistency
- Lowers assembly precision requirements
- Reduces rework during installation
For example, thermal pads are easy to place and require no curing time. Thermal grease requires spreading but offers better conductivity.
Installation trade-offs
Even though TIMs simplify setup, they also introduce considerations:
- Application thickness control
- Long-term pump-out risk (for grease)
- Aging and drying effects
- Electrical insulation requirements
Table 2: TIM comparison for installation
| TIM Type | Ease of Installation | Thermal Performance | Rework Difficulty |
|---|---|---|---|
| Thermal grease | Medium | High | Medium |
| Thermal pad | High | Medium | Low |
| Phase change | Medium | High | Medium |
| Graphite sheet | High | Medium-High | Low |
| Liquid metal | Low | Very High | High |
Practical system impact
In real assembly lines, TIM choice can reduce installation errors by a large margin. For example, production teams often prefer pads for fast assembly because they reduce operator variation.
However, high-performance systems may still use grease or advanced materials to achieve lower thermal resistance.
Are specialized tools required?
Some heat sink installations require specialized tools, but many standard designs can be installed with basic tools. The need depends on mounting force, precision level, and system design.
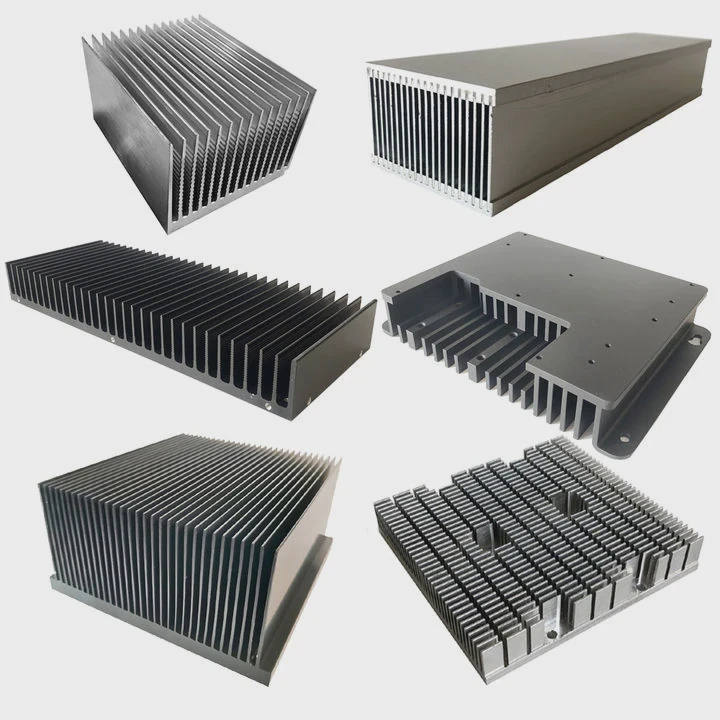
Featured explanation: Specialized tools are needed when torque control, alignment precision, or pressure uniformity is critical.
Transition: Tool requirements increase with system complexity and performance demand.
Dive deeper
Tool requirements in heat sink installation depend on mechanical design and performance expectations. My experience in production environments shows that tool complexity increases when thermal systems move from basic cooling to high-power applications.
Common installation tools
Typical tools used in installation include:
- Torque screwdrivers
- Thermal paste applicators
- Pressure gauges
- Alignment jigs
- Spring clip tools
- Automated assembly fixtures
Simple systems may only need manual screwdrivers, while advanced systems require controlled torque tools.
Why tools become necessary
Specialized tools are needed for several reasons:
- Ensuring correct mounting pressure
- Avoiding PCB or chip damage
- Maintaining uniform thermal contact
- Repeating consistent assembly results
- Meeting industrial certification standards
In high-power electronics, small installation errors can cause large thermal performance drops.
Tool dependency in production
Factories often use tools not for convenience, but for consistency. Manual installation without control can lead to variation between units.
Table 3: Tool requirement levels
| System Type | Tool Requirement | Precision Level | Risk Without Tools |
|---|---|---|---|
| Consumer electronics | Low | Medium | Low |
| Industrial control | Medium | High | Medium |
| High-power systems | High | Very high | High |
| Aerospace systems | Very high | Extremely high | Very high |
Automation influence
In advanced manufacturing, automated tools are used to ensure repeatability. Robotic assembly systems control torque, alignment, and pressure in a precise way.
This reduces human variation and improves reliability in mass production.
Does installation affect performance?
Installation has a direct impact on heat sink performance. Even a well-designed heat sink can perform poorly if installation is incorrect.
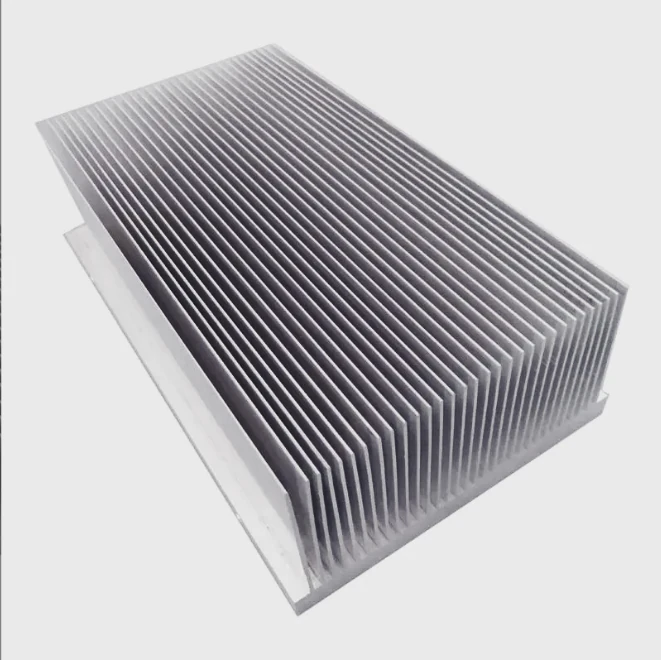
Featured explanation: Installation quality affects thermal resistance, airflow behavior, and long-term system stability.
Transition: Small installation errors can lead to significant temperature changes in real systems.
Dive deeper
Heat sink performance depends not only on design but also on how it is installed. My experience with thermal testing shows that installation errors are one of the most common reasons for unexpected overheating in electronic systems.
Key performance factors affected by installation
Installation directly influences:
- Contact thermal resistance
- Pressure distribution
- Air gap formation
- Vibration stability
- Long-term reliability
Even a tiny air gap between chip and heat sink can significantly increase junction temperature.
Installation errors and consequences
Common installation mistakes include:
- Uneven mounting pressure
- Incorrect TIM thickness
- Misalignment of heat sink base
- Loose fastening torque
- Contamination on contact surfaces
These issues often lead to reduced heat transfer efficiency.
Environmental influence
Installation quality also affects how systems behave under stress conditions such as vibration, thermal cycling, and high humidity.
Poor installation may cause gradual performance degradation over time.
Table 4: Installation quality vs performance impact
| Installation Quality | Thermal Resistance | System Stability | Failure Risk |
|---|---|---|---|
| Excellent | Low | High | Low |
| Good | Medium | Medium-High | Medium |
| Poor | High | Low | High |
Long-term reliability impact
A properly installed heat sink maintains stable performance over time. Pressure loss or TIM degradation can increase thermal resistance slowly, leading to hidden performance issues.
This is why installation inspection is a key step in quality control.
Conclusion
Heat sink installation is not overly complicated, but it depends on mounting design, TIM selection, tools, and installation quality. Proper process control ensures stable thermal performance and system reliability.